- Most printing problems in Windows can be resolved by checking drivers, print queue, and connection (USB, network, or WiFi).
- Updating or reinstalling the manufacturer's official driver is key to avoiding installation errors and messages such as "driver not available".
- Windows offers its own tools (troubleshooter, services, printer profiles) that help detect and correct issues without being an expert.
- Older printers with legacy drivers or COM ports may require special configurations or may even become unsupported in recent versions of Windows 11.
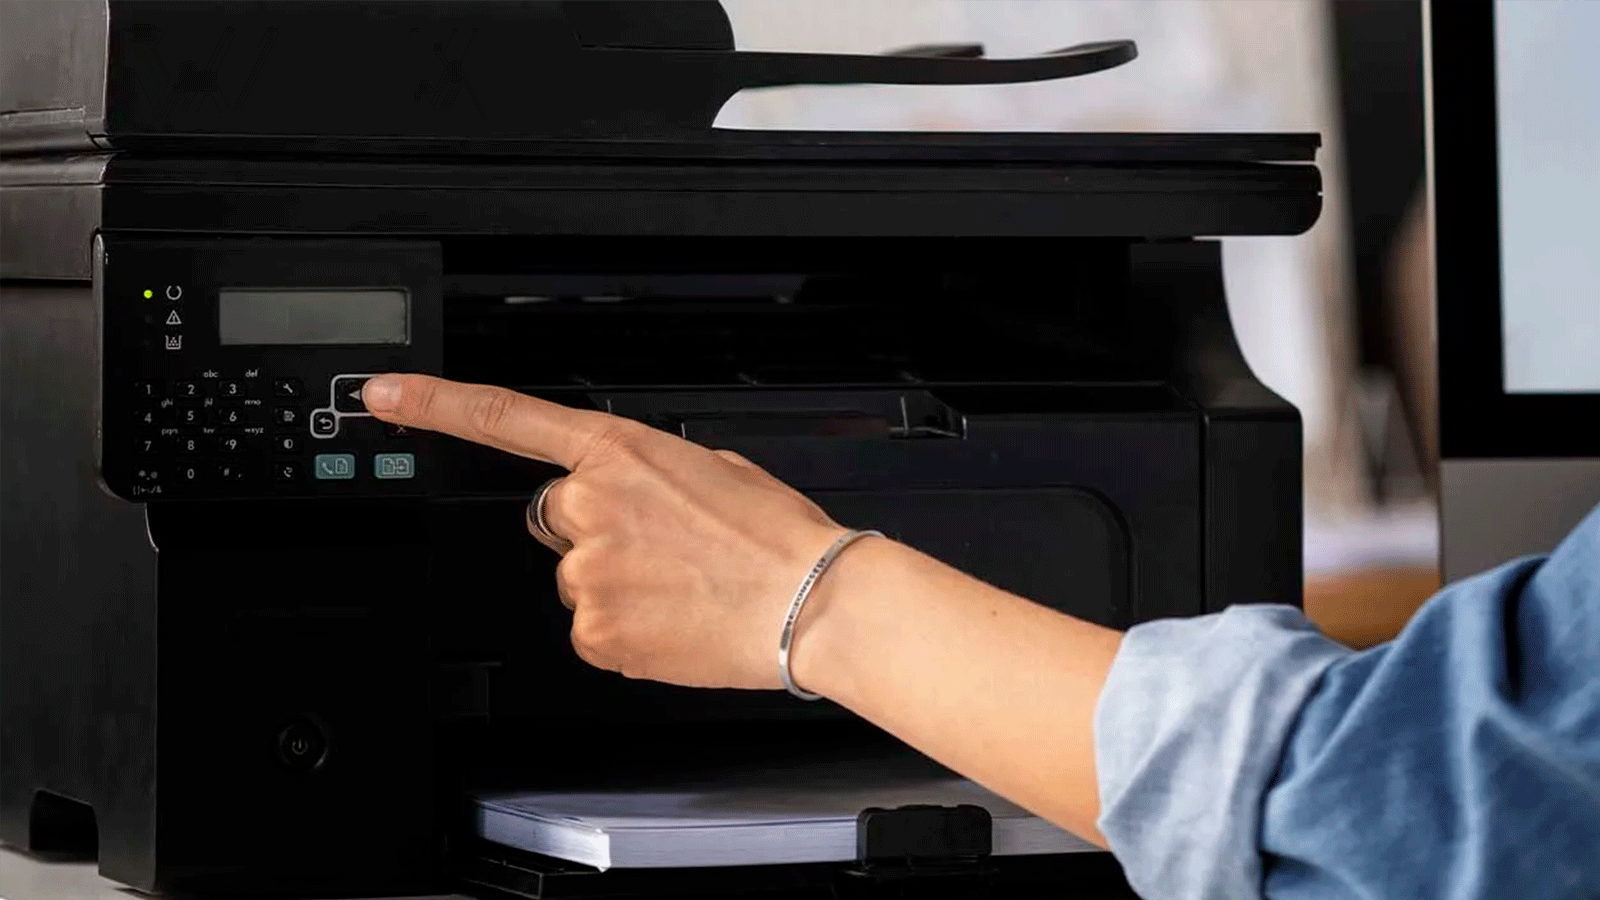
When your printer fails in Windows just before you need to print an important document, it can be a real headache. Connection errors, strange messages, stuck print jobs, or blank pages are just some of the typical problems that can occur in both Windows 10 and Windows 11.
This guide provides a comprehensive and organized overview of the most common printer errors in Windows, their typical causes, and practical solutions recommended by both Microsoft and the manufacturers themselves. The goal is to guide you through each step until your printer is working properly again, without requiring any computer expertise.
Basic steps: remove the printer, reinstall it, and try the simple things first.
Before delving into advanced settings, it's almost always worth trying the basics. Removing the printer from Windows and reinstalling it resolves many issues at once, especially when there are problems with the driver or internal system settings.
To remove a printer in Windows 10 or 11, you can do so from the Settings app. Go to Start > Settings > Bluetooth & devices > Printers & scanners , locate the printer model causing the problem, select it, and click "Remove" or "Remove device"; when prompted for confirmation, click "Yes."
Once removed from the system, it's time to add it back. If it's powered on and connected (via USB, Wi-Fi, or network), Windows should automatically detect it in "Add a device ." From the same Printers & Scanners menu, click "Add a device" (or "Refresh") and wait for it to appear in the list before clicking "Add device." If it doesn't appear, use the "Add manually" option.
When you choose to add a printer manually, Windows offers several options for locating it. You can search by IP address , hostname, shared printer, or add a local printer with manual configuration . The latter is the recommended option when the printer is physically connected to the PC via USB, LPT, or a serial COM port.
If you need to install it as a local printer, select “Add a local or network printer with manual configuration,” click “Next,” and on the next screen choose “Use an existing port.” Select the port to which the printer is connected (for example, USB, LPT1, or COM1) and continue with the driver installation.
Drivers and software: when the printer driver is the culprit
One of the most common causes of printing problems in Windows is corrupted , outdated, or incompatible drivers . This manifests as errors such as "The driver is not available," installation failures, or the printer disappearing or being limited to very generic options.
If your printer came with its own CD or installer, it usually includes its specific driver. If you don't have that disc, in the printer setup wizard you can choose "Windows Update" to have the system download an updated list of models and manufacturers directly from Microsoft's servers . Then simply choose the brand in the left column and your model in the right column.
Another option is to go directly to Device Manager and force a driver update . Open Device Manager, expand the Printers section, right-click on your printer, and select "Update driver." Windows will search for newer versions and install them if found. If it doesn't find any, you'll need to go to the manufacturer's support website and download the latest driver package for your model and Windows version.
When the driver is corrupted or the system doesn't recognize it properly, sometimes it's more effective to completely uninstall the printer and reinstall it from scratch. Uninstalling the printer from Settings, restarting the PC, and reinstalling it with the official software often fixes cases where preferences are stuck in generic mode or manufacturer options disappear.
If you downloaded a driver from the internet that doesn't appear in the Windows installation wizard, you can install it manually through the print server properties. Go to Settings > Devices > Printers & scanners, open "Print server properties," and on the "Drivers" tab, click "Add ." The wizard will ask for the architecture (x64, for example), and then you should click "Have disk" and select the folder where you extracted the driver.
Errors when installing the printer and problems after updating Windows
During the installation of both the device and the software, errors may occur that block the process. A typical problem is a poor USB connection between the PC and the printer , which causes the installer to get stuck and never finish, or to produce strange errors.
In that scenario, it's worth trying several things: disconnect and reconnect the USB cable when prompted by the installer, use a different port on your computer, and even try a different cable if you have a compatible one available. Temporarily disconnecting other USB devices can also help rule out conflicts.
Don't forget the security aspect. An overly aggressive antivirus, malware, or permission issues in Windows can prevent the printer software from installing correctly . Running a full scan with your updated antivirus, ensuring Windows is up to date with updates , and restarting after each change, if necessary, are basic steps to avoid headaches.
On HP computers, for example, printing or scanning may stop working after a Windows 10 update. In these cases, it's recommended to restart the system, check the printer's compatibility with Windows 10, use the HP Smart app for diagnostics, and, if that doesn't work, reinstall the complete HP software . As a last resort, you can use Windows System Restore to revert to a point where everything was working.
In recent years, specific errors have also been detected following Windows updates , such as the inability to print on certain USB printers (for example, receipt or label printers) after specific builds. Microsoft has been correcting many of these problems through the Known Issues Rollback (KIR) feature, which reverts changes that cause widespread failures.
Computer and printer connection: USB, WiFi, network and Bluetooth
Another major source of problems is the connection between the computer and the printer. If the computer can't find the printer or the dreaded message "Windows cannot connect to the printer" appears , the first thing to do is check how both devices are connected.
If it's a network printer (WiFi or Ethernet), make sure both your PC and printer are connected to the same local network, without mixing guest networks or different routers . On Windows, you can try adding it from Settings > Devices > Printers & scanners, and if it's not detected, use "The printer I want isn't listed" and add it by IP address or hostname.
In the case of a printer connected via USB, it's a good idea to check the port. Trying a different USB port, avoiding the use of hubs, and ensuring the cable is securely connected at both ends can rule out physical problems. If it still doesn't work, it's a good idea to uninstall the device from Device Manager and let Windows detect it again when you reconnect it.
When using a wireless printer, in addition to the Wi-Fi network, you should also check the printer's coverage and settings. Verify on the printer's control panel that it's connected to the same Wi-Fi network as your computer. Move the printer closer to the router if the signal is weak, and if the problem persists, try a wired connection to determine if it's purely a wireless issue. If you're unsure about bands and coverage, compare 2,4 GHz and 5 GHz.
When troubleshooting Bluetooth printers, several things need to be checked. Start by verifying that the Bluetooth icon appears on the printer's screen and that it isn't paired with another device that might be blocking the connection . If it is, turn off Bluetooth on the other device or delete the pairing. If none of this works, the problem might be with the PC's Bluetooth driver, which requires checking for Windows updates, drivers in Device Manager, or even trying compatibility mode with drivers from other versions.
Printer status and typical network errors in Windows
A very common error is that Windows shows the printer as "Offline" even though it's turned on and ready . To bring it back "Online," you need to check both the device itself and the Windows settings.
In Windows 10, open the Settings app, go to "Devices," and then to "Printers & scanners." Select your printer, click "Open queue," and within the "Printer" menu, make sure the "Use an offline printer" option is NOT checked . If it was checked, unchecking it should make the printer operational if everything else is working correctly.
When you encounter errors related to your printer's internet connection (very common with Wi-Fi models that rely on online services), check the basics: the printer should be turned on, connected to the same Wi-Fi network as your PC, and the power cord should be firmly plugged in . A complete shutdown (including unplugging it for a minute) and then reconnecting both the printer and the router usually resolves intermittent issues.
In many cases, the problem lies in the print queue. If the printer is showing connection errors or is unresponsive, open its queue by going to Settings > Devices > Printers & scanners, selecting the printer, and clicking "Open queue." From there, you can cancel any pending documents that might be blocking the service . If any documents refuse to be deleted, you can always use the Task Manager (Ctrl + Alt + Delete) to close any stuck applications and restart the printer.
If your printer worked correctly on other computers on the same network but not on your Windows 10 or 11 PC, it's important to check your system's network settings. In Control Panel > Network and Internet > Network and Sharing Center > Advanced sharing settings, you can enable "Network discovery" and "Printer sharing," which are essential for environments with network or shared printers. If the system returns a "Network path not found" error, refer to the guide on error 0x80070035.
Print quality: blank, blurry, misaligned pages or error messages
When the printer works but the printed results are disastrous, the problem could lie with the consumables, the paper, or the software settings. Blank pages, blurry prints, or prints with misaligned lines almost always have a specific technical explanation.
If lines of text are coming out crooked, colors are overlapping, or the grid isn't aligned, the printheads probably need adjusting. From the printer's control panel or "Printing Preferences" in Windows, look for the maintenance section. There are usually "Printhead Alignment" and "Printhead Cleaning" options that correct these issues by following simple on-screen instructions.
Blurry printing is usually related to unsuitable paper or low ink/toner. Damp or poor-quality paper doesn't absorb ink well, and extreme power-saving modes don't help either. If you need good quality, use heavier paper, disable power-saving modes, and increase the print density in the printer settings , especially for photos or documents with graphics.
When pages come out completely blank despite having ink, the first thing to check is whether the document contains a blank page. If that's not the issue, there might be a problem with the printer software or driver. Disconnecting the power cable, uninstalling the manufacturer's software, and downloading the latest stable version from their official website usually fixes most cases, provided the cartridge is properly installed and recognized.
Error messages, whether displayed on the screen, indicated by LED lights, or beeps, are usually explained in the device's manual. Codes such as "low ink," "paper jam," or combinations of warning lights are documented by the manufacturer. If you've lost the manual, you can almost certainly find it on the official support website by entering your printer model.
Print queue stuck, print service and server problems
A very common situation is that documents remain indefinitely in the "In queue" or "Printing" state, but never print. This almost always indicates a problem with the Windows print spooler (Print Spooler service).
First, open your printer's print queue from Settings > Devices > Printers & scanners and cancel any pending print jobs. If you don't mind resending the documents later, the quickest solution is to cancel the entire queue and reprint the print jobs from the original program . Often, this is enough to resolve the issue.
If this doesn't work, you can manually empty the print queue. Type "Services" in the Windows search bar and open the application. Locate the "Print Spooler" service, right-click it, and select "Stop." Then, in the search bar, paste the path %WINDIR%\system32\spool\printers, open that folder, and delete everything it contains . Finally, return to the Services window, open the properties of "Print Spooler," set the startup type to "Automatic," click "Start," and confirm with "OK."
In environments where a network print server is used, it's also necessary to monitor the available disk space on that server. If the volume where the print queue is stored becomes full, large documents will fail to print while small ones will . In that case, free up space or move the print queue folder to another disk with more capacity.
When documents fail to print on the server and cannot be removed from the queue, it usually means the Print Spooler service itself has become blocked. Repeating the procedure of stopping the service, emptying the spool folder, and restarting it is the quickest way to regain control.
Cartridges, toner, and physical components: paper jam recognition and problems
Sometimes the problem isn't with Windows, but with the printer itself. Cartridges that aren't recognized, empty cartridge messages when there's still ink, or constant paper jams fall into this more "mechanical" category.
If your printer indicates that a cartridge is empty but you know it contains ink, the detection system may be malfunctioning. Remove the cartridge and check if it has a chip; if it doesn't, you'll need to contact the supplier. If it does have a chip, carefully clean the contacts and sensors visible inside the cartridge compartment , reinsert the cartridge, and check if it's recognized.
In the case of compatible cartridges, some models are very finicky and refuse to recognize them correctly. There are also laser printers that, if they haven't been used for a long time, can have toner that has clumped together. Gently shaking the toner cartridges and checking the condition of the thermal fuser are two useful checks when the printouts are very light or uneven.
Paper jams are another common source of headaches. This can be caused by wrinkled, damp, or unsuitable paper weight, or paper that is improperly placed in the tray. Dirty or worn feed rollers and an uneven surface where the printer is not level also contribute to jams.
If a paper jam occurs, don't force the paper out. First, check if your printer has a button with a paper and arrow icon , which is often used to eject the paper. Another option is to turn the printer off and on again so it attempts to eject the paper during the startup sequence. Carefully open both the main and auxiliary covers and remove any remaining paper, following the manufacturer's instructions.
To avoid future jams, always use good quality paper of the type recommended by the manufacturer, don't fill the tray above the fill line, properly align the paper stack, and keep the feed rollers clean . A little preventative maintenance saves a lot of trouble.
Windows tools for diagnosing and troubleshooting printing problems
Windows includes several utilities designed to automatically detect and repair problems. One of the most useful is the printing troubleshooter , available in both Windows 10 and Windows 11.
You can access it from Settings > Update & Security > Troubleshoot > Printers (in Windows 10) or by searching "Troubleshoot printing problems" directly in the search bar. The wizard will check settings, services, and print queues, and apply standard fixes such as restarting services or repairing permissions.
Another useful tool is test printing. From the printer properties, both in Windows and in the printer's own menus, you can run a "Test Page" to check if the problem originates with the system or the application you're printing from . If the test page prints correctly from Notepad, the problem is usually with the original program and not the printer.
Microsoft also recommends collecting diagnostic information in certain cases for advanced support. This can be done using scripts and tools such as TSS (Troubleshooting Support Script) , which collect logs and settings related to the printing experience and facilitate the work of the support team.
In corporate environments with Active Directory, features such as printer location tracking are also available. If certain printers do not appear in searches after enabling this feature, the location string may not follow the correct naming scheme . In that case, you need to adjust the location in the printer properties or adapt sites and subnets in "Active Directory Sites and Services".
Special cases: older printers, COM ports, and legacy drivers
In offices and professional environments, many older printers still operate using outdated communication ports, such as serial (COM) or parallel (LPT) . Although most computers today use USB, Ethernet, or Wi-Fi, Windows still allows printers to be configured through these traditional ports.
If your printer uses a COM port, you must ensure your computer has that port available or use a COM-to-USB adapter. After installing the drivers, you must select the correct COM port in the printer settings so that print jobs are sent through the appropriate channel . Changing the port number after restarting your computer may cause the printer to stop working, so it's best to save the setting to prevent it from changing.
Microsoft has also begun a major cleanup in Windows 11 regarding legacy printer drivers, specifically V3 and V4 drivers . These drivers, designed years ago for older printers, are now considered obsolete and are no longer supported.
With the January KB5074105 update, Windows 11 24H2 and 25H2 will no longer support legacy printer drivers, prioritizing more modern and secure solutions like the IPP class driver , a built-in universal driver that works with many models without requiring third-party software. According to Microsoft, only a small percentage of users will be affected, but businesses with very old printers may notice the change.
If you rely on an older printer and are running Windows 11, Microsoft recommends contacting the manufacturer for updated or compatible drivers for the newer printer model . If no support is available, you may need to consider replacing the device or keeping the printer on a computer with a version of Windows that still supports it.
Same printer, different settings: Duplicate the device in Windows
In many offices and homes, it's common to need two different configurations for the same physical printer : one with high quality and color for important documents, and another in black and white and low resolution for drafts. Changing settings each time is a hassle, but Windows offers a very practical trick.
You can install the same printer two (or more) times on Windows 10 with different configurations. First, you need to find out which port and driver the original printer is using. From Control Panel > Hardware and Sound > View devices and printers, right-click on the printer and select "Printer properties ." On the "Ports" tab, you'll see the port being used, and under "Advanced," the assigned driver.
With that information, return to the "Devices and Printers" window and choose "Add a printer." When the wizard displays the corresponding screen, click on "The printer I want isn't listed," check "Add a local or network printer with manual settings," and select "Use an existing port." Choose the same port that the original printer used, and in the list of drivers, select the same driver you saw earlier in "Advanced Options . "
As you proceed, Windows will ask if you want to use the already installed driver (recommended). Next, you can assign a different name to this new printer instance, which is very helpful for remembering the settings you're applying, such as "Laser Printer - Draft B/W". Afterward, you can decide whether or not to share it, and optionally print a test page.
Once created, open your "Print Preferences" and set your desired settings (low quality, grayscale, etc.). Windows will save this configuration separately from the original printer settings. This way, when printing from any application, you can quickly choose whether to use the high-quality or draft profile without having to navigate through advanced menus each time . This same process can be repeated to create additional profiles with different options.
In some Windows 10 installations, these duplicate printers don't appear as separate devices in all views, as the system groups them together. However, from the classic "Devices and Printers" window or by using special administrative commands (such as opening the Run dialog box and launching the printer shell) , you can access each profile and modify its preferences or rename it as needed.
In the end, all these adjustments and solutions may seem like a lot, but once you know them, it's much easier to tackle the exact problem: if you can distinguish between a network failure, a corrupt driver, a stuck print queue, or a physical paper jam , you save time, frustration, and wasted paper every time Windows and your printer decide to act up.
