I'm sure it's happened to you: you're peacefully browsing or working, and suddenly your computer starts making noise like a plane is about to take off from your desktop. It's a very common problem, since the default thermal management of many computers isn't always the most efficient or quietest, leaving us at the mercy of automatic settings that are sometimes excessive or, worse, insufficient.
Having complete control over how your tower fans spin not only makes your workspace more comfortable, but also extends the lifespan of your components by preventing unnecessary heat spikes. Fortunately, there are several ways to achieve this, from delving into the system's internals through the BIOS to using powerful external tools that greatly simplify the process.

Understanding the hardware: PWM vs Voltage
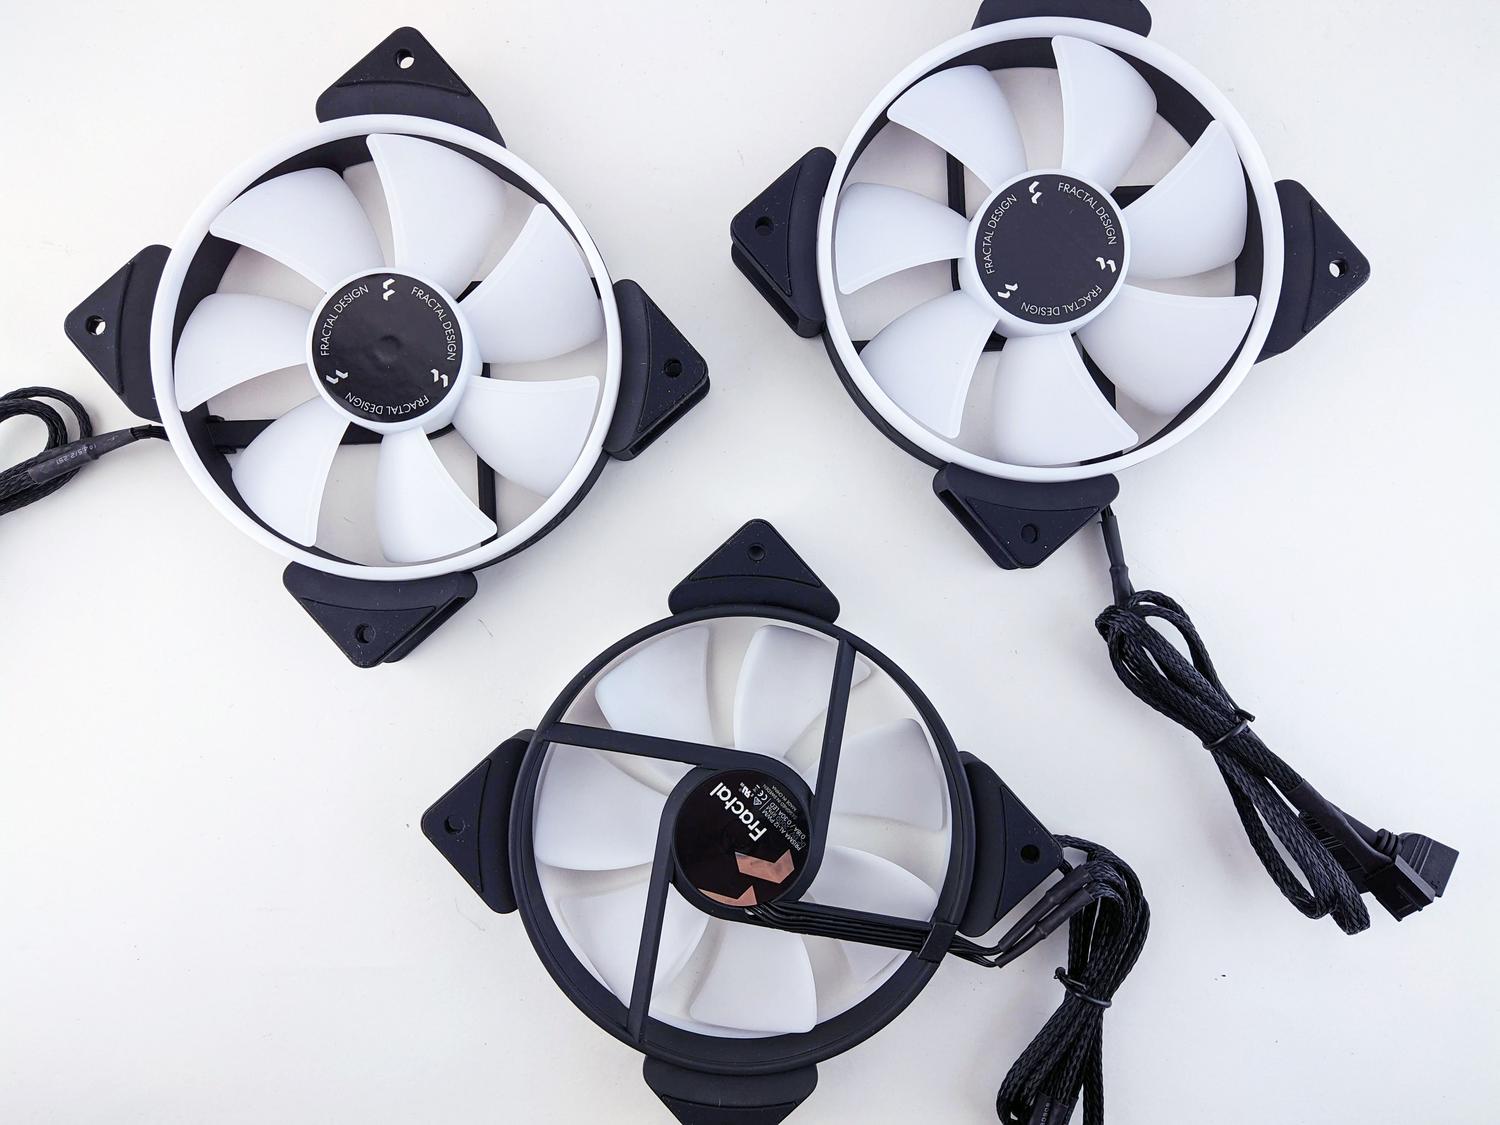
Before we get started, it's essential to know what we have installed. Not all fans are controlled the same way. On one hand, we have 3-pin fans, which usually operate at a fixed speed, although some motherboards allow you to regulate them via voltage control . The problem is that this method is less efficient and doesn't allow you to lower the speed as much as you might want.
On the other hand, there are 4-pin fans, which use PWM (Pulse Width Modulation) technology . These are ideal, as they allow for much more precise adjustment and can reach very low minimum speeds, resulting in a virtually inaudible system when you're not doing anything demanding.

Correct connection on the motherboard

For everything to work properly, you need to connect everything in its correct place. The CPU fan should always be connected to the CPU_FAN header , while the case fans should be connected to the ports labeled SYS_FAN or CHA_FAN . If you have a CPU cooler with two fans, the second one usually goes to the CPU_OPT header. It's vital to make sure the cables are securely connected to avoid incorrect speed readings.
Configuration via BIOS
If you prefer not to install additional programs, the BIOS is where the fundamental decisions are made. To access it, you usually need to restart your PC and repeatedly press the DEL or F2 key before Windows loads. Once inside, you can use a guide to optimize the BIOS and look for the Hardware Monitor or Smart Fan Control section.

Here you can choose whether the control is DC (voltage) or PWM, depending on your fan, and start adjusting the settings on the graph. A balanced configuration usually involves keeping the fan at its minimum speed until the component reaches 40-50°C and gradually increasing it to 100% when the component reaches 70-75°C. If your fans support 0dB operation, you can set the minimum speed to 0% so they turn off completely when idle.
Mastering the system with Fan Control
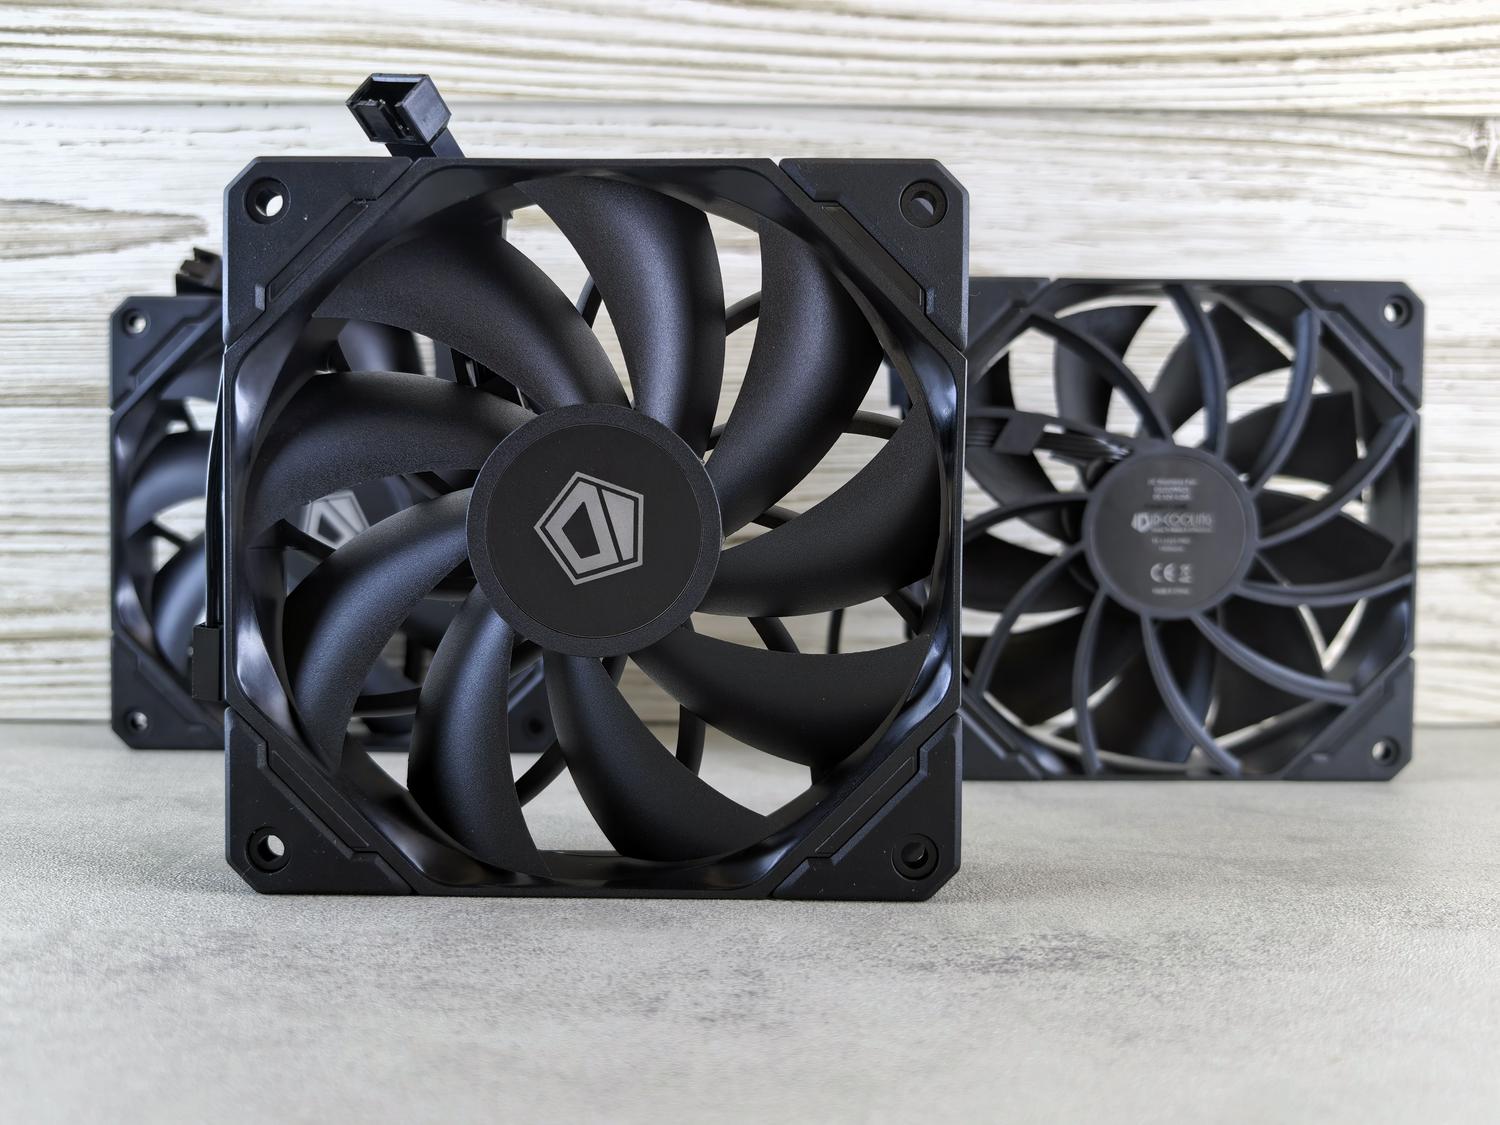
For those seeking something more flexible and visual, there's a gem called Fan Control . It's free, open-source software that can be downloaded from GitHub. The best part is that it's portable; no installation is required, just extract the folder and run the .exe file. You can configure it to start with Windows, although it's recommended to add a short delay of about 30 seconds to avoid conflicts during system startup.
When you open it for the first time, the program automatically scans to detect all the fans and determine their speed limits (maximum and minimum). This is crucial because, for example, many graphics card fans don't start spinning until they reach 40% or 45% of their maximum speed. Once detected, you can give them custom names like "CPU Fans" or "Front Fans" to avoid confusion.

Creating custom curves in the software
The real magic happens in the Curves section. By adding a Graph curve , you can choose which temperature sensor you want to track. For example, for the CPU, you could set it to stay at 20% until 40°C, increase to 40% at 60°C, and reach its maximum at 80°C. All of this is done by moving points on a screen, which is infinitely more convenient than navigating the BIOS menus.
It's highly recommended to create different profiles depending on the time of year or workload. In summer, it's advisable to be more aggressive with the RPMs to avoid overheating, while in winter, we can prioritize quiet operation. To ensure everything is working correctly, it's a good idea to run a stress test like Cinebench for 10 minutes and make sure the temperatures don't exceed 85°C.
Common Problem and Conflict Resolution
Sometimes, Fan Control may not detect a particular fan. This usually happens if other programs are interfering. If you're using ASUS, for example, you might need to go into Armoury Crate and disable Fan Xpert . It's also important to run the program as administrator so it has the necessary permissions to access the hardware.
If the problem persists, some effective solutions include updating your motherboard's BIOS to the latest version or performing a Clear CMOS to reset any PWM settings that might be blocking external control. Keep in mind that if your motherboard is very new, it may take some time for the software to receive the necessary compatibility update.
Managing your PC's ventilation through the BIOS or tools like Fan Control allows you to find the perfect balance between low temperatures and non-existent noise, adapting the airflow according to the workload or the outside climate and ensuring that each component works in its optimal performance range.
