- Audacity's automatic recovery is the first line of defense after a system failure.
- The SessionData directory stores temporary data that can be recovered from unsaved recordings.
- Using data recovery software is viable when files have been physically deleted from the disk.

There's nothing more infuriating than spending hours recording a podcast or a piece of music only to have the program suddenly crash without warning, or your computer restart due to a rogue update. That empty feeling in your stomach when you open Audacity and don't see your work is awful, but don't give up yet , because there are several ways to try and recover that data.
The first thing to understand is that Audacity manages information in a unique way, separating the project database from the actual audio files. Depending on whether the problem was a software crash, accidental deletion, or an operating system issue, the recovery strategy varies considerably , so we'll analyze all available options, from the simplest to the most technical.
Automatic recovery after a system failure
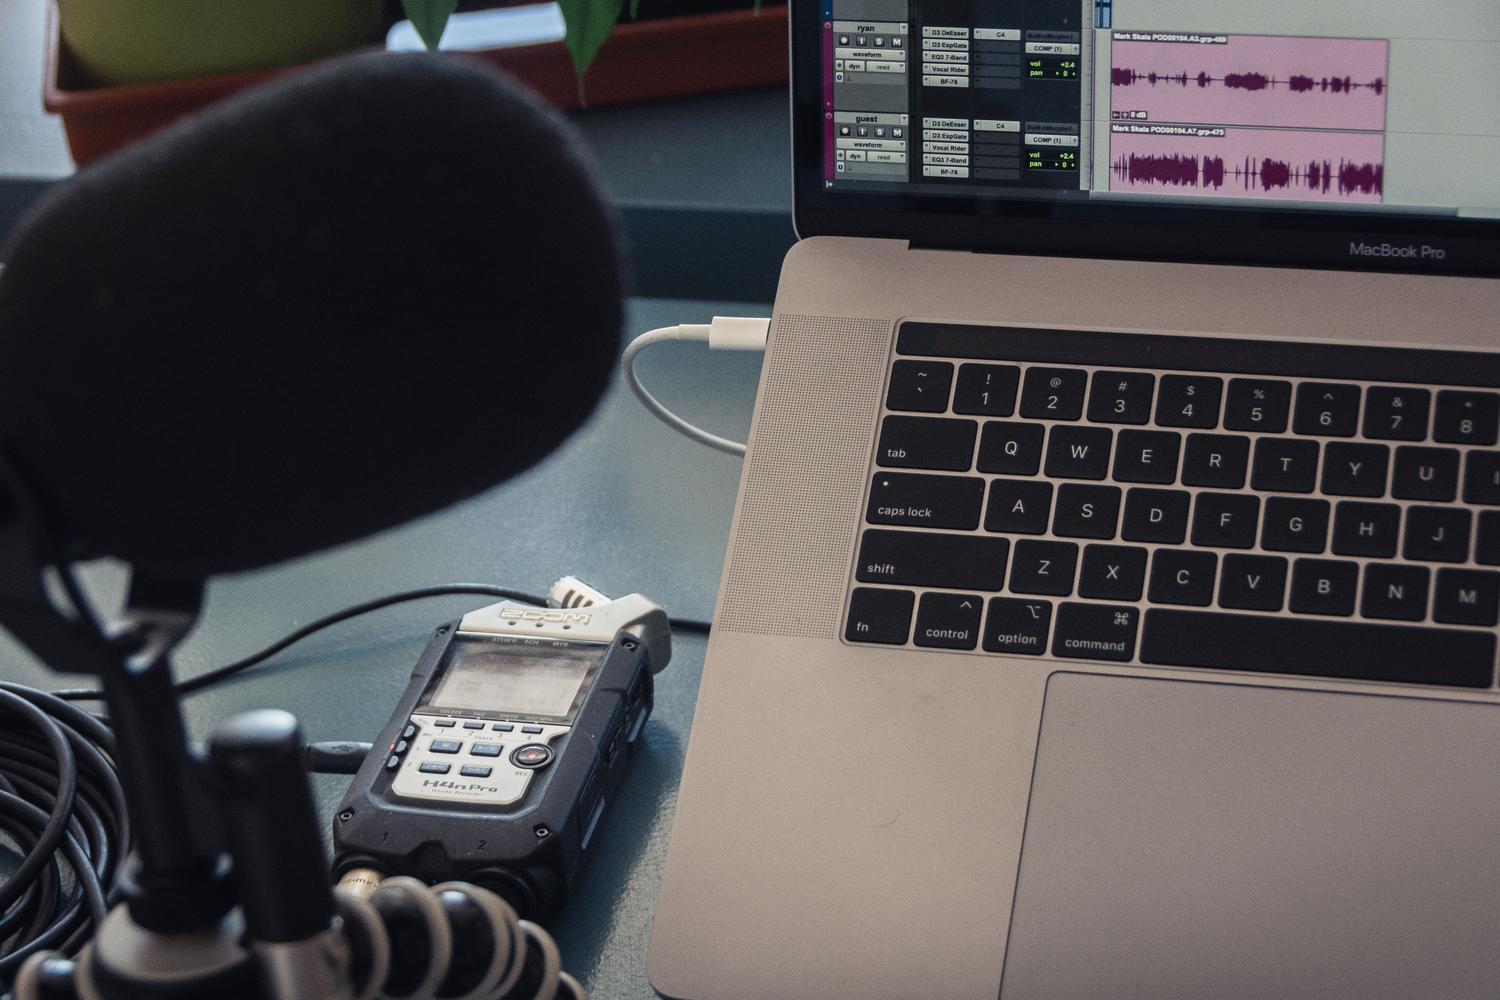
In more recent versions (such as 3.x), Audacity has a feature called Automatic Crash Recovery. When the program crashes, upon restarting it, the software scans the disk for sessions that didn't close properly. If it detects anything, a dialog box will appear displaying the found projects.
At this point, the most important thing is to select the project you need and click on Recover Selected . Be very careful with the option to discard data, because if you do, Audacity will delete those temporary files and there will be no going back. Once you see the audio waveform, immediately go to File > Save Project to create an .aup3 file and save your work.
Manual search in the session data folder
If the automatic notification didn't appear, it doesn't mean the audio has been lost. Audacity saves pieces of information in a temporary directory called SessionData. In older versions, these were referred to as scattered .au files, but now the system is more centralized, although it remains a crucial lifeline for those who forgot to save their project.
To access these files, go to Preferences > Directories and copy the path to the temporary folder. On Windows, it's usually located in AppData\Local\Audacity\SessionData . A pro tip is to copy this entire folder to another location on your hard drive before doing anything else, to prevent the system from overwriting the data while you're trying to recover it. If you find a file with the .aup3unsaved extension , try opening it directly from the program's file menu.
Key difference between saving a project and exporting audio
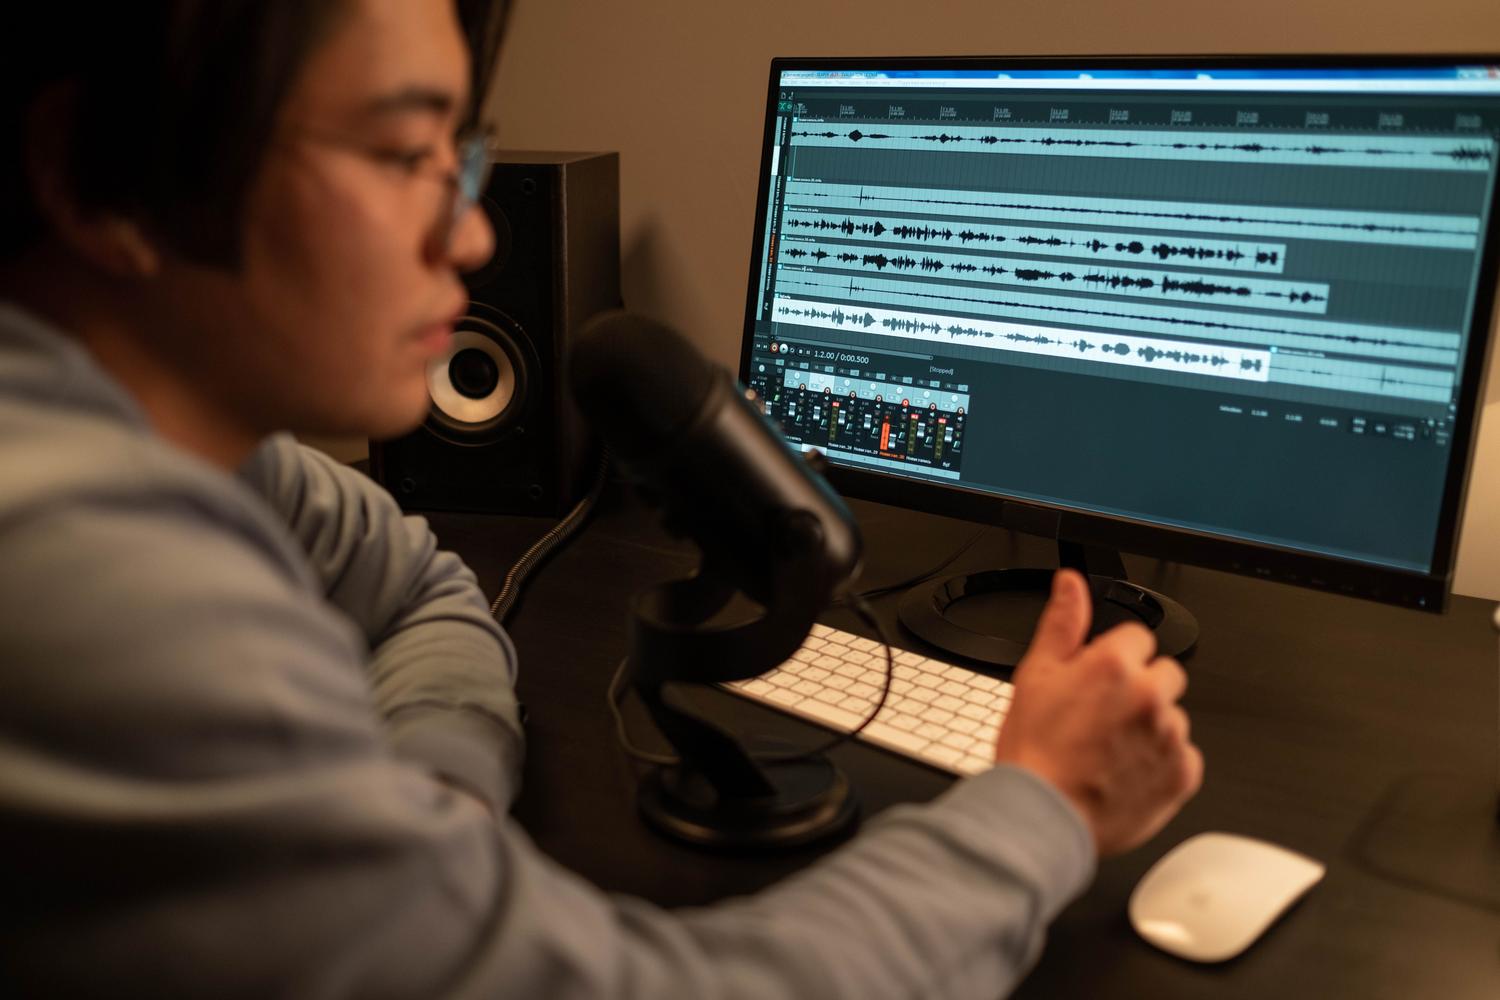
Many people are going crazy looking for an MP3 that never existed. It's important to understand that "Save Project" creates a working file (.aup3) that only Audacity can understand, while "Export Audio" generates a file playable on any device, such as WAV or MP3. If you lost the project but remember exporting a previous version, look in your folders for files with common audio extensions.
If the project has become corrupted but the data folder (data_name) remains intact, things get technical. Some advanced users resort to renaming the .au blocks by creation date and using Python scripts to join these pieces and generate a readable WAV file, although it's a tedious process that requires patience.
Recovery of physically deleted files
When the problem isn't a program crash, but rather that the .aup3 file was deleted, emptied from the Recycle Bin, or lost after formatting, Audacity's built-in tools are useless. This is where data recovery software like Wondershare Recoverit, EaseUS Data Recovery, or FoneLab comes in.
These tools scan hard drive sectors looking for patterns in audio files. Ideally, the recovery program should be installed on a different drive than the one that contained the project to avoid overwriting the data you want to recover. These programs allow you to filter by format (WAV, MP3, AIFF) and preview the audio before recovering it, which is crucial for determining whether the file is intact or corrupted.
Preventive measures to avoid going through this hell again

To prevent this from happening again, the wisest course of action is to get into the habit of saving your project regularly with Ctrl+S. Additionally, it's highly recommended to use the Backup Project option during critical moments, which creates a backup without closing the current session. Another foolproof measure is to export a WAV copy every time you finish an important take; this way, even if the project file becomes corrupted, the raw audio will be safe.
If you're working on Windows, consider disabling forced automatic updates or scheduling them so they don't restart your PC while you're recording. Remember that deleted files don't disappear immediately; the system simply marks that space as free. Therefore, the less you use the disk after data loss, the better your chances of successfully recovering your work.
The key to saving a lost recording lies in acting quickly and following a logical order: first try automatic recovery, then trace the SessionData folder, and as a last resort, use deep disk scanning software to locate orphaned audio blocks or deleted files.