- Optimization of heat-resistant materials to ensure the durability of the support.
- Design and modeling techniques focused on stability and airflow.
- Critical printing settings to achieve functional and accurate parts.
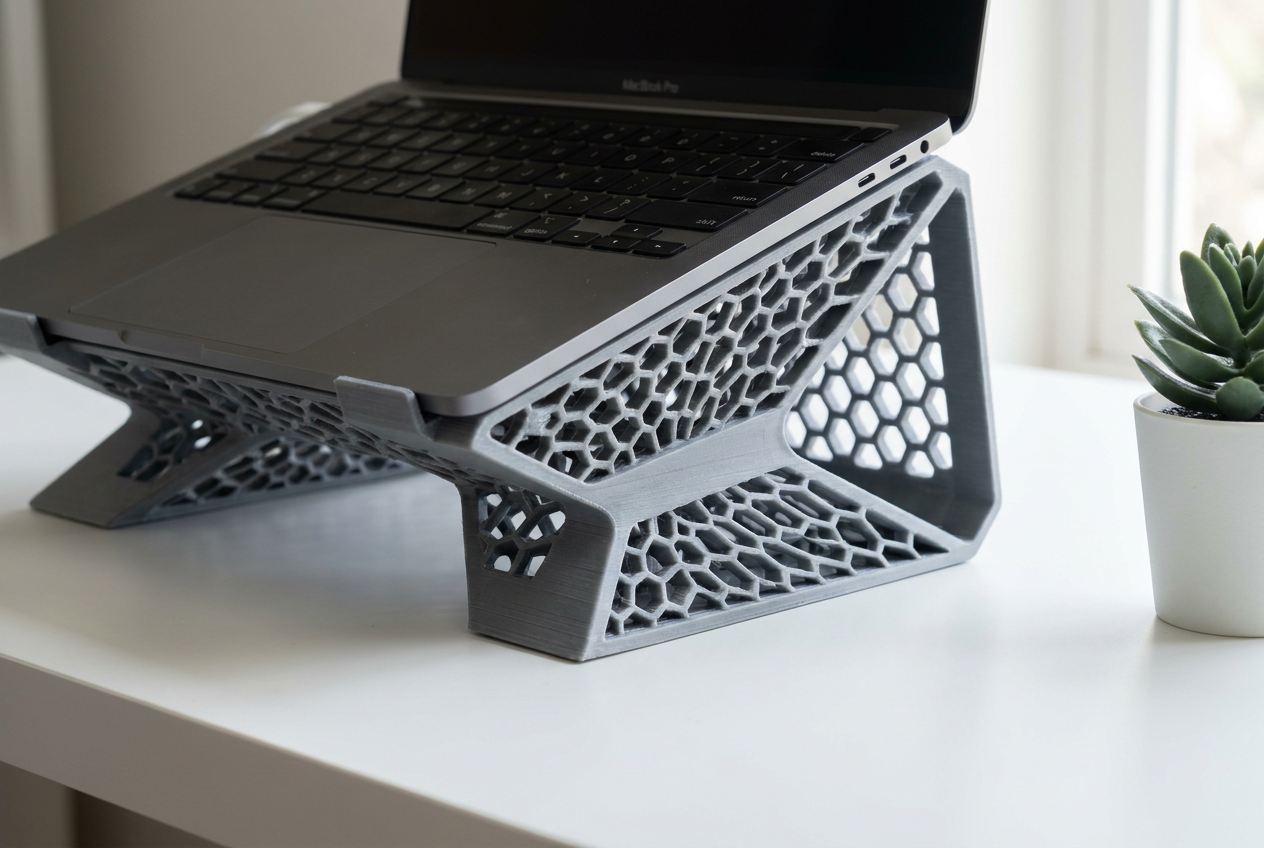
If you've noticed your workspace resembles a battlefield overflowing with cables and accessories, you're not alone. Sometimes, trying to organize your tech gear can feel like a real headache, but the solution isn't buying more gadgets; it's optimizing what you already have with smart digital manufacturing solutions.
When it comes to keeping our devices cool, printing your own laptop cooling pads is a real game-changer. It's not just about making them look good; it's about ensuring proper airflow so your hardware doesn't overheat while you're working or gaming.

Recommended materials for heat resistance
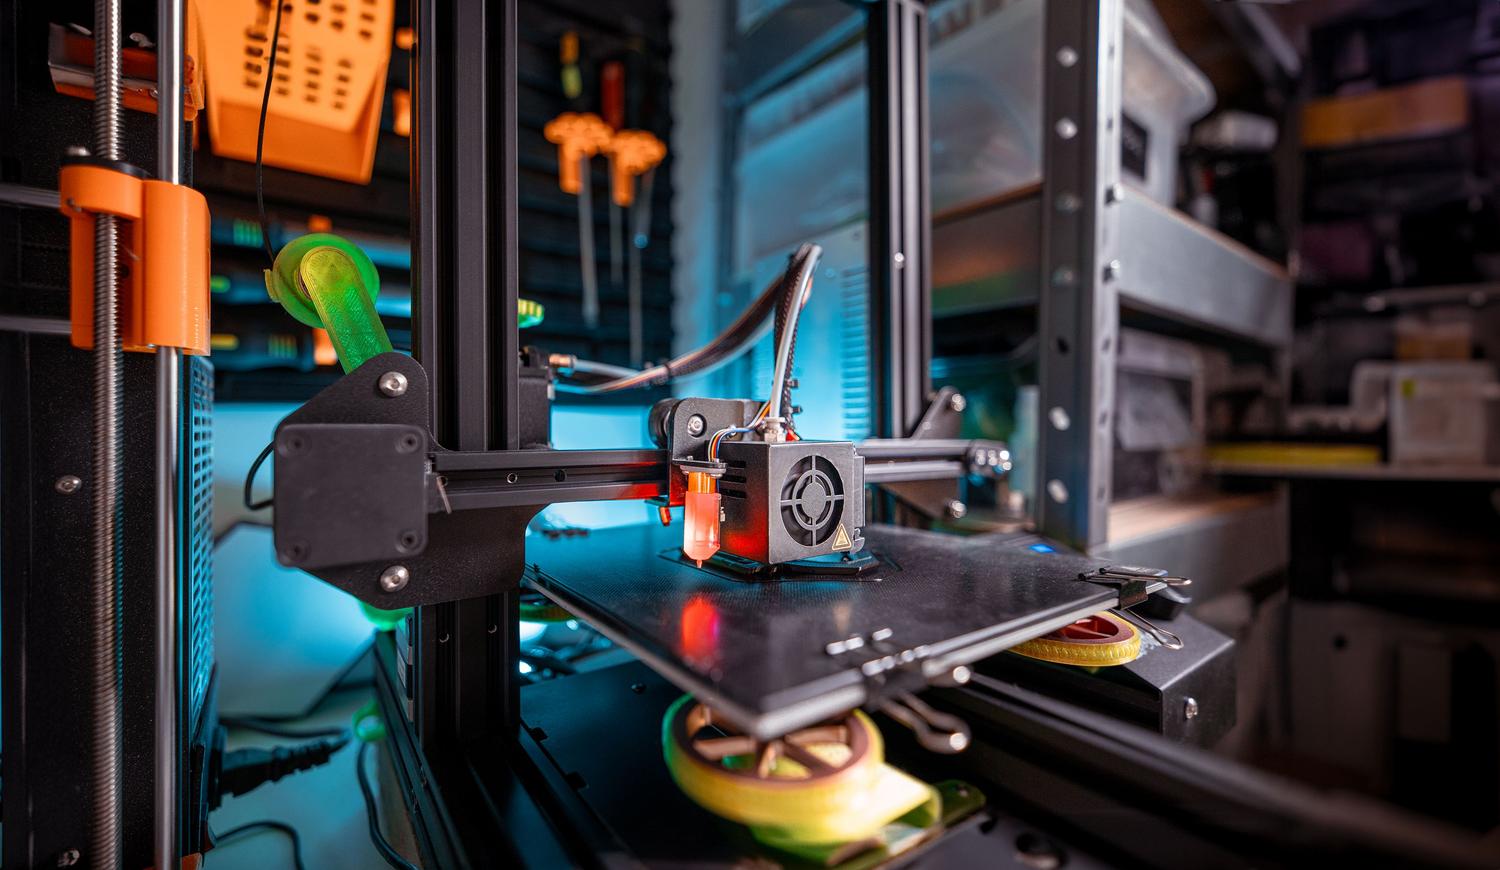
Not just any filament will do for this project. If you use typical PLA, you run the risk that the heat from the fan or device will warp the support, rendering it a useless piece of plastic. To avoid problems, it's best to use PETG or ABS . You can consult a comprehensive PETG vs. PLA comparison guide to help you choose the right one.
If you're looking for something truly professional that won't budge an inch, ASA is a fantastic option, as it resists UV radiation if the bracket will be near a window. The key here is choosing a material that maintains its structural rigidity under constant thermal load to ensure effective ventilation at all times.
Design principles for optimal airflow

When designing the fan, whether in Tinkercad, Fusion 360, or by downloading a model, you must ensure that the design does not obstruct the exhaust vents. A common mistake is creating a base that is too enclosed, which creates a tunnel effect, trapping hot air. It is vital to create open ventilation channels that allow for constant airflow.
- Make sure there is a minimum separation of 5mm between the device and the surface.
- It creates side slots to facilitate the entry of fresh air.
- Reinforce the corners with bending radii to prevent stress fractures.
Additionally, ergonomics should be considered. A stand that's easy to assemble and disassemble will save you time and prevent damage to your laptop's ports while handling it. Consider adding small rubber bumpers or printing flexible TPU filament parts at the contact points to prevent the plastic from scratching your computer.
Print settings for functional parts
To prevent the piece from breaking easily, don't skimp on the infill. While 10% is sufficient for a decorative figure, for a ventilation support you should increase the infill to 30% or 40% , preferably using a gyroid pattern, which best distributes forces in all directions.
Another critical point is bed adhesion. When using materials like ABS, the corners tend to lift (the infamous warping). I recommend using a well-calibrated heated bed and, if necessary, a brim to ensure the part stays firmly in place until the process is complete. Don't forget to check the nozzle temperature to avoid annoying threads that you'll later have to clean by hand.
Having a custom ventilation system allows the equipment to perform at its best without the noise becoming unbearable. By combining the right polymer choice with a design that prioritizes airflow and robust printing parameters, you get a tool that extends the lifespan of your electronic components and eliminates visual clutter from your desk.
