- Manual control of technical parameters such as ISO and shutter speed to optimize light.
- Advanced management of focus and color temperature through white balance.
- Use of high-fidelity formats such as RAW and analysis tools such as the histogram.
The camera technology in our smartphones has taken an incredible leap forward in recent times, reaching a point where many people no longer even consider carrying a digital camera around their neck. It's not just about having more megapixels; the processing software has evolved to give us tools that were once exclusive to expert photographers.
Although almost all current smartphones, from mid-range to top-of-the-line, include a professional mode, the vast majority of users ignore it and stick to automatic mode. This is understandable because it's faster, but if you want your photos to have a more personal touch and not look like they were taken by an algorithm, it's worth exploring the manual settings.

Mastering ISO sensitivity
When we enter Pro mode, one of the first switches we encounter is the ISO. Essentially, this value determines how much light the sensor captures to create the image. In bright sunlight, it's best to keep the ISO as low as possible to minimize noise.
If you're in a dark place and you raise this value too much, you're very likely to get that annoying grain or digital noise that makes the photo blurry. Conversely, if you lower it too much in a dark place, the image will lose detail. It's common to use a setting between 100 and 3.200, depending on whether you're in a well-lit street or a dimly lit room.
Shutter speed and exposure time
Another fundamental element is shutter speed, which is simply the length of time the lens remains open, allowing light to enter. It's the key tool for those who want to avoid ISO noise, as it allows you to control brightness without degrading image quality.
If you set a very fast shutter speed (like 1/8000 of a second), you can freeze the motion of a car or an athlete without blurring. But if you're looking for that artistic effect where traffic lights leave a trail, you need a longer exposure . Keep in mind, though, that for long exposures, using a tripod and other mobile phone accessories is essential , because the slightest hand tremor will ruin the shot.
Manual focus and the Focus Peaking technique
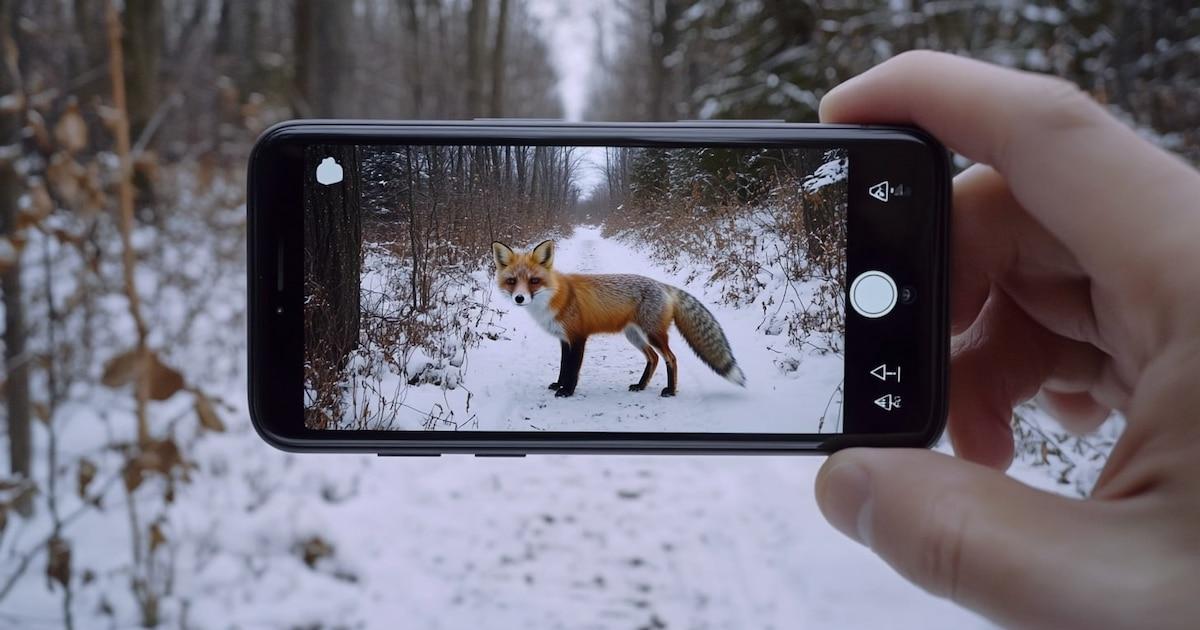
The autofocus is very good, but sometimes it gets confused and focuses on the background when you wanted to highlight a flower in the foreground. Manual mode lets you move a slider to set the focal distance exactly where you want it, giving you complete control over the depth of field.
To avoid shooting blindly, many phones include Focus Peaking . This tool highlights perfectly sharp areas with colored borders (usually red or yellow). It's a fantastic visual aid, especially now that sensors are larger and the focus area is much smaller.
Exposure (EV) and Histograms
Sometimes, even when we adjust the ISO and shutter speed, the phone misinterprets the scene. To correct this, we use EV (exposure compensation), which allows us to adjust the image's brightness to make it lighter or darker, depending on our preference.
To avoid guesswork, we use the histogram. This graph is like an X-ray that tells us if we have blown-out shadows (too much black) or blown-out highlights (pure whites lacking detail). Ideally, we want a balanced distribution of bars on the graph so that the photo is neither underexposed nor overexposed.
Color temperature and white balance
You've probably experienced taking a photo indoors only to find everything comes out yellowish. This is where white balance comes in; it adjusts the color temperature on the RGB axis to make whites appear white. It's measured in Kelvin, typically between 2.300 and 7.500 K.
You can choose preset settings like sun, shade, or tungsten, but the most fun is playing with the temperature manually to give the scene a cooler or warmer feel, creating a more dramatic or cozy atmosphere depending on what you want to convey.
Variable opening and composition
Although most mobile phones have a fixed aperture due to space constraints, the latest high-end models now incorporate variable apertures . A wide aperture (low f-number) lets in more light and blurs the background, while a narrow aperture (high f-number) keeps the entire scene in focus.
To complete the project, don't forget composition. Activating the camera's grid helps you apply the rule of thirds, dividing the space so the human eye processes the image more naturally and attractively, avoiding always placing the subject right in the center.
The RAW vs. JPEG debate
If you plan to edit your photos using an editor like Lightroom or Snapseed, forget JPG and choose RAW or other RAW file formats . JPEG compresses the information and discards data, while RAW saves the raw image captured by the sensor, allowing you to recover highlights and shadows that would be lost in a standard file.
Today, there's computational RAW (like ProRAW), which combines the best of both worlds: the flexibility of raw files with the HDR processing of your phone's processor. Keep in mind that these files are significantly larger, so only use them if you're really going to edit the photo afterward and want to remove metadata to protect your privacy.
Having complete control over ISO, shutter speed, white balance, and file format completely transforms how you take photos with your smartphone. By combining these technical settings with good composition and subsequent digital retouching, you can obtain images with a quality and style that leave behind the monotony of automatic mode.