- Managing large personal files and moving them to external storage or the cloud frees up many gigabytes without affecting the system.
- Windows' built-in tools (Disk Cleanup, Free up space now, Storage Sense) allow you to safely remove temporary files and update remnants.
- Adjusting options such as System Restore, Hibernation, and Virtual Memory prevents Windows itself from consuming more space than necessary.
- Controlling installed software, avoiding bloatware, and using portable applications helps keep your disk clean and your computer faster for longer.
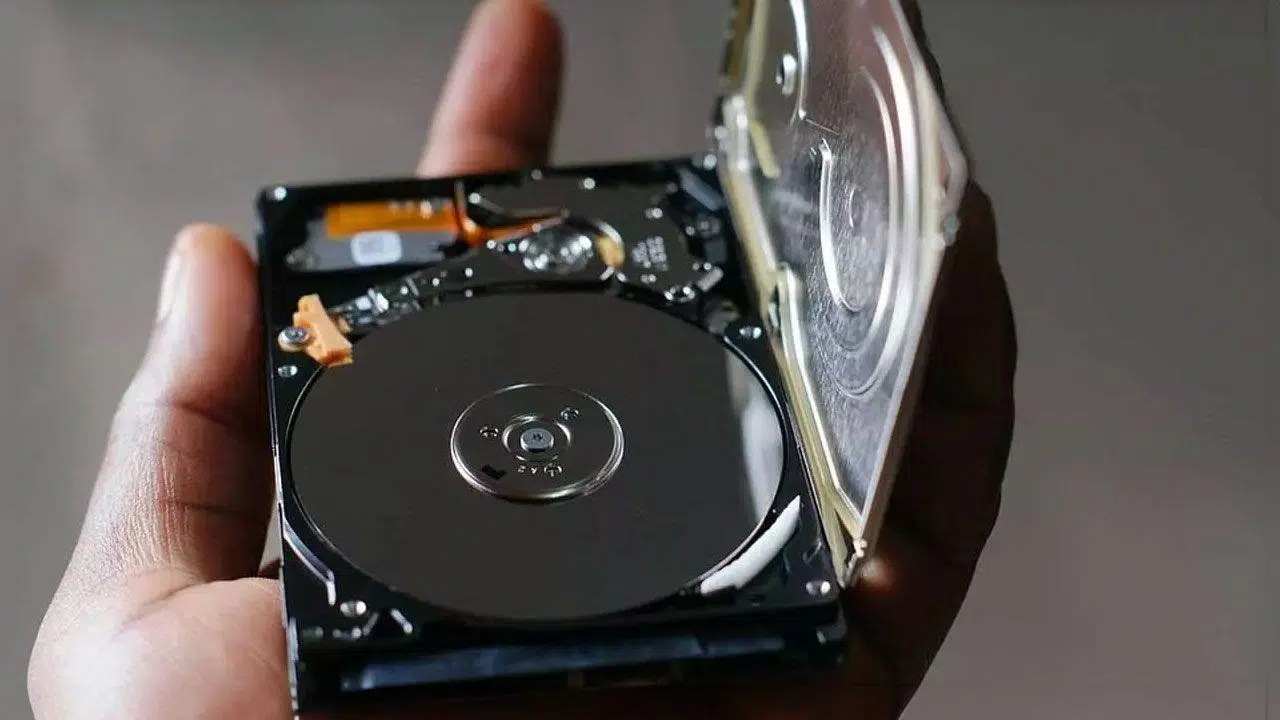
If your Windows PC is getting slower and slower and the system keeps warning you that you're running out of space, you're not alone. With daily use, temporary files, programs you no longer use, and data accumulate, taking up gigabytes without you even realizing it, until you reach a point where you can't even update Windows.
The good news is that you can recover a significant amount of storage space without too much hassle. In this guide, you'll see, step by step, how to free up space in Windows 10 and Windows 11 using the system's own tools, without relying on third-party programs if you don't want to, and making the most of every inch of your disk.
What is disk space and why does it fill up so fast?
When we talk about disk space, we are referring to the total storage capacity of your hard drive or SSD , where Windows, your programs, games, and all your personal files such as photos, videos, and documents are stored.
Over time, this space fills up not only with what you intentionally save, but also with remnants of updates, temporary files, old backups, and applications you no longer use . If you don't clean it up occasionally, the disk will eventually become almost full, and problems will begin.
It is recommended to always keep some free space so that the system can work smoothly, create temporary files, install Windows updates , and avoid extreme disk fragmentation that affects performance.
On modern computers running Windows 10 or 11, a good starting point is to have a hard drive with at least 512 GB of storage or to install an SSD . The price difference compared to 256 GB is usually small, and given the size of games, 4K videos, and high-resolution photos these days, it will save you headaches in the long run.
First, check how much space you're using.
Before deleting anything willy-nilly, it's essential to check what's actually taking up space on your hard drive . This will tell you how much space you need to free up and what to focus on: personal files, large programs, backups, etc.
In Windows 10 and Windows 11, you can do it from within File Explorer itself:
- Press Windows key + E to open File Explorer and go to "This PC".
- Locate the drive you want to check (usually C:), where you will see free space and overall size.
- For more details, right-click on the drive and select "Properties" to see a usage graph.
In addition to this overview, the Settings > System > Storage section in Windows 10/11 shows you very visually where the space is going: applications, documents, temporary files, system, etc., which is very useful for deciding where to cut corners.
Find and manage your largest personal files
A large portion of the space on your hard drive is usually taken up by your own files: videos, photos, music, and large documents . This is the first thing you should check because in many cases you can move or delete them without affecting the system.
To locate these files in Windows using Explorer:
- Opens File Browser from the taskbar or with Windows + E.
- In the left panel, go to «This PC» and select folders like "Videos", "Music", "Images" and "Downloads", which are usually the largest.
- In the Explorer's top bar, go to "View" and select "Details" to see the size and date of each file.
- Right-click on a blank area and select "Sort by > Size" so that the largest files appear at the top.
This way you can locate in seconds those large videos, installer copies, or ISO files you may no longer need. Delete anything you know for sure you don't need. Anything you want to keep but don't use often is a good idea to move to an external drive or the cloud.
If you want an even clearer picture of where your space is going, there are tools like WinDirStat that generate a visual map of your disk showing which folders are taking up the most space. It's a free and very lightweight utility that can help you locate large folders you didn't even remember existed, although you should be very careful not to delete anything essential to your system.
Move files to external drives or the cloud.
Once you have identified the heaviest folders, the best way to free up space without losing anything important is to move infrequently used files to external storage or cloud services.
To transfer your photos, videos, or music to a USB drive or SD card in Windows:
- Connect a external storage device (pendrive, hard drive, SD card) to your PC.
- Open the File Browser and go to the folders where you have the files you want to move.
- Select the files or folders, then click on Cut In the top ribbon or with Ctrl+X, navigate to the external drive and choose Take or Ctrl + V.
This will free up space on your main drive while still keeping your files accessible whenever you connect the external drive. It's also a good backup practice in case your computer experiences problems or becomes infected with malware.
If you prefer not to rely on physical devices, you can also upload those infrequently used files to cloud services like OneDrive, Google Drive, Dropbox, or iCloud, keeping them accessible from anywhere and reducing local disk usage. If you're considering expanding your storage in the long term, you can also consult guides for upgrading PC components.
Quickly remove temporary files and junk files
Windows accumulates all sorts of temporary files, caches, and update remnants that can add up to several gigabytes over time. Cleaning them up periodically is a quick way to reclaim space.
There are several ways to do it, some more direct and others more advanced, depending on the type of cleaning you want to do.
Clean the temporary folder with %TMP%
One of the quickest methods is to directly delete the user's temporary folder:
- Open the Start menu and type "Run"or press Windows + R.
- In the window that appears, type %TMP% and press “OK”.
- An Explorer folder will open with lots of temporary files generated by applications and by the system.
- Select everything (Ctrl + A) and delete it with the Delete key.
Before doing this, it's a good idea to close all open programs to avoid conflicts. If any files are in use, Windows won't let you delete them, but that's okay: just skip those and continue with the rest. If a program needs a temporary file again, it will recreate it without any problems. You can also supplement this cleanup by using Windows Terminal commands for advanced tasks.
Use the disk cleanup tool in Windows 10 and 11
In addition to the %TMP% folder, Windows provides specific tools for deleting temporary files, update remnants, thumbnails, and other unnecessary items.
In Windows 10, one of the most convenient options is the "Free up space now" function within the settings:
- Opens Configuration from the Start menu (gear icon).
- Sign in System > Storage.
- Scroll down and click "Free up space now".
- Select the types of files you want to delete: Windows Update backups, temporary files, recycle bin, thumbnails, caches, etc.
- Press on "Remove files" to start cleaning.
Windows 10 and 11 also include the classic Disk Cleanup tool :
- Search for "Disk Cleanup" in the Start menu and open the program.
- Select the drive you want to clean and wait for it to analyze.
- Check the boxes next to what you want to delete and press "OK".
In this tool, it's very important to pay attention to the "Clean up system files" option , which allows you to remove remnants of large updates and previous versions of Windows that can take up tens of gigabytes. However, avoid deleting the Windows ESD installation files if you want to retain the option to reset your computer later.
A good trick is to run this cleanup after a major Windows update , when the system usually saves copies and old files that are no longer needed and only take up space.
Using the tool on Windows Server
In server environments, there is also the classic Cleanmgr.exe (Disk Cleanup), although in older versions of Windows Server you may first need to enable the "Desktop Experience" from Server Manager and the "Add Roles and Features" wizard.
Once enabled, you can launch the tool from Start > Windows Administrative Tools > Disk Cleanup or by running "cleanmgr" from the search box or a command prompt window. You can even pass command-line parameters to automate the cleaning of specific file types.
Activate the Storage Sensor to automate cleaning
If you're too lazy to do these cleanups manually, Windows 10 and Windows 11 include a feature called Storage Sense that takes care of deleting temporary files, items in the Recycle Bin, and other unused content at regular intervals.
To activate and configure it:
- Opens Configuration and enters System > Storage.
- Flip the switch «Storage sensor» for it to start working.
- Click on "Configure or run Storage Sense now" (or similar text) to see advanced options.
Within the settings you can choose how often the sensor runs (daily, weekly, monthly or only when space starts to run low) and exactly what it should clean.
Among the most useful options are:
- auto delete temporary application files that are not used.
- empty the Recycle Bin after a certain number of days.
- Periodically delete the contents of the folder Downloads (very useful if you accumulate installers and files that you only needed once).
- Remove local content from OneDrive files that are already in the cloud and you haven't opened them for a while, keeping the online copies intact.
Once you've finished adjusting everything, you can leave the Sensor running in the background or tap "Clean now" to perform a complete initial cleaning immediately.
Empty the recycle bin and delete files you no longer use.
It might sound obvious, but we often accumulate several gigabytes in the Recycle Bin without realizing it. As long as they're there, those files continue to take up disk space , so it's a good idea to empty it from time to time.
On Windows, it's as simple as right-clicking the Recycle Bin icon on the desktop and choosing "Empty Recycle Bin." If you're using macOS, the process is similar, accessed from the Recycle Bin icon in the Dock.
Beyond the trash, it's also a good practice to occasionally check folders like Downloads and Documents to manually delete files you no longer need: program installers, compressed files you've already extracted, duplicate documents, etc.
In File Explorer you can sort by size or by modification date to quickly locate the largest or oldest files and decide whether it is worth keeping.
Uninstall programs and applications you don't use
The software you install over time can also take up a significant portion of the disk, especially on computers that come with a lot of bloatware pre-installed by the manufacturer.
To uninstall applications you no longer need in Windows 10 or 11:
- Sign in Settings > Apps > Apps & features (in Windows 11 it's called "Installed Apps").
- Sort the list by size from largest to smallest to see which programs take up the most space.
- For each app you don't use, select it (or click the three dots in Windows 11) and choose "Uninstall".
You'll find that many applications you didn't even know were installed. Some are trial versions, duplicate utilities, or suites you no longer use. Removing all that unnecessary software not only frees up disk space , but it can also improve your PC's performance.
However, avoid touching applications you're unfamiliar with or that might be critical to Windows' operation. If you have any doubts, research them beforehand or use a trusted cleanup tool that safely identifies bloatware.
Adjust System Restore so it doesn't take up so much space
Windows System Restore is very useful for reverting to a previous state if an update or program causes problems, but restore points can take up several gigabytes if not managed properly.
To review and limit the space used by System Restore in Windows 10 and 11:
- Right-click on the Start button and enter "System".
- In the window that opens, find and click on "System information" (It usually appears on the right side).
- In the new window, click "System protection" in the left panel.
- Select the system drive and press on "Set up".
There you can see how much space is being reserved for restore points and reduce the allocated percentage if it's excessive. You also have the option to delete all existing restore points , which frees up a significant amount of space at once.
If you choose to delete old restore points, it's advisable to create a new restore point from the same tab afterward to avoid running out of backups in case of future problems.
Disable hibernation to free up gigabytes on drive C:
Hibernation mode saves the contents of RAM to a file called hiberfil.sys on the system drive, allowing you to almost completely shut down your computer and return to its previous state when you turn it on.
This file can take up several gigabytes, so if you don't use hibernation or you're fine with classic sleep mode, disabling it is an effective way to recover space.
To disable hibernation in Windows:
- Search for "Command Prompt" in the Start menu, right-click, and choose "Execute as an administrator" (or open PowerShell as administrator).
- In the window that opens, type powercfg / hibernate off and press Enter.
Doing this will delete the hiberfil.sys file and therefore free up the space it occupied on C:. In return, you will lose the option to hibernate your computer, although you will still be able to use normal sleep mode.
Check virtual memory and other advanced settings
Windows uses what is known as virtual memory , a paging file on the disk that acts as a supplement to physical RAM when it runs out. The system typically manages only the size of this file, which is around 10 GB in many cases.
On computers with very little RAM, Windows can significantly increase that space, impacting available storage. If you're running low on space, it's worth checking your RAM settings.
- Opens Settings > System and scroll down to "Information".
- In the window that opens, click "Advanced system settings".
- On the "Advanced Options" tab, go to the "Performance" section and click on "Settings".
- Back in "Advanced Options", tap on "Change" within the "Virtual Memory" section.
From there you can let the system manage the size, set a fixed size, or even choose "No paging file" to reclaim all that space, although this last option is only recommended if you have a lot of physical RAM and know what you're doing.
You can also distribute the page file across multiple drives to reduce the load on your main disk, although unless you have a very specific configuration, it's usually best to let Windows manage it automatically. If you're unsure of your exact hardware specifications, learn how to view your PC components before adjusting these settings.
Compress and organize files you rarely use
Another strategy for reducing the space occupied by files you don't need to open often is to compress them into ZIP files . Windows natively supports this format without the need for additional programs.
To compress in Windows:
- Right-click on the file or folder you want to compress.
- Choose "Send to > Compressed folder (zip file)" (or "Compress into > ZIP file" in recent versions).
- A new .zip file will be created in the same location.
- Once you've verified that everything is inside the ZIP file, you can delete the original files or folders to save space.
It's an ideal solution for archival files or old projects that you want to keep but rarely access. Furthermore, ZIP files make it easy to back up and send via email or to the cloud.
Avoid filling your PC with unnecessary programs
One of the reasons why many computers end up running out of space and malfunctioning is due to the indiscriminate installation of programs , often downloaded from unreliable sites or installed alongside other applications without the user's knowledge.
Many of these utilities promise to "speed up Windows," "clean the registry," or "optimize RAM," but all they do is take up space, steal resources, and even collect data to sell to third parties. In the worst cases, they may include spyware or adware.
If your PC isn't particularly powerful, the wisest course of action is to install only the applications you'll actually use and ruthlessly uninstall anything that doesn't add value. Before installing anything, always check that the developer is trustworthy and that you're downloading from an official source.
In many cases, the basic cleaning and maintenance tasks that these programs promise can be done by yourself using built-in Windows tools , as you have seen throughout this article.
Use portable applications only when you need them occasionally.
For tools you'll only use occasionally, instead of installing them on your system, you might want to look for portable versions . These applications run directly, without installation, and don't clutter your disk with scattered files and registry entries.
On websites like PortableApps you'll find hundreds of portable applications that you can save to a USB drive or external hard drive and run only when you need them. This prevents them from becoming permanently installed on your system and taking up space.
If you use them fairly often, you can keep that collection of portable programs on an external drive and connect it only when you need it, keeping your Windows installation much cleaner and lighter.
When does it make sense to use third-party cleaning tools
Although Windows functions can cover almost all needs, in some cases it makes sense to use specialized maintenance programs that detect bloatware, duplicate files, or hard-to-find remnants.
Tools like AVG TuneUp and other similar solutions are designed to analyze your system in depth, find junk files, unnecessary programs and duplicate items, and allow you to remove them with just a few clicks.
These utilities also often integrate automatic software update options , boot optimization, and other maintenance functions, which can be convenient if you prefer an all-in-one solution, provided you choose a reputable and well-known provider.
In any case, even when using third-party tools, it's advisable to have a clear understanding of the basic concepts we've covered: knowing how much space your personal files take up, managing backups, adjusting System Restore and hibernation, and not installing software just for the sake of it.
By combining these techniques—managing your large files, taking advantage of Windows cleaning tools, automating with Storage Sense, uninstalling bloatware, controlling System Restore and hibernation, and avoiding the installation of unnecessary programs—you can keep your Windows 10 or 11 PC with enough space, running more smoothly and without surprises every time a new update arrives or you want to install a heavy game or application.
