- Recovery on Android is possible if you act quickly, stop using the phone, and work from your PC to avoid overwriting data.
- Before using advanced software, check out recycle bins, Google backups, and file managers with integrated trash.
- Programs like FonePaw, UltData or EaseUS MobiSaver allow you to scan the internal memory and SD card from your PC.
- Setting up automatic backups, using the recycle bin, and avoiding suspicious apps greatly reduces the risk of losing files in the future.
Accidentally deleting photos, documents, or videos on your Android phone is something that can happen to anyone: a mishap when connecting your phone to your PC, a system crash, a malfunctioning app… and suddenly files you thought were safe disappear. When that happens, it's normal to panic and wonder if there's any way to recover them using your computer.
The good news is that in many cases you can recover deleted photos from Android using a PC , but you need to act strategically, quickly, and with the right tools. This guide will show you all the methods used by specialized websites and the most highly rated programs: from the phone's own recycle bin to professional recovery software for Windows and Mac, including advanced methods involving rooting or forensic analysis.
What happens when you delete files on Android and why does a PC help?
When you delete a file on Android, it doesn't usually disappear completely immediately . The system marks the space as "free" or "unused," but the data remains until something else overwrites it. This means that the sooner you act and the less you use your phone, the better your chances of recovering something.
The big problem is that if you install recovery apps directly on your phone , those apps themselves might overwrite the area where your deleted photos or documents were located. That's why experts always recommend, whenever possible, performing the recovery from a computer, with the phone connected via USB, or working directly on the SD card.
There are two basic rules you should follow as soon as you notice you've deleted something important:
- Stop using your cell phone immediately: Don't take photos, don't install apps, don't update anything, don't download music, don't open games.
- Turn off mobile data and WiFiThis way you avoid background downloads and updates that generate new data.
Once the situation is "frozen", the next step is to connect the mobile to the PC and decide what strategy you are going to follow: check trash bins, check backups or move on to specialized recovery programs.
Basic methods: Recycle Bin, backups, and file explorers
Before delving into advanced software, it's worth reviewing the simple methods offered by the Android ecosystem itself and Google apps. Often, the solution is just a couple of taps away, and there's no need to overcomplicate things.
Checking the recycle bin on Android
Android doesn't have a single system-wide trash bin like Windows , but it's integrated into widely used apps such as Google Photos, Google Drive, and file managers from brands like Samsung and Xiaomi. When you delete something from these apps, it's moved to an internal trash bin for a period of time , usually 30 days.
Typical steps to recover files from the recycle bin of different apps:
- Google PhotosOpen the app, go to “Library > Trash”, select the photos or videos you want to recover and tap “Restore”.
- Google DriveGo to the "Recycle Bin" menu, locate the deleted file from your PC or mobile device, right-click (on PC) or press and hold (on mobile device) and choose "Restore".
- Samsung/Xiaomi File Managers: Access the manufacturer's file app, look for the "Trash" or "Recently Deleted" section and restore from there.
Keep in mind that many of these recycle bins empty their contents after about 30 days , so if a lot of time has passed, you probably won't find the file there anymore.
Check cloud backups
Another simple solution is to check if you had automatic backups enabled . Many people aren't aware that Google Photos or Google Drive are uploading content in the background, and hopefully, your deleted files are still available in the cloud.
Some common ways to check if you have a copy of your data:
- Google Photos from your PC: Go to photos.google.com with your Google account and check your photo and video archive, as well as the trash.
- Google Drive: Go to drive.google.com, explore “My Drive”, “Computers” and the trash in case that document or folder was uploaded automatically.
- Android backupsOn your mobile, go to Settings > Google > Backup and check exactly what is being saved (apps, SMS, device data…).
If you locate the file in the cloud, you can download it to your PC and then transfer it to your mobile phone via USB , thus avoiding unnecessary overwrites on the internal memory.
File explorers with integrated recycle bin
Recovery also depends heavily on the file explorer you use . Some apps, like Google Files or certain manufacturer-specific managers, include their own trash. If you deleted something from a file explorer with a trash can, you'll only be able to restore it there.
What to do if your file manager doesn't have a recycle bin :
- You will not be able to recover what has already been deleted with that manager.But you can install one that does have a recycle bin (for example, Google Files).
- Looking ahead, configure the recycle bin and the timeframes for permanent deletion. to minimize similar scares.
Remember that even if your current browser doesn't have a recycle bin , you can still try recovery using PC programs that scan the internal memory or SD card.
The best programs to recover deleted files from Android using your PC
When the recycle bin and the cloud fail , it's time to resort to data recovery software. This is where your computer comes in, because the most powerful tools are installed on Windows or Mac and work connected to your phone via USB or directly to its SD card.
FonePaw Android Data Recovery
FonePaw Android Data Recovery is one of the most comprehensive and well-known programs for recovering deleted files from your mobile device using your PC. It works with a wide variety of brands (Samsung, Huawei, Xiaomi, OPPO, HTC, Google Pixel, and many more) and is highly rated on specialized websites.
Main features and benefits of FonePaw:
- Compatible with both Windows and Macwhich is great if you work with multiple systems.
- Two scanning modes: “Quick Scan” (no root required) and “Deep Scan” for a much more thorough search.
- It allows you to retrieve a wide range of data.: contacts, SMS, photos, videos, music, WhatsApp chats, Office documents (Excel, Word, PowerPoint), PDFs, compressed files (RAR, ZIP) and other formats.
- Interface designed for non-expert userswith a step-by-step process: connect, scan and recover.
FonePaw limitations you should be aware of :
- Deep scan mode requires that the device be rooted.Something that not everyone wants to do or knows how to do.
iMyFone D-Back (Android)
iMyFone D-Back for Android focuses on quick and relatively simple recovery, especially of multimedia files. It is designed to scan both the phone's internal memory and the SD card.
Strengths of D-Back (Android) :
- Ability to restore data from Google backups, which is very useful if the mobile phone has suffered a serious failure.
- Acceptable scan speed and an assistant that guides the user through the different modes.
Important disadvantages to consider:
- The Android version is only available for Windows PCs.There is no client for Mac.
- It is geared almost exclusively towards Samsung devices.So if you have another brand, your options are considerably reduced.
Dr.Fone – Data Recovery for Android
Dr.Fone is a very popular all-in-one suite in the Android world . To access the recovery section, you need to install its toolbox and, within it, select the "Android Data Recovery" module.
Key advantages of Dr.Fone:
- It works on both Windows and Mac, ideal for mixed environments.
- It offers three main recovery modes: from the phone, from the SD card, and from broken phones or phones that do not turn on properly.
- It includes other extra features such as backups, data transfer between mobiles, secure erase, etc.
Drawbacks reported by many users :
- Each function is paid for separately or in packages.which can be quite expensive if you only want to recover a few files.
- Scans, especially deep scans, can take quite a while. on devices with a lot of memory used.
Tenorshare UltData for Android is another widely used solution, especially interesting when you're looking to recover deleted files from Android using your PC without needing to root the device.
What UltData offers for Android:
- Windows and Mac versions, with a very guided interface.
- Ability to recover messages and files from WhatsApp, WhatsApp Business, and WeChatas well as photos, videos, contacts, SMS and other types of data.
- "Recover lost data" mode from PC: You connect your mobile phone via USB, activate debugging, and choose which categories you want to scan.
A recurring weakness in reviews :
- The process may be somewhat slow.especially if you select many categories or the storage is almost full.
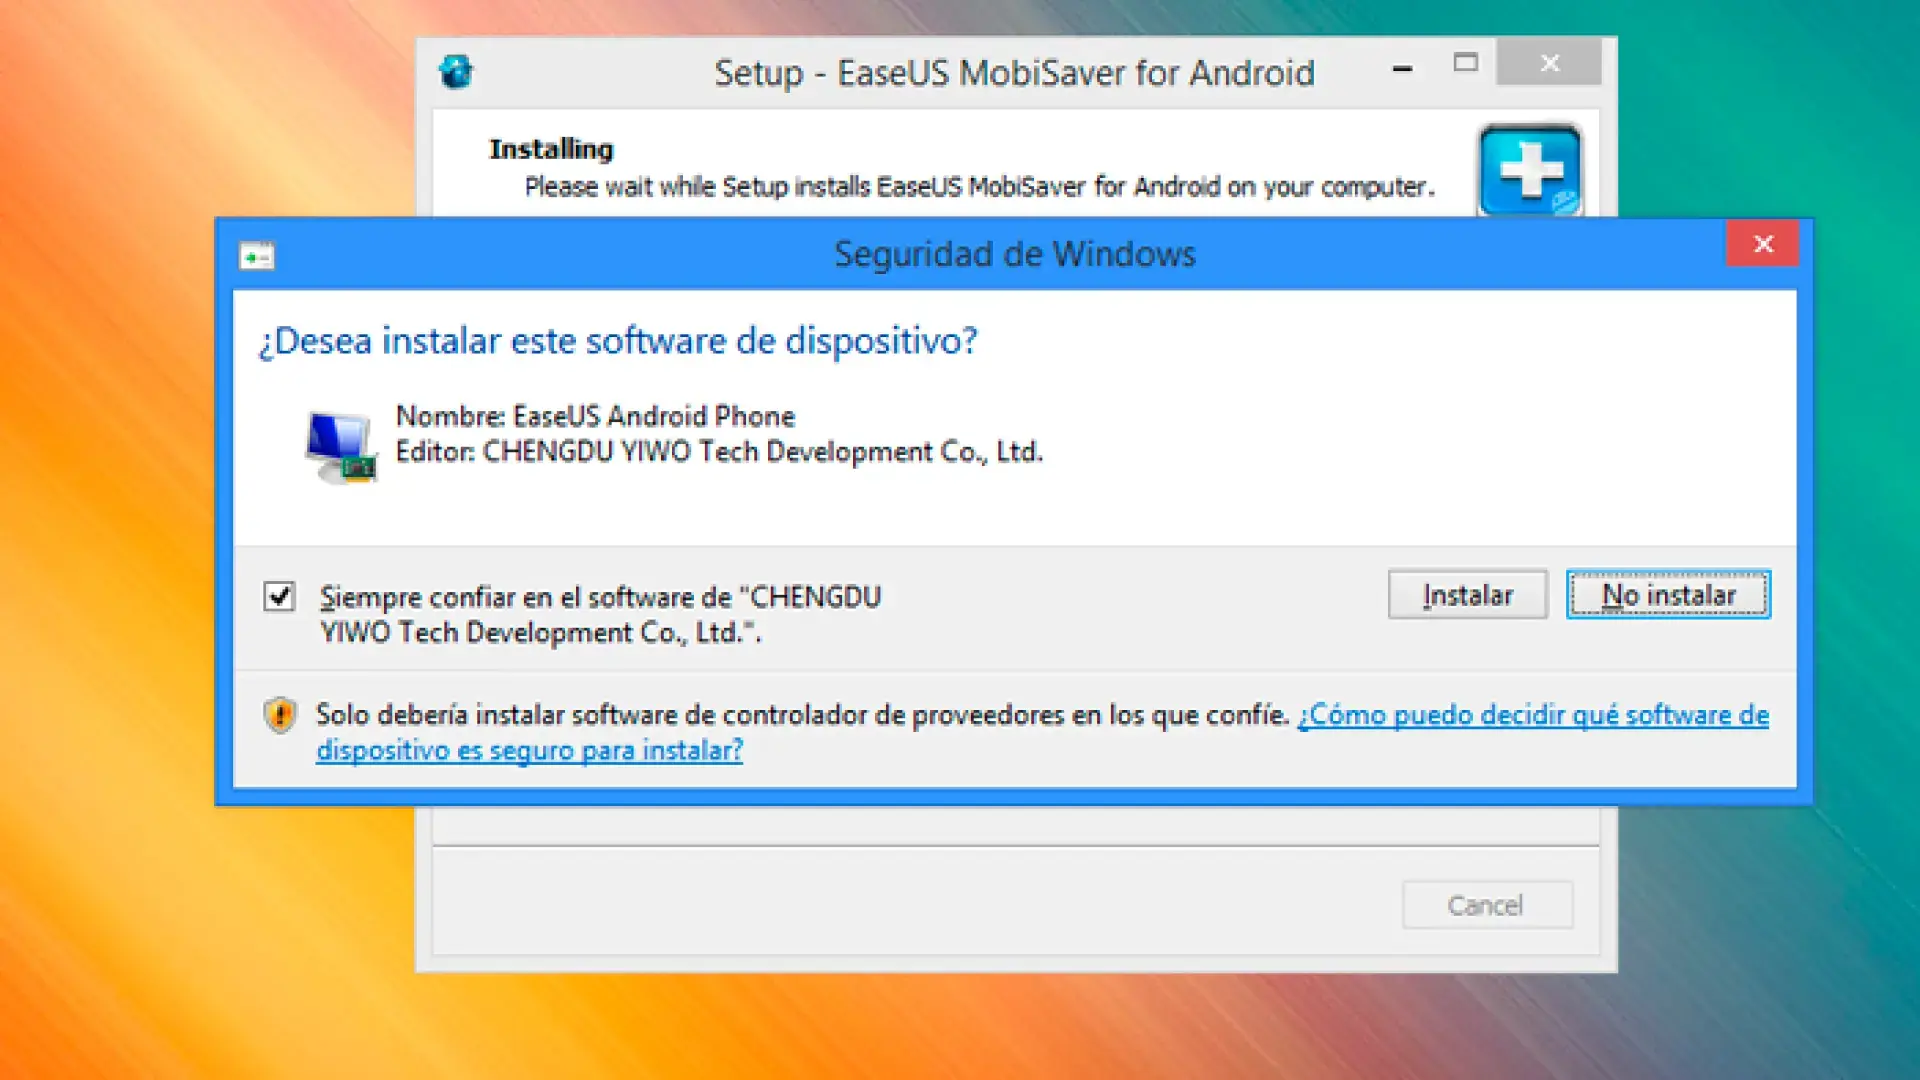
EaseUS MobiSaver for Android
EaseUS MobiSaver for Android consistently appears in comparisons as one of the most well-rounded programs in terms of ease of use, power, and price. It's designed to recover data from both the phone's internal memory and SD cards, and supports thousands of models from various brands.
Key features of EaseUS MobiSaver:
- Very simple three-step processConnect the mobile phone to the PC, scan and recover.
- It is safe and “clean”designed to leave no unnecessary traces or compromise phone performance.
- It allows you to preview the found files in real time. and selectively choose what you want to restore.
- It supports a wide variety of file types: photos, videos, audio, documents, contacts, SMS, app data, etc.
- Includes lifetime updates and free technical support in the paid version.
Limitations you should know before choosing it:
- It is only available for Windows.There is no desktop software for Mac.
- The free version has limited features. and it usually serves more as a test than for a full recovery.
Other Android recovery programs from PC
In addition to the big names mentioned above, there are more tools that can help you depending on your situation and exactly what you want to recover.
Some known alternatives are:
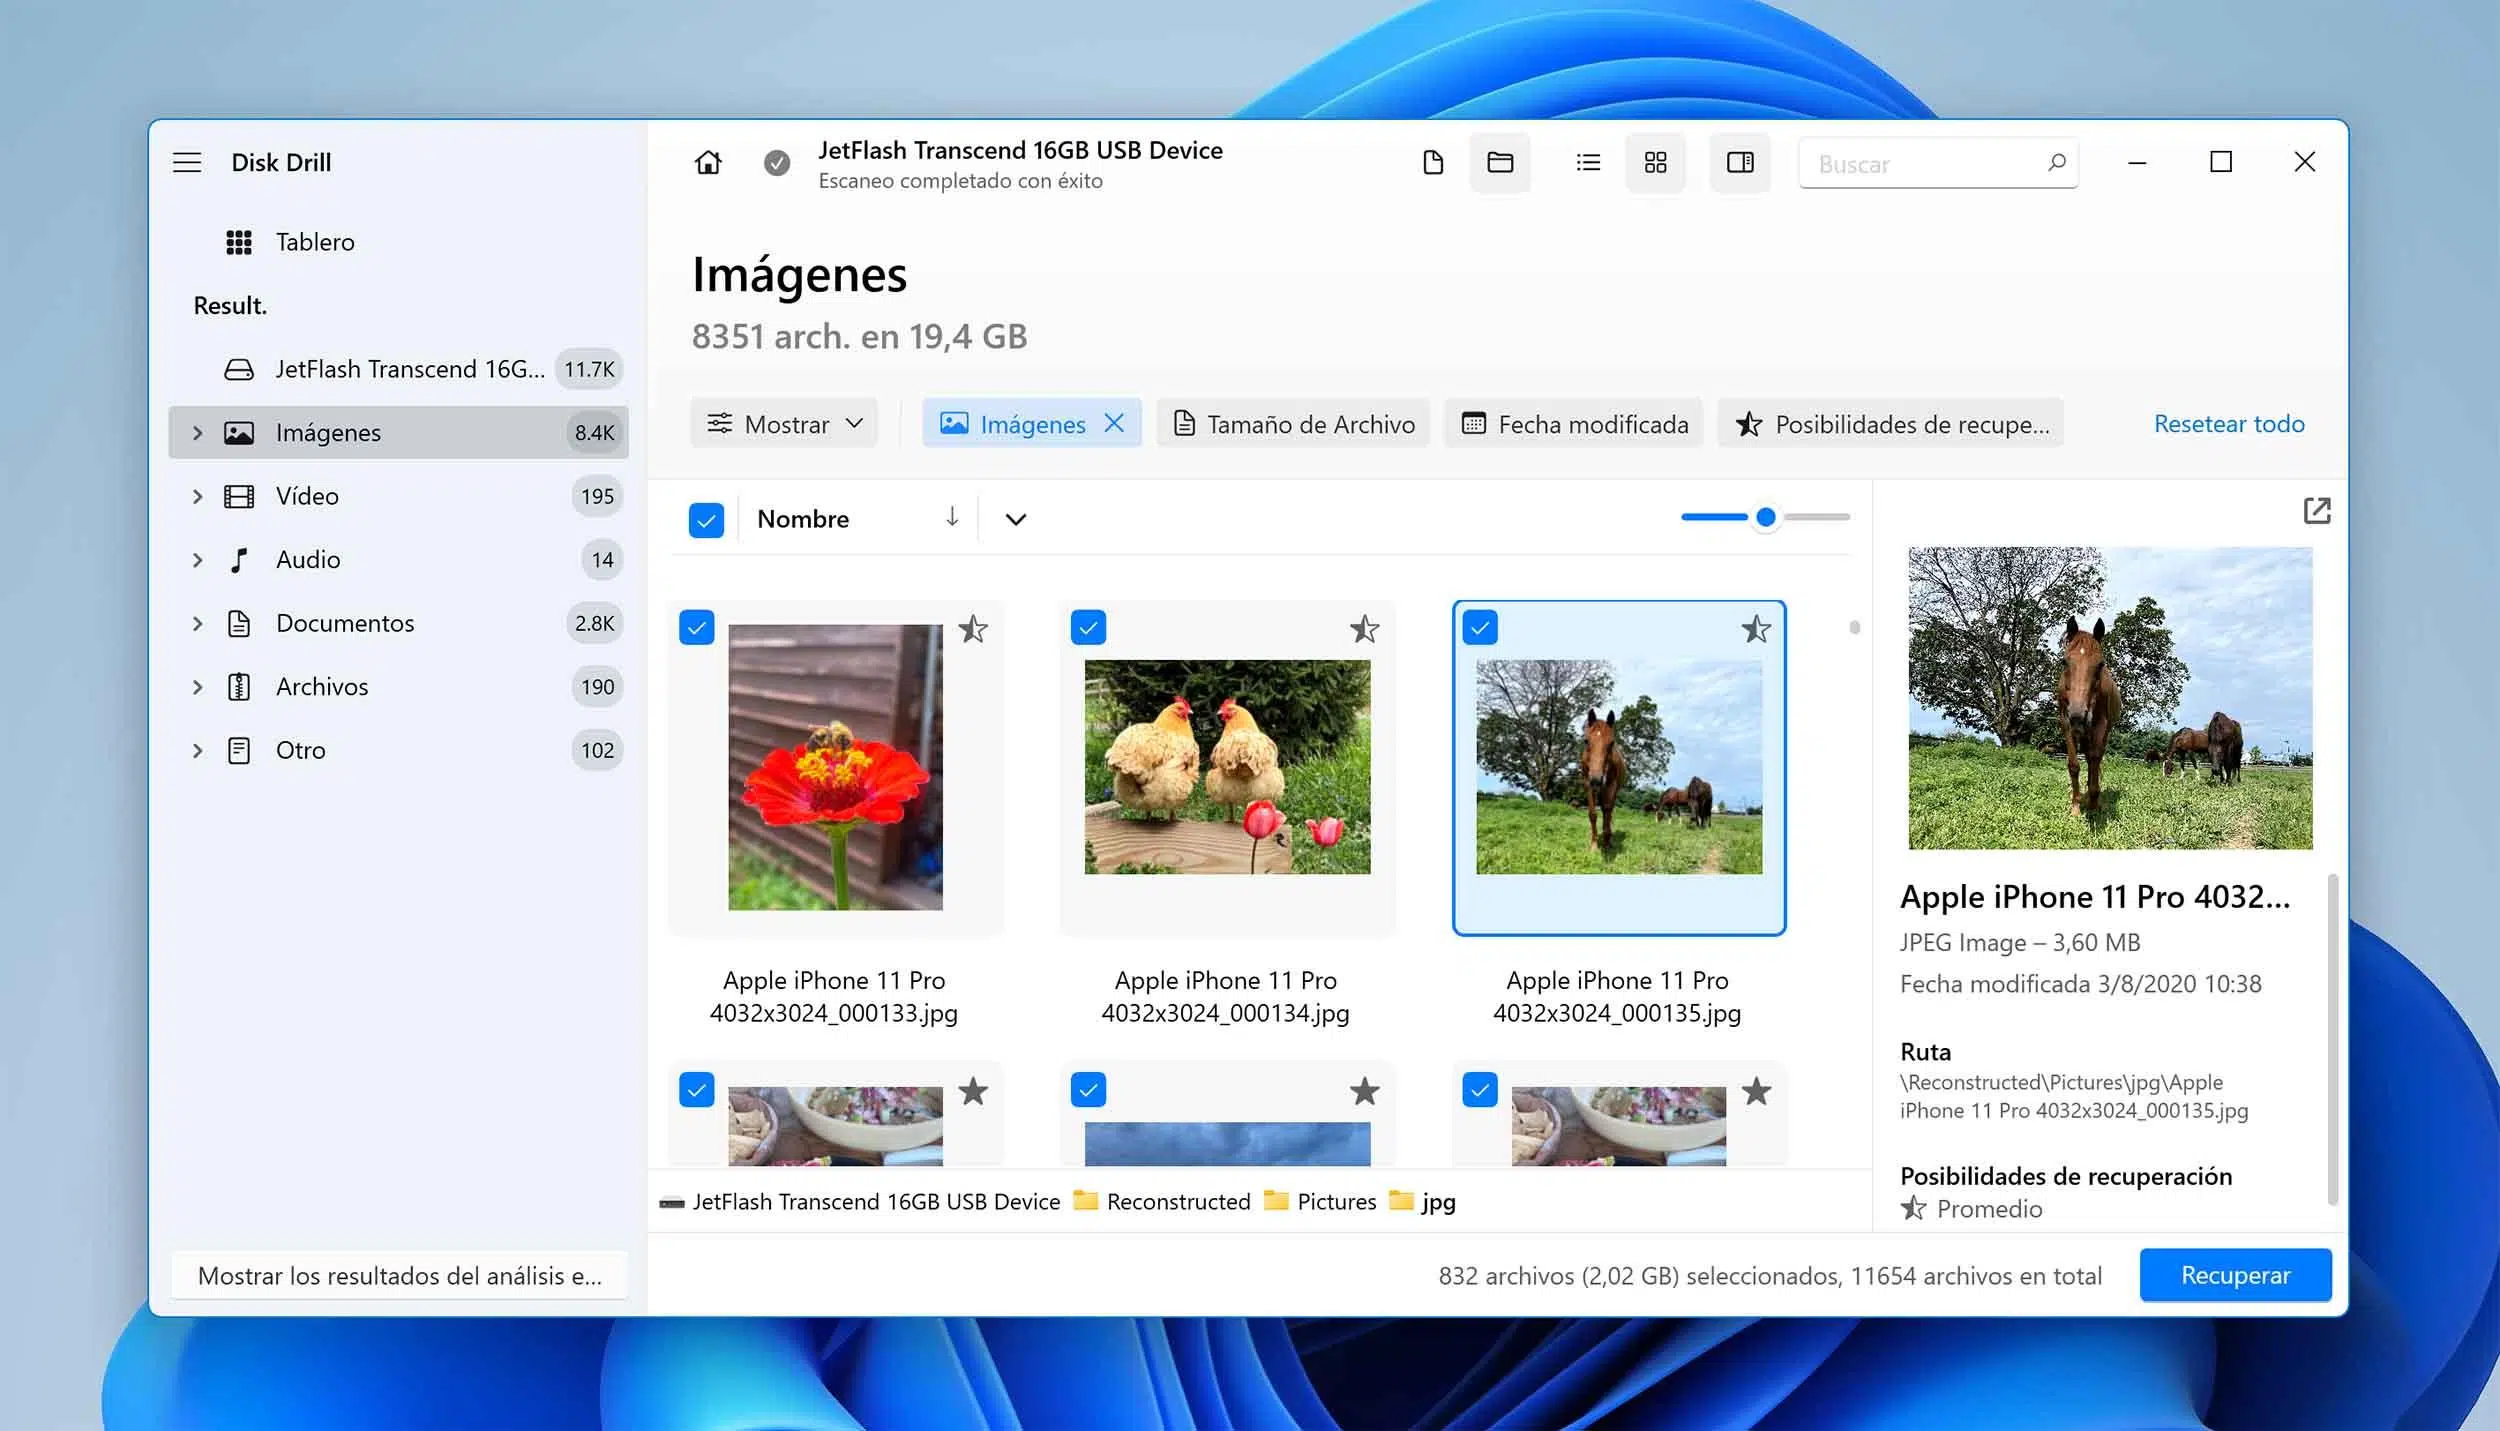
- Disk Drill: very powerful for deep scans and recovering data even after factory resets, available on Windows and macOS, but only works with rooted Android devices.
- DiskDiggerIt offers an Android app and a desktop version; in the free version you can recover quite a few photos and videos, although without root access it usually returns the images in lower quality.
- Apeaksoft Android Data RecoveryIt focuses on both recovery and backup management, supports over 5000 devices and offers fast scans, but it doesn't have a real free version and its paid features are limited compared to other options.
- MobiKin Doctor for Android: geared towards minimizing data loss during the process, with a good success rate and compatible with a large number of terminals; its interface can be somewhat confusing and support is not the most responsive.
- MyJad: a veteran option that allows you to preview and recover deleted data, easy to use but only available for Windows and with less in-depth scans.
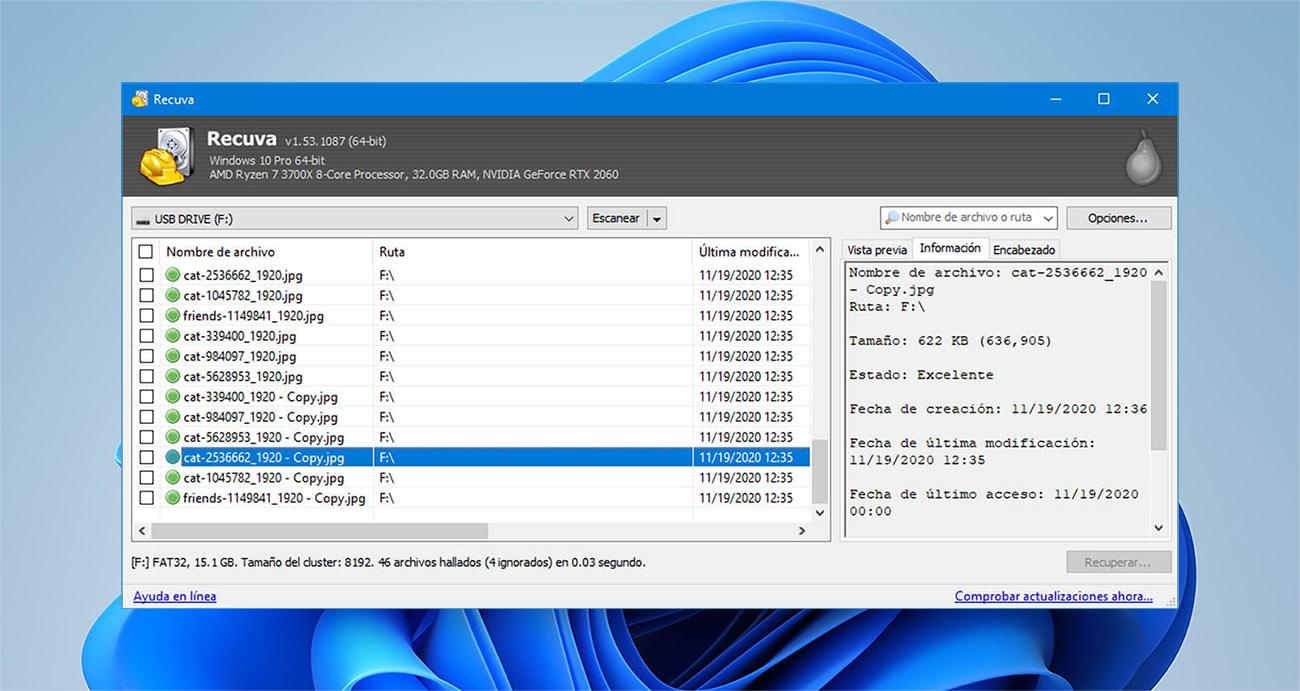
If you're considering using generic PC tools like Recuva or DiskDrill desktop versions , keep in mind that they will only see the phone as a "recoverable" drive if it is mounted as mass storage (like a USB drive) or if you work directly against the phone's microSD card.
How to recover deleted files from Android using a PC step by step
Each program has its own menus, but the general workflow is usually very similar . If you understand the structure, you'll find it easier to understand the specific instructions for each tool.
1. Prepare your mobile phone and computer
First, make sure both your PC and mobile device are ready for a process that could take a while . You don't want either of them to shut down mid-scan.
- Charge your phone and computer battery above 50% or, better yet, keep them plugged in.
- Use a USB cable in good condition.avoiding very old or damaged cables that could cause disconnections.
- On your mobile device, enable USB debugging. from the developer options (Settings > About phone > tap several times on “Build number” and then enter “Developer options”).
2. Connect the mobile phone to the PC and choose the mode
Once you have installed your chosen recovery tool on your computer , it's time to connect your device.
- Connect your mobile phone to your PC via USB. and accepts any trust prompts on the phone screen (“Allow USB debugging?”, “Allow data access?”).
- In the recovery program, select the appropriate mode.Some offer "Recover from Android device", "Recover from SD card", "Recover from Google backup", etc.
- The tool will likely ask you for additional permissionsEspecially if the device is rooted: check the superuser messages on the mobile and grant it access.
3. Scan and preview the files
The next step is to choose what you want to search for and start the scan . This is where the most time is spent, especially with large or very full memory cards.
- Select the data categories you need: photos, videos, audio, documents, contacts, SMS, WhatsApp, etc.
- In some programs you can choose between a quick or deep scanIf you're in a hurry or want to try it out, start with the quick one; if you don't find what you're looking for, repeat with the deep one (keep in mind that it usually requires root).
- While the program scans, many allow you to preview results in real time.filtering by type, date, size, or source path.
When the scan is complete, carefully review the list of files found , using the preview to avoid recovering piles of useless files.
4. Recover the files to the computer
Once you've identified the files you want to save, you need to choose where to store them . The usual practice is to first save them to your PC's hard drive and then transfer them from there to your phone or an external drive.
- Select only the items you really needThis way the process will be faster and the subsequent organization simpler.
- Choose a folder on your computer to save the recovered files, preferably on a separate drive from the system for added security.
- When the restoration is complete, do a quick check. to check that the photos open correctly, the documents are not corrupted, and the videos play.
If everything looks correct, you can now organize your copy in the cloud or return to your mobile phone only what you want to carry with you, leaving a secure backup on your computer.
Special cases: rooting, forensic analysis, and SD cards
In more complex situations, you might need superuser privileges or even resort to forensic techniques . This isn't typical for the average user, but it's good to know what's involved.
Recovery with root and advanced tools
When a file has been deleted for a long time or the system has partially overwritten its data , consumer programs may fall short. That's where tools that work with root access and at lower levels of the system come into play.
Rooting an Android device grants you superuser permissions , which allow you to:
- Accessing system partitions and folders that are normally prohibited.
- Run more powerful recovery utilities that scan storage sectors directly.
- Attempting to restore files even after partial overwrites, with certain probabilities of success depending on the case.
The major drawback is that rooting is not supported by manufacturers , can void warranties, introduce security risks, and, if done incorrectly, render the device unusable. Therefore, if the data is highly sensitive or critical, it's usually best to go to a specialized data recovery lab before attempting it yourself.
Forensic memory analysis
In digital investigations or extremely sensitive cases (companies, legal proceedings, etc.) forensic tools such as Autopsy, Magnet AXIOM or UFED Cellebrite are sometimes used.
These types of solutions allow :
- Create full images of the device storage to analyze them without touching the original.
- Rebuild file system structures and recover traces of data deleted long ago.
- Extract information from logs, internal databases, and apps that a home-based program would never see.
These are tools used by law enforcement agencies and forensic laboratories , not intended for the average user. They typically require specialized training and expensive licenses, but it's important to know they exist when data loss has significant legal or financial implications.
Recover data from your mobile phone's SD card using your PC
If your photos, videos, or documents were stored on a microSD card , recovery is usually easier because you can treat the card like a USB drive directly on your computer.
Basic steps to recover files from the SD card on your PC:
- Carefully remove the microSD card from your phone. and place it in an SD adapter or USB reader compatible with your PC.
- Connect the adapter to the computer and wait for the system to recognize the card as a new drive.
- Open your trusted recovery software (for example, 4DDiG, Recuva, EaseUS Data Recovery, etc.) and select the drive corresponding to the SD card.
- Run a full scanPreview the found files and recover them to a folder on your hard drive.
Just like with internal memory, it is essential not to continue using the SD card once the loss has been detected, so that the phone itself does not overwrite blocks that still contain valid data.
Best practices to avoid losing your files again on Android
Many people only remember backups when they've already lost something important . To prevent this from happening again, it's a good idea to set up a simple backup plan that takes very little time.
Set up automatic backups
The simplest way to minimize damage from any loss is to automate backups . Android and Google services make this quite easy.
- Activate Google backup In Settings > Google > Backup, select the options for apps, call history, SMS, device settings, etc.
- Use cloud storage such as Google Drive, OneDrive or Dropbox for important documents that you also use on your PC.
- Check periodically that the backups are being made and that you can access them from your computer.
Use a recycle bin and reliable file managers
For everyday photos, videos, and downloads, a simple, well-configured trash can saves a lot of trouble . Almost all modern gallery apps and file managers already include one.
- Check your gallery app for the "Recently Deleted Items" option. and how long they are stored.
- If your file manager doesn't have a recycle bin, consider switching to one that does., such as Google Files or your manufacturer's native file manager, if it supports it.
Also take into account the recommendations of organizations such as INCIBE , which usually insist on the use of secure tools and avoiding apps of dubious origin that can delete or corrupt files without your permission.
Avoid suspicious apps and impulsive formatting
Another common source of data loss is apps from dubious sources and hasty formatting . A simple misstep in storage settings can leave you without photos or documents.
- Do not install apps that request excessive permissions for the function they supposedly offer, especially full access to storage without a clear reason.
- Before formatting your device or SD card, make sure you have a backup of everything that matters to you.whether in the cloud or on the PC.
Understanding how deletion actually works on Android and using a computer with good recovery software greatly increases your chances of saving "lost" files. Luck and guarantees aren't always guaranteed, especially if a lot of time has passed or the storage has been heavily used since the deletion, but by acting quickly—first checking the recycle bin and cloud backups, and then using programs like FonePaw, UltData, or EaseUS MobiSaver from your PC—your chances of success are much higher than resigning yourself to the initial shock.