- The end of support for Windows 10 makes it essential to plan the migration to Windows 11 with backups and prior compatibility checks.
- The initial setup of Windows 11 after the upgrade involves adjusting your Microsoft account, privacy settings, startup applications, and system personalization.
- Understanding advanced boot options, digital license linking, and backups makes troubleshooting and system stability easier.
- If the PC does not meet the requirements, options can be enabled in BIOS/UEFI, ESU can be used, or a hardware upgrade can be planned instead of forcing unsupported installations.
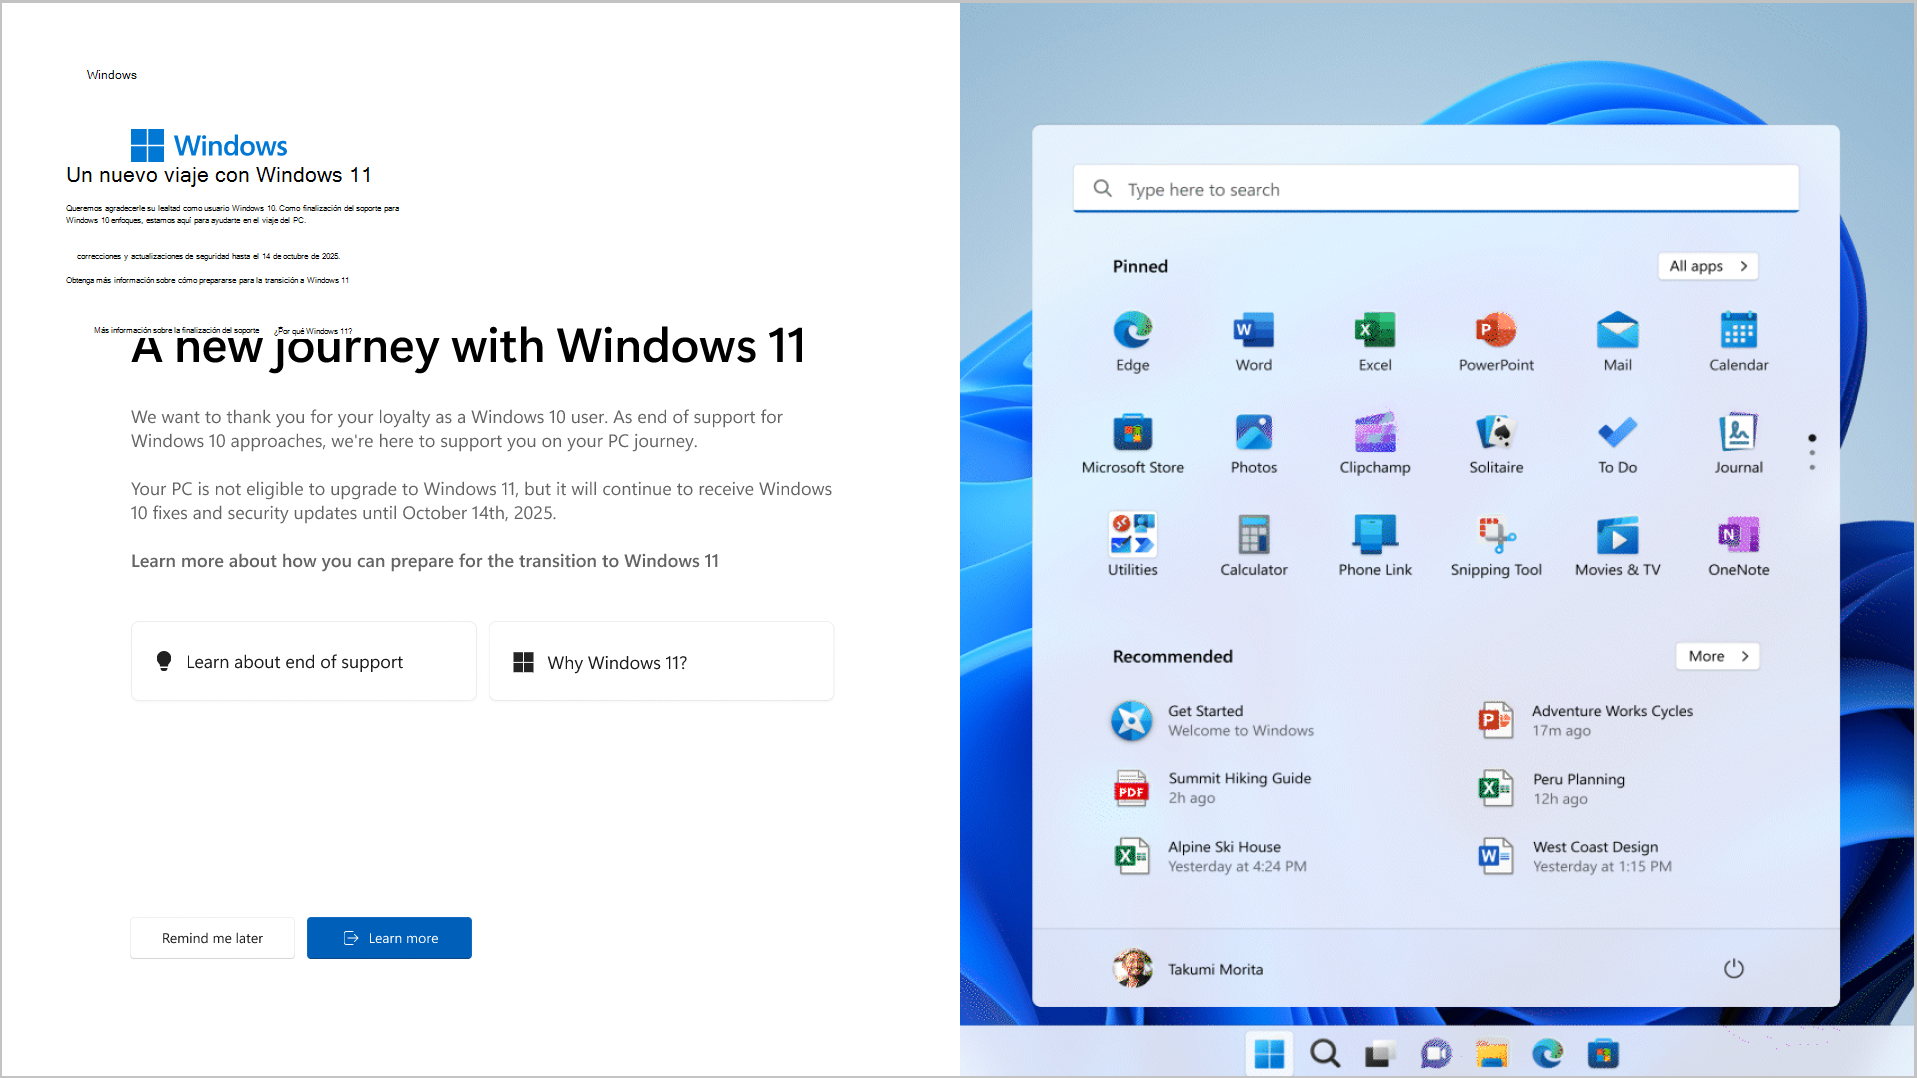
The countdown to the end of support for Windows 10 is already underway, and if you're coming from this system, you're probably thinking about... How to get Windows 11 running smoothly from the first boot after migration and improve the settings in Windows 11The change isn't just cosmetic: there are new hardware requirements, stricter security settings, and a lot of initial decisions that you should take your time with if you don't want any surprises later on.
In this guide you will find, in one place, everything you need: from checking compatibility and choosing the update method to the Initial Windows 11 setup after migrating from Windows 10It covers everything from backups and Microsoft accounts to privacy, startup applications, safe mode, digital license activation, and what to do if your PC doesn't meet the official requirements. It's a long article, but the idea is that you can go through it section by section, at your own pace and without fear of breaking anything.
Why migrate from Windows 10 to Windows 11 and why now
The first reason to consider making the leap is very simple: Windows 10 will reach its end of life on October 14, 2025From that date onwards, your computer will continue to turn on and function, but you will no longer receive security patches, bug fixes, or new features, making your computer a much more attractive target for viruses, ransomware, and other attacks.
In addition to this security feature, Windows 11 offers a number of improvements that, if you're coming from Windows 10, will be noticeable in your daily use: more efficient resource management, better use of SSD drives, a redesigned taskbar and Start menu for working with multiple windows at once (Snap Layouts) and more natural integration with modern tools like Microsoft Teams.
Another key point is that Windows 11 strengthens security at the hardware levelTo install it officially, a TPM 2.0 chip, Secure Boot, and certain relatively recent CPU models are required. All of this is designed to prevent malicious drivers from loading at startup and to protect the system from the moment you press the power button.
In a professional environment, delaying change means living with a fleet of equipment that will soon become obsolete. Plan the transition now It allows you to decide which machines are updated, which ones need to be renewed, when each thing is done, and how user information is protected without last-minute rushes.
Check if your PC is compatible with Windows 11

Before thinking about initial configurations and customizations, the first thing to know is whether your equipment meets the Windows 11 minimum requirementsMicrosoft has tightened these requirements for Windows 10, mainly for security reasons.
On a technical level, the basic requirements are: 64-bit processor at 1 GHz with 2 or more cores, 4 GB of RAM, 64 GB of storageUEFI firmware with secure boot, TPM 2.0, DirectX 12 compatible graphics card and at least a 9-inch HD (720p) display with 8 bits per color channel.
The easiest way to clear up any doubts is to use the official Microsoft tool. PC Health CheckYou run it on your Windows 10 computer and it tells you instantly if the machine is ready to update, what requirements it meets, and what the issues are if it's not compatible. If you prefer to check without touching your computer, you can also learn how to Try Windows 11 without installing it before taking the leap.
If you manage many teams, reviewing them one by one becomes a nightmare. In that case, it's usually better to rely on... centralized fleet management solutions or a specialized provider that can audit the entire PC fleet, detect which machines meet requirements, which ones need BIOS/UEFI adjustments (enable TPM or Secure Boot) and which equipment needs to be replaced.
Prepare Windows 10 before upgrading to Windows 11

If your device passes the compatibility check, the next step is Prepare Windows 10 for migrationThis minimizes errors during installation and saves you headaches later.
First, make sure your current system is fully up to date. Go to Settings > Update & Security > Windows Update and install all pending updates. Many of these prepare your computer to receive Windows 11, and it's also advisable to know if an update is real and your license is genuine.
It's also important to free up space. Although the update usually fits in less space, it's a good idea to have some. at least 20 GB free on the main driveTake this opportunity to uninstall programs you no longer use and clean up temporary files and old downloads.
Another common source of conflict is drivers. Make sure your graphics card, network, and motherboard drivers are up to date, either through Windows Update or directly from the manufacturer's website. An old driver can cause a crash during installation.
Finally, if you use a very "zealous" third-party antivirus, consider temporarily disable it just before launching the update and reactivate it when Windows 11 is running, to avoid interfering with the installation process.
Back up and protect your data before migrating
Before tackling anything serious, it's essential to talk about something that might bore you, but could save your digital life: the backupsAlthough Microsoft's update assistant is designed to preserve files and programs, zero risk does not exist.
You can choose a classic backup to an external drive (using Windows backup tools or any trusted backup software) or save your critical folders to the cloud (OneDrive, Google Drive, etc.). The important thing is that you have, at a minimum, a recent copy of your important documents, photos, and projects off the main drive.
If you want to go a step further, there are solutions like Acronis True Image that allow you to create a full image of your disk exactly as it is in Windows 10, including the system, programs, and data. This gives you the option to restore your computer to its previous state if the migration goes wrong. If you also need to move browser data, for example, see how Migrate a complete Firefox profile.
These types of tools usually offer simple interfaces, schedule automatic backups, encrypt saved information, and let you choose whether to store the backup on a local disk, on the network, or in the cloud. The idea is that in the face of a serious problem you don't have to start from scratch.but simply to retrieve that image or the specific files you need.
Official methods for migrating from Windows 10 to Windows 11
Once your computer is ready and backed up, it's time to choose how to access Windows 11. Microsoft offers three main upgrade pathsIn addition to these, there is the option of a clean installation from a USB drive.
The simplest path is the update via Windows UpdateIf your PC is compatible, you'll eventually see an offer to download and install Windows 11 in Settings > Update & Security > Windows Update. It's a guided process with few steps, designed for non-expert users.
If you don't want to wait for the notification, you can resort to Windows 11 setup wizardAvailable on the Microsoft website, this program forces the download of Windows 11 on your compatible machine and initiates the update while preserving your data and applications.
The more technical option is to use the Media creation toolwhich allows you to create a bootable USB or DVD installation. It's the ideal alternative if you want to perform a clean installation, start from scratch, or upgrade multiple computers using the same media, although this does require a bit more experience. If you choose a clean installation, take advantage of the opportunity to Optimize Windows 11 and remove bloatware from the first start.
Whichever method you choose, during the wizard you will be able to keep files and, in many cases, applications as well. Even so, don't take anything for granted and always have your backup made, in case we need to backtrack.
Basic Windows 11 Installation Guide from Windows Update
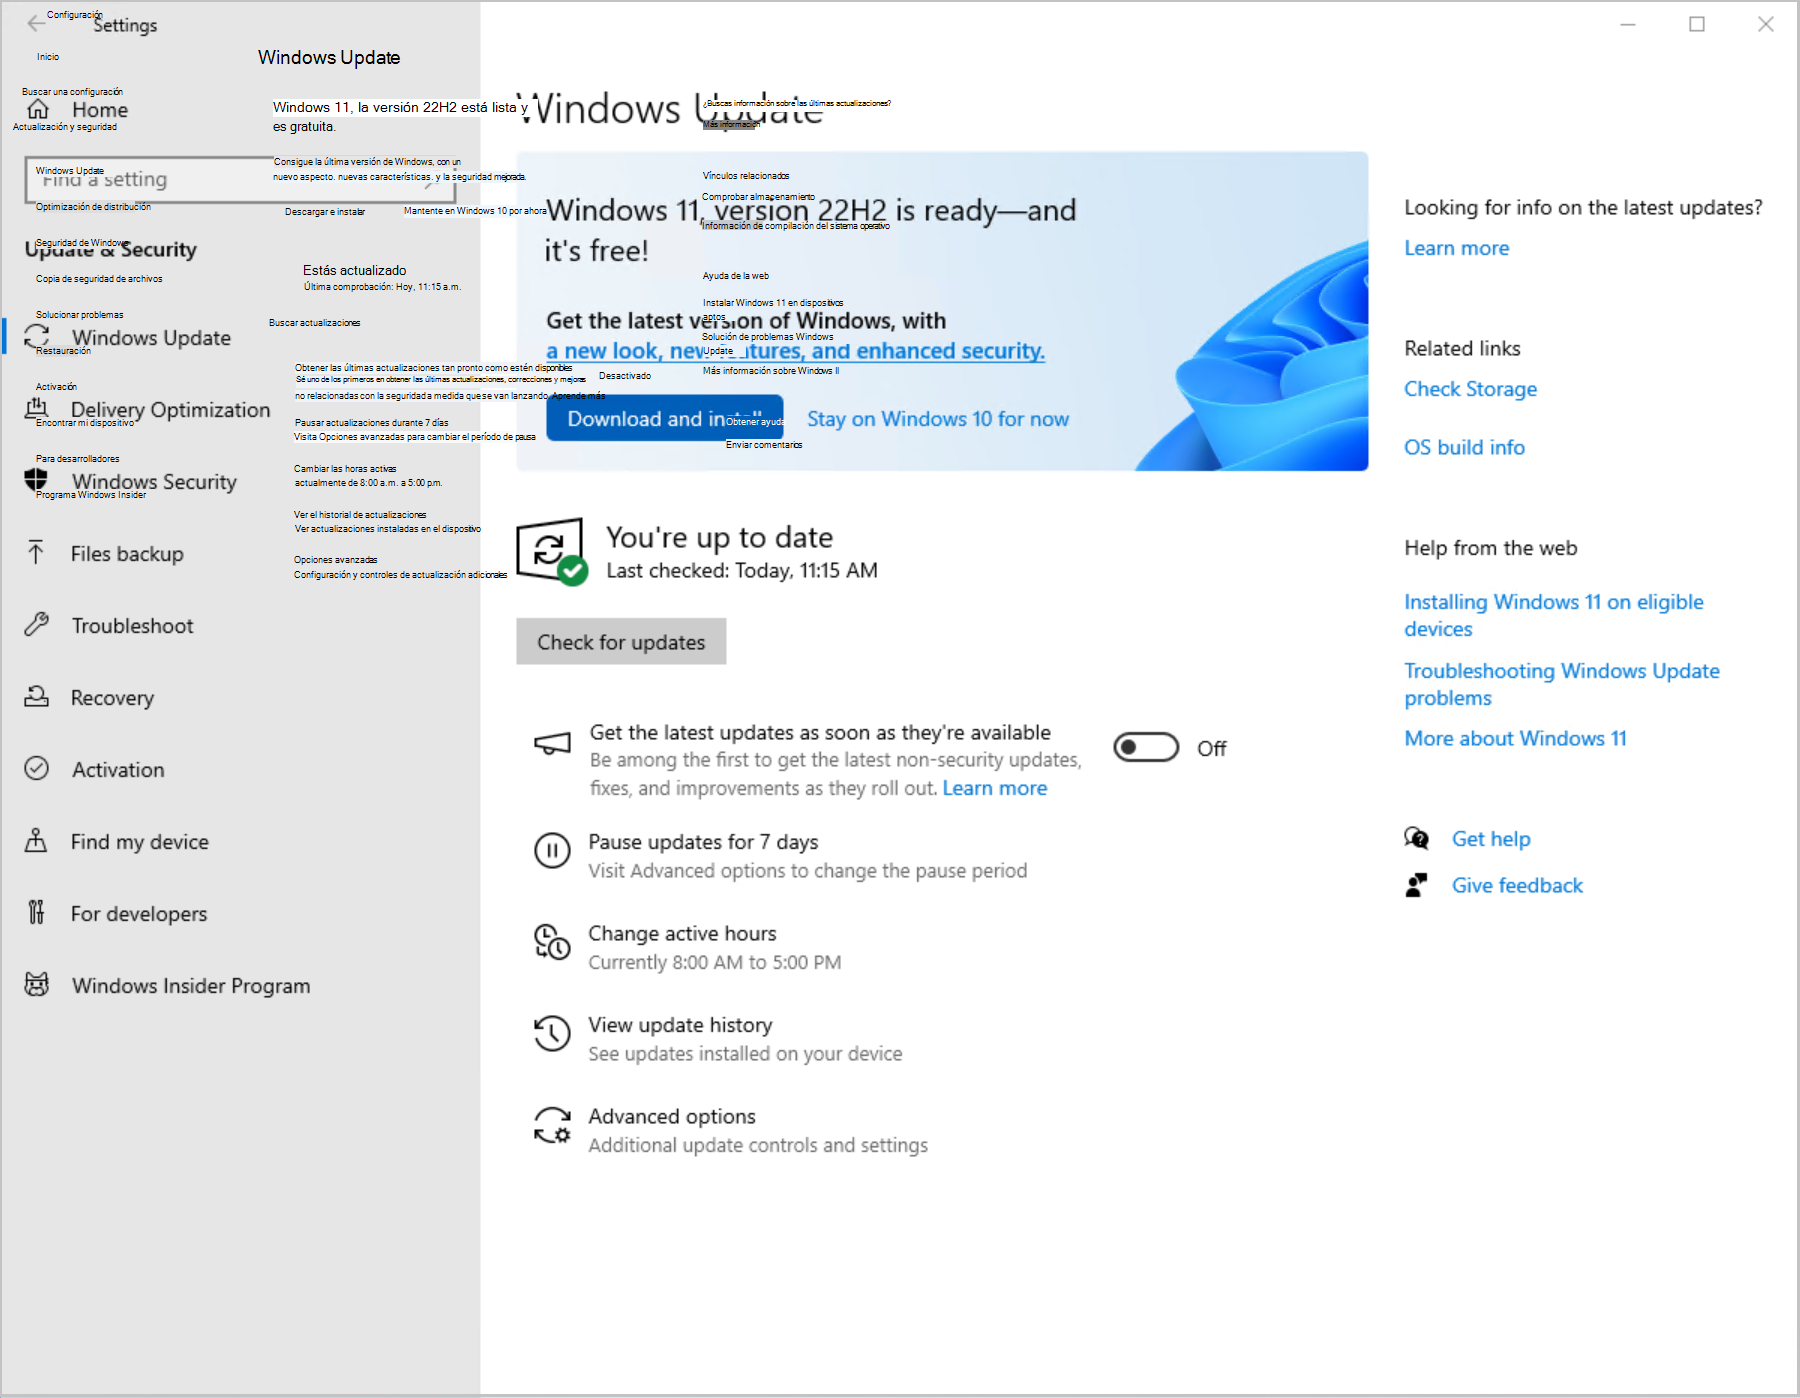
If you choose the most common method (Windows Update), the process is quite straightforward. Go to Settings > Update & Security > Windows Update, press “Check for updates” and wait for the Windows 11 upgrade offer to appear.
When you see it, you can click on “Download and install”. From there, Windows will download the necessary files in the background and it will tell you when it is ready to restart and begin the actual installation.
During the setup process, the computer will restart several times; do not turn it off even if it seems to have been stuck for a while. Depending on your PC speed and internet connection, the whole process can take between 30 and 90 minutes.So it's best to do it at a time when you don't urgently need the computer.
At the end, the system will guide you through the initial Windows 11 setup: language, region, keyboard, Microsoft account, PIN, privacy options, and some recommended settings. Once you complete this process, you'll be fully installed. New desktop.
Link your digital license to your Microsoft account
One step that is often overlooked, but is vital if you change hardware or restore the system, is Associate your Windows digital license with your Microsoft accountThis allows you to easily reactivate Windows if you change your motherboard, perform a clean reinstall, or need to use the activation troubleshooter.
In Windows 10 (version 1607 or later) you can check the status by going to Settings > Update & security > ActivationThere you will see messages such as "Windows is activated with a digital license" or "Windows is activated with a digital license linked to your Microsoft account".
If only the first sentence appears, it means that Your license is not yet associated with your account.In that case, you'll need to sign in as an administrator, go to Settings > Accounts > Your info, and make sure the account you're using is a Microsoft account (you'll see your email address under your name).
Once you confirm that you are using your Microsoft account as an administrator, return to the Activation page and click on “Add an account”Enter your credentials and, if everything goes well, the message will change to "Windows is activated with a digital license linked to your Microsoft account".
When migrating to Windows 11, this link is maintained, which greatly facilitates automatic system reactivation if you perform major hardware changes or a PC reset after upgrade.
Initial Windows 11 setup: account, privacy, and data you share
After installation, one of the most important aspects of the initial setup is decide what information you share with Microsoft and how you want to use your accountDuring the wizard, you will be asked to sign in with a Microsoft account (Outlook, Hotmail, etc.) or to create a new one.
Using an existing account has the advantage of Recover purchases, Office licenses, OneDrive files, Edge favorites, and other settings that you already had associated. If you create a new account, you'll start from scratch, which can be a good idea if your old address is a mess or you simply want a more professional email, as long as you don't lose anything important in the process.
During the process, you'll also see a series of privacy questions: location, diagnostic data, ad personalization, OneDrive backup, handwriting recognition, etc. The more information you share, You will receive more personalized services and suggestionsBut this comes at the cost of giving away more data. If you're worried about your eye health when working long hours, it's worth reviewing how Configure Windows to reduce eye strain.
If you don't want to get too complicated at that point, you can just allow the basics and adjust the rest later. Settings > Privacy and securityFrom there you can fine-tune which apps have access to your location, camera, microphone, activity history, advertising ID, or system diagnostics.
Keep in mind that Nothing you select in the initial wizard is final.You can always come back and review each section more carefully later, when you're already using the Windows 11 desktop.
Initial adjustments after migration: bloatware removal and updates
Once inside the Windows 11 desktop, you'll see that the system comes with a good handful of pre-installed applicationsThese tools come from Microsoft and sometimes from the computer manufacturer. Some are useful, others not so much, and it's a good idea to do a quick cleanup at the beginning, before installing your own tools.
To uninstall what you don't want, go to Settings > Apps > Installed Apps (or “Apps & features” depending on the version) and go through the list. Clicking the three dots next to each app will give you the option to uninstall it if the system allows it.
You can also use the classic Control Panel: open Start, type “Control Panel” and enter Programs > Uninstall a program to view and remove traditional desktop software (Win32) that you don't need.
Once the cleanup is complete, the next critical step is to check for new updates. Go to Settings > Windows UpdateClick "Check for updates" and wait for it to download and install all pending updates. It's very common for a large number of patches to accumulate after a major migration.
These updates not only improve stability, but also They include updated drivers for your hardwareFor most users this is sufficient, but if any device continues to malfunction, you can always go to Device Manager and the manufacturers' websites to install specific drivers.
It's very likely that your first impulse after landing on Windows 11 will be to open a browser and start downloading programs. The system comes with Microsoft Edge as default browserwhich is not a bad option if you usually rely on Microsoft services and are interested in their integration with the system.
If you're coming from Chrome, you might prefer Reinstall it to keep your bookmarks, passwords, and extensions synchronized.Firefox might be a good idea if privacy is your priority, and there are powerful alternatives like Vivaldi, Opera, or browsers focused on blocking trackers.
As for the software, you can install your applications one by one from their official websites or from the Microsoft StoreOr you can use tools like Ninite or Winstall, which allow you to select several popular programs and download them with a single installer.
Depending on your usage, you will need to add more. email clients, photo and video editors, note-taking apps, password managers, P2P programs and everything you use in your daily life. It's a good opportunity to check if there are better or lighter alternatives to the usual classics.
Connect your mobile (especially Android) to Windows 11
One of the points that Microsoft has emphasized most in recent years is... bring the PC closer to the mobile phoneEspecially if you use Android. Thanks to the Link to Windows app on your mobile device and Mobile Link (or "Your Phone") on your PC, you can connect both devices quite seamlessly.
Once you have both apps installed and signed in with the same Microsoft account, you will be able to Receive notifications, SMS messages, and calls on your PC, quickly view recent photos from your mobile phone or even use certain phone apps from the desktop on some models.
In addition to this basic integration, it may be worthwhile to install the official Microsoft apps you use most (OneDrive, Outlook, To Do, etc.) on your Android device. The more aligned the tools are between mobile and PC, the smoother the switch will be between devices..
If you use an iPhone, the integration is somewhat more limited, but you can still take advantage of features like iCloud for photos and documentsofficial email and storage clients and some specific integrations with Windows.
Customize the appearance and organization of Windows 11
With the system more or less up and running, it's time to customize it to your liking. In Windows 11, most of the visual options are managed from... Settings> Personalizationwhere you'll find wallpaper, colors, lock screen, themes, and other aesthetic settings.
You can choose a different background for each virtual desktop, switching between light or dark mode, change the accent color of windows and taskbar, adjust the appearance of icons and almost completely modify the visual experience.
The Start menu has been redesigned compared to Windows 10, but it remains highly configurable. You can Pin or unpin apps, rearrange icons, group them, and decide what appears in the recommended sectionYou can also move the Start button to the left of the taskbar if you're not happy with its centered position; if you want to fine-tune this aspect, see how. resize and customize the Start menu.
Don't forget to take a walk around the widget panel (Windows + W)where you can add modules for time, calendar, traffic, tasks, sports, etc. Each widget has its own options to change size, content, or delete them if they are not useful to you.
If you want to fine-tune things to the max, Windows 11 lets you change the mouse pointer, system sounds, main folder icons, and customize lock screen to display the information that interests you most when the PC is locked.
Manage which applications start with Windows 11
As you install programs, many of them happily sign up to automatic system startupThis causes the startup to become slower and you have background processes that you may not even need.
To keep it under control, go into Settings > Apps > HomeThere you'll see a list of apps that can start with Windows and a switch to enable or disable them. The system also indicates the estimated impact of each app on startup time.
Another very direct way to manage this is through the Task ManagerPress Ctrl+Alt+Delete, choose Task Manager, click "More details," and go to the "Startup" tab. From there, you can enable or disable specific programs and see their impact. If you prefer advanced tools to speed up startup, try... Use Autoruns to speed up startup.
The idea is to leave only what you really need from minute one at startup: antivirus, synchronization software that you use constantly, essential peripheral tools, etc. You can open everything else when you're going to use it..
Organize your folders, File Explorer, and quick access
Windows 11 maintains the classic structure of special folders (Downloads, Pictures, Videos, Music, Documents, etc.), but you might be interested in change its location or adjust what appears in Quick Access to adapt it to your way of working.
If you have a secondary drive with more space, it might be a good idea to move, for example, your Pictures or Videos folders to that drive. Right-click on the corresponding folder, click on "Properties," and go to the tab "Location" to change the path to a new folder on the disk you want.
To customize the left panel of the Explorer, you can use the Quick accessSimply right-click on any frequently used folder and choose "Pin to Quick Access". Similarly, if you no longer want a folder pinned, right-click on it and select "Unpin from Quick Access".
Good organization of the Explorer from day one will make Finding files and navigating your projects becomes much more agile.This is especially noticeable if you work with many documents and scattered resources.
Configure power, sleep, and shutdown habits
Another important part of the initial setup, especially on laptops, is the energy management and suspensionIt's not the same to use the device plugged in at an office as it is to depend on the battery while you're on the move.
Sign in Settings > System > Power & battery and adjust the "Display and sleep" options. Here you can decide how long the screen takes to turn off and when the device goes into sleep mode, differentiating between battery power and power outlet operation.
If you tend to leave long tasks running overnight (backups, downloads, rendering), you'll be interested in this. Prevent the computer from automatically going to sleep while you need it active.If that's not the case for you, you might prefer it to suspend quickly to save battery and reduce wear.
In any case, it's good practice to get used to Turn off your PC when you're not going to use it for many hours.Instead of leaving it on unnecessarily, you'll reduce power consumption, noise, and dust entering the tower.
Backing up and restoring your settings in Windows 11
Once you've invested time in customizing the system to your liking, it makes sense. Protect all that work with a backup strategyThis way, if something breaks (disk failure, malware, configuration error), you can restore the computer to a healthy state without starting from scratch.
In Windows 11 you can go to Settings > Accounts > Windows Backup to configure folder synchronization with OneDrive, as well as cloud backup of your preferences, recommended apps, and other settings.
If you want something more robust, you can return to the Control Panel and enter System and security > Backup and restoreFrom there you will configure periodic backups to an external disk or a network resource, choosing what you want to include (libraries, system image, etc.).
The idea is that, after major changes (like this migration to Windows 11 or the installation of a lot of new software), create a reference backupIf something goes wrong in the future, you can return to that point where everything was working correctly in just a few steps.
Advanced boot options: Safe Mode and Startup Settings
At some point, especially after driver changes or problematic installations, you may need to resort to the Windows 11 advanced boot optionsKnowing them beforehand will save you a lot of stress if the system stops starting normally.
To access the Windows Recovery Environment (WinRE), you can force several unexpected shutdowns or, more cleanly, go directly from the system to Settings > System > Recovery and choose Restart now under Advanced startup. Once in WinRE, select Troubleshoot > Advanced options > Startup Settings and click Restart.
When the computer restarts, you will see the screen of Startup configuration with several numbered options (keys 1-9 or F1-F9). Among them you'll find enabling debugging for advanced support scenarios, activating boot logging to generate the ntbtlog.txt file with the loaded drivers, booting with low-resolution video to restore problematic display settings, or various safe mode options. If you need step-by-step instructions, this guide explains how. Start and use safe mode in Windows 11.
El Standard safe mode Windows starts with a very limited set of drivers and services, ideal for checking if the problem is caused by third-party software. It also offers Safe Mode with Networking (which includes network drivers for accessing the internet or shared resources) and Safe Mode with Command Prompt, which replaces the graphical interface with a command window.
Other useful options include disabling mandatory driver signature enforcement (to install drivers with invalid signatures in very specific cases), temporarily disabling Early Startup Anti-Malware Protection (ELAM), and the option to prevent automatic restart after a critical error, very useful when the computer gets stuck in a blue screen loop.
If at any point you get "stuck" in safe mode and the system does not return to normal startup upon restarting, open Run (Windows key + R), type msconfig and press OK. On the “Boot” tab, uncheck “Safe Boot” under Boot Options, apply the changes, and restart your computer.
What if your PC isn't compatible with Windows 11 and what are the alternatives?
Not all computers that work correctly with Windows 10 meet the official Windows 11 requirements. If the diagnostic tool tells you that your machine fails because TPM 2.0, Secure Boot or CPU not supportedYou need to calmly assess your options.
In some cases, TPM 2.0 or Secure Boot are present but disabled in the BIOS/UEFIBy entering the firmware (usually by pressing F2, Delete or similar when starting up) and activating these options, your device can become compatible without needing to change hardware.
If the problem persists (for example, due to an outdated CPU) and you don't want to resort to unofficial installation methods, you have two clear options: plan hardware upgrade or continue on Windows 10 with certain precautions.
Microsoft has announced a program of Extended Security Updates (ESU) for consumersBy paying an annual subscription, you can continue receiving critical security patches for Windows 10 for at least a year after support ends. It's a temporary, not permanent, solution, but it allows you to extend the life of your computer while you decide on your next step.
In the business and education sectors, there are also specific ESU programs and cloud-based management solutions. If you manage a lot of outdated equipment, this is often recommended. coordinate with a partner or the Microsoft sales team to design a progressive renewal plan for the computer equipment.
As for installing Windows 11 on unsupported hardware by modifying the ISO or the registry, it is technically possible, but it involves assume risks of stability, support and securityMicrosoft does not guarantee that this system will receive all updates or that it will function as well as on a certified computer.
Common problems after migration and how to deal with them
After a major update like this, it's not uncommon to encounter some unusual behavior. The key is not to panic and to approach each problem with a certain order.
If the installation gets stuck at a certain percentage for a long time, the first thing to do is be patient. If you really think it's stuck, check your internet connection, available free space, and, if possible, Disconnect non-essential peripherals (USB drives, printers, etc.) before trying again.
If something stops working after the jump (for example, sound, Wi-Fi, or a printer), it's usually a driver issue. Go to the Device administratorIdentify the problematic hardware and look for updated drivers on the manufacturer's website. If the system becomes completely unresponsive, this guide on What to do when Windows 11 freezes may be useful to you.
When the incompatibility is more serious (old software critical to your business, professional hardware not supported by Windows 11, etc.), you might consider keeping a secondary computer with Windows 10 for that specific software or even virtualize Windows 10 within Windows 11 to use it only with that application.
This whole migration and setup process may seem long, but once it's completed you'll have a safer, more modern environment tailored to your needsFrom there, simply keep your updates up to date and regularly check your backups to enjoy a stable Windows 11 for many years.
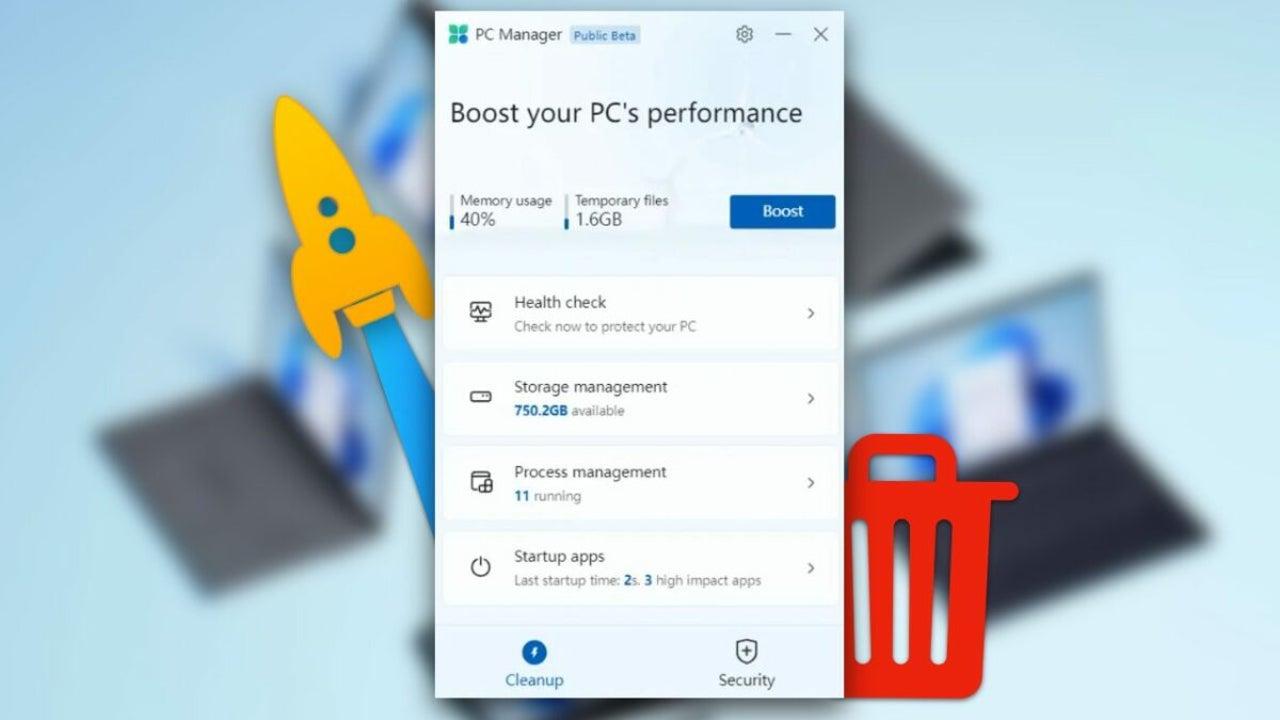
Table of Contents
- Why migrate from Windows 10 to Windows 11 and why now
- Check if your PC is compatible with Windows 11
- Prepare Windows 10 before upgrading to Windows 11
- Back up and protect your data before migrating
- Official methods for migrating from Windows 10 to Windows 11
- Basic Windows 11 Installation Guide from Windows Update
- Link your digital license to your Microsoft account
- Initial Windows 11 setup: account, privacy, and data you share
- Initial adjustments after migration: bloatware removal and updates
- Choose your browser and start installing your apps
- Connect your mobile (especially Android) to Windows 11
- Customize the appearance and organization of Windows 11
- Manage which applications start with Windows 11
- Organize your folders, File Explorer, and quick access
- Configure power, sleep, and shutdown habits
- Backing up and restoring your settings in Windows 11
- Advanced boot options: Safe Mode and Startup Settings
- What if your PC isn't compatible with Windows 11 and what are the alternatives?
- Common problems after migration and how to deal with them