- Key differences between standard PETG, UV-resistant PETG, and ASA for outdoor applications.
- Critical importance of filament drying to eliminate stringing and surface bubbles.
- Optimized temperature, speed, and ventilation parameters to maximize structural strength.
- Secure adhesion techniques on PEI beds to avoid permanent surface damage.
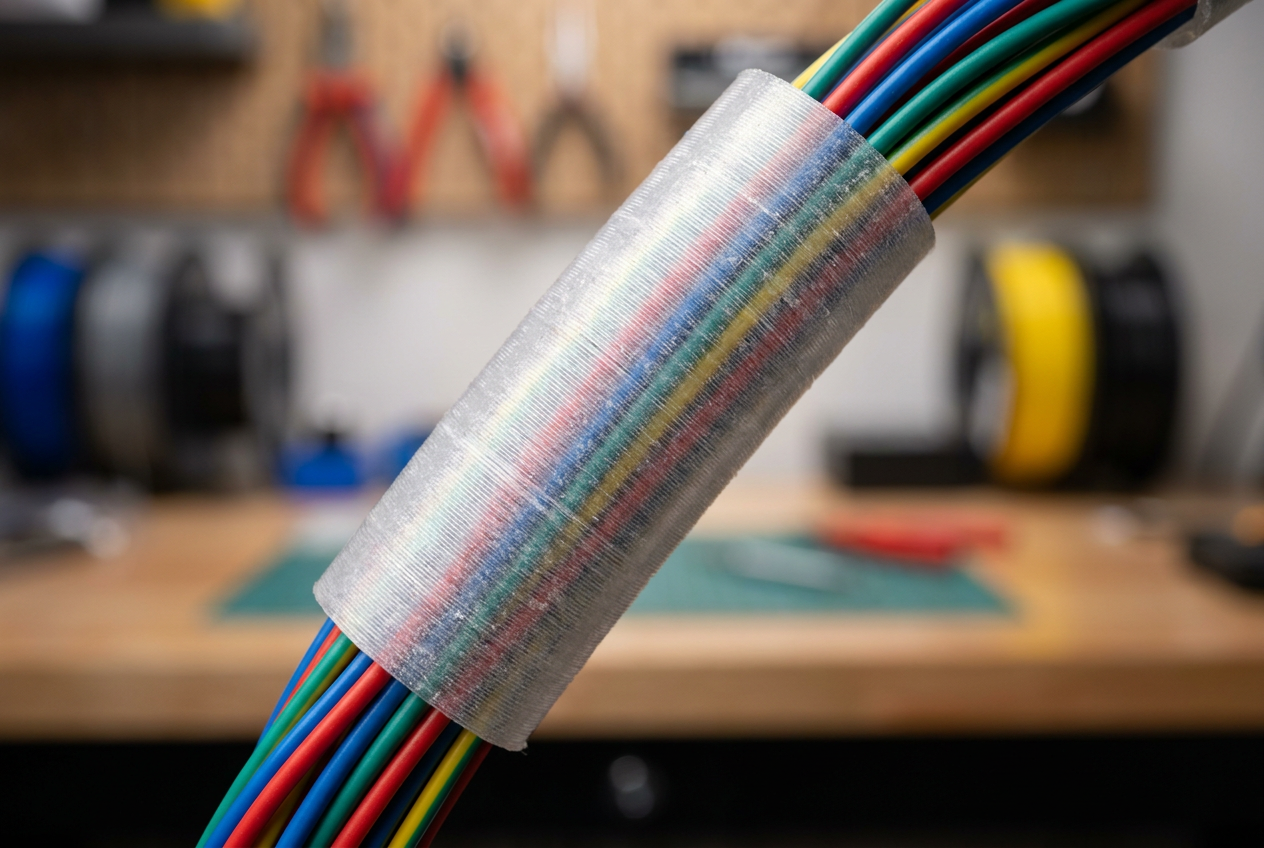
If you're considering making cable protectors or any other technical parts, PETG is probably your best bet. It's a material that has gained immense popularity because it strikes the perfect balance between the ease of use of PLA and the industrial robustness of ABS, making it ideal for those seeking functional, flexible, and durable parts without the hassle of complex machine setups. To delve deeper into these differences, you can consult our comprehensive PETG vs. PLA comparison guide.
However, not all PETG is created equal. Depending on whether your project will be kept indoors or exposed to sun and rain in the garden, you'll need to choose the right type of filament. In the following lines, we'll tell you all the essential tips and technical adjustments to ensure your prints come out perfectly and you don't have to throw away any material.

The dilemma of the exterior: standard PETG versus UV and ASA versions
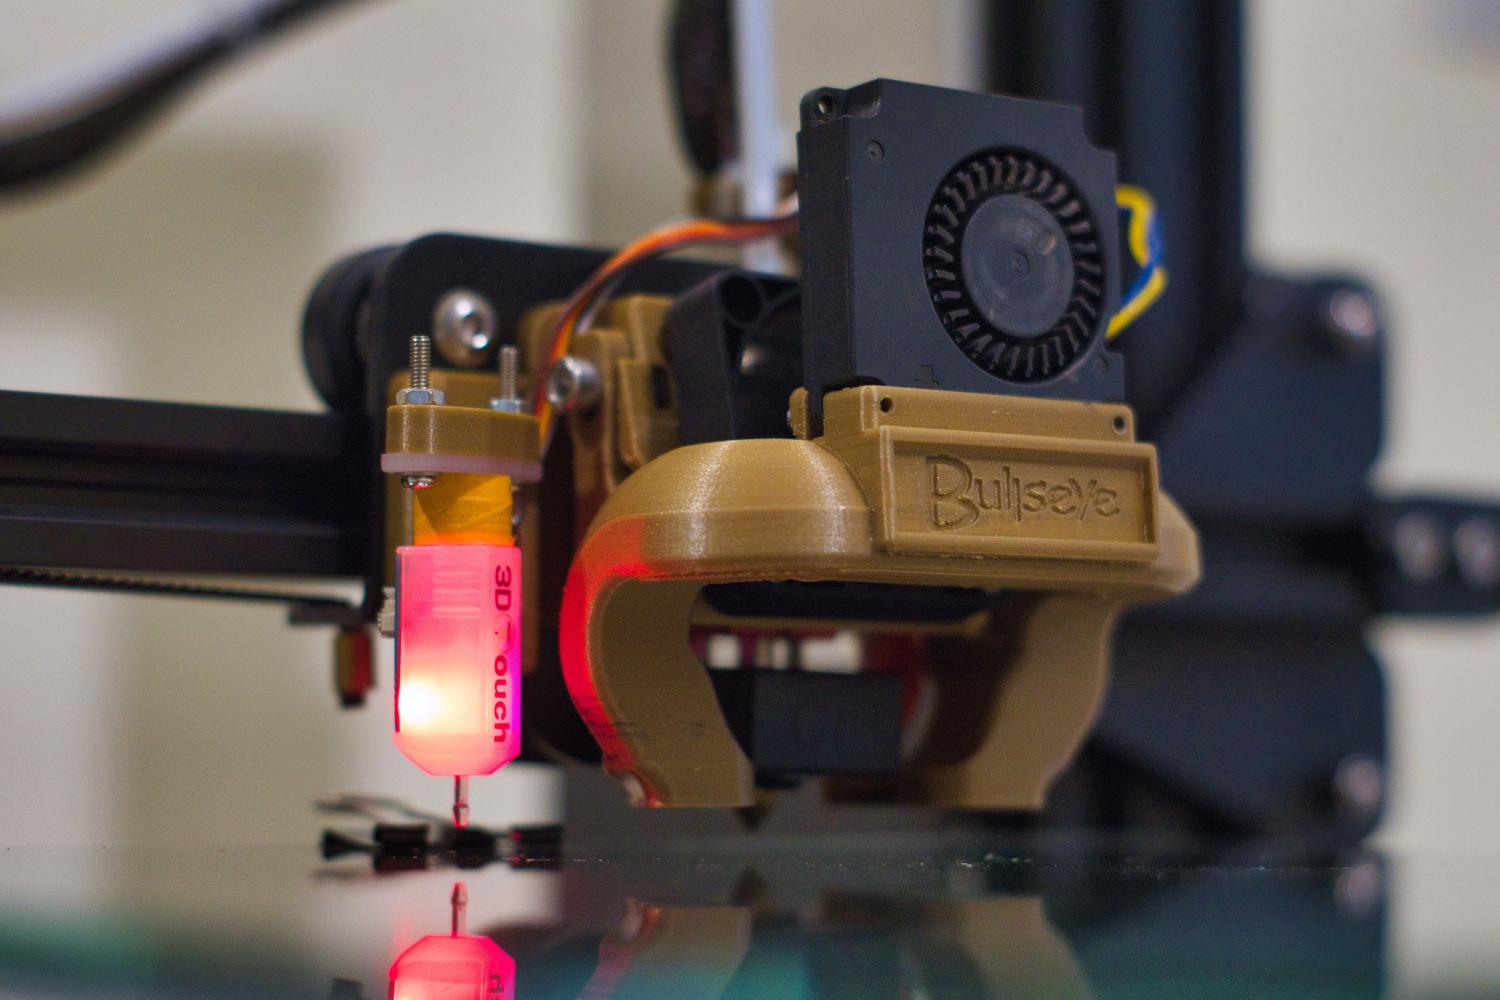
Printing a cable sleeve on conventional PETG is simple, but if that piece is going to be exposed to the elements, you'll run into a problem: photodegradation. Over time, the sun causes the material to turn whitish, lose color, and, even worse, become more prone to cracking and losing its structural integrity.
To avoid this disaster, there are PETG filaments with certified UV resistance. These contain stabilizers that absorb solar radiation, maintaining their mechanical properties intact. So, when should you switch to ASA? ASA is king when there's sustained extreme heat (above 62°C), like in a car dashboard. If your part isn't going to be attached to an engine, UV PETG is much easier to print since it doesn't necessarily require a sealed chamber to prevent warping.
- Standard PETG: Perfect for indoors or very occasional outdoor use.
- PETG UV Resistant: The ideal choice for nautical accessories, irrigation, or outdoor electrical enclosures.
- ASA: Essential for environments with intense heat and high mechanical resistance.

Technical configuration for a professional finish
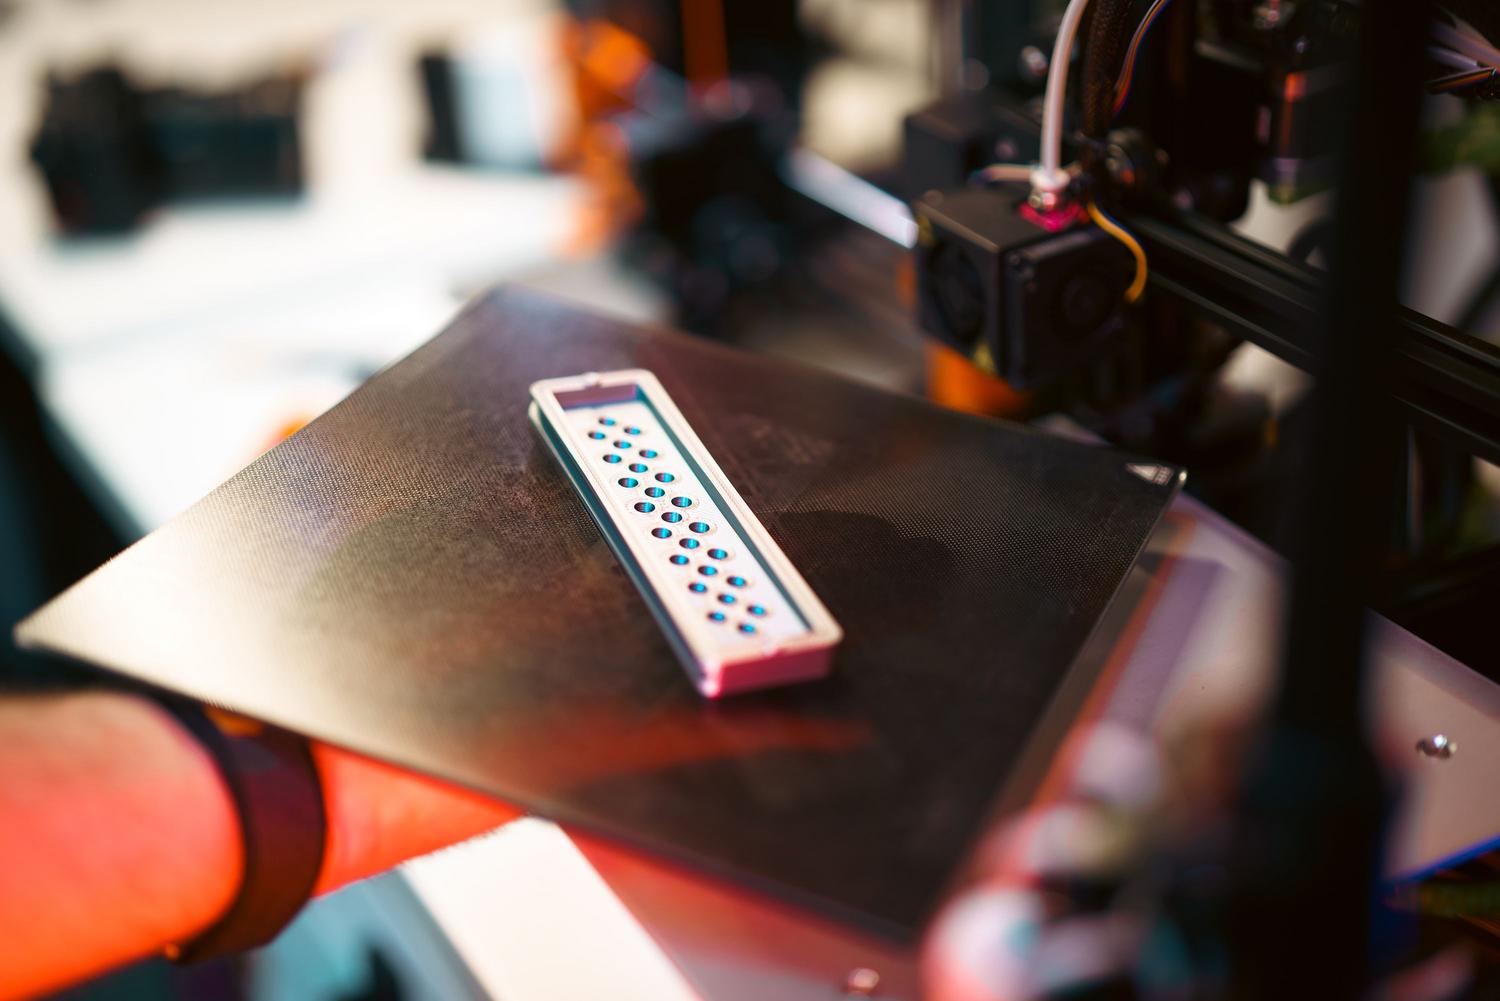
To ensure the part is free of defects, the temperature must be precise. Typically, the nozzle temperature ranges from 230°C to 245°C , although it's always recommended to use a temperature tower according to the manufacturer's instructions. As for the bed, it should ideally be kept between 70°C and 90°C to prevent the base from detaching.
Speed is another critical factor. For maximum quality, aim for 40-60 mm/s. If you have a high-speed printer like Bambu Lab, you can use Bambu Studio to optimize key functions and increase the speed, but adjust the profiles carefully to avoid compromising layer adhesion. A vital detail is the fan speed: use it at 50-70% for smooth, transparent surfaces , but reduce it if you notice the print delaminating or becoming brittle.
PETG's biggest enemy: Humidity
If you notice your printer making strange noises, like small popping sounds, or that the surface of your printed part is rough and full of bubbles, your filament is wet. PETG is extremely hygroscopic, meaning it absorbs moisture from the air very quickly. This causes the dreaded stringing, or those annoying threads that look like cobwebs all over your printed part.
The solution is to dry the spool using a home 3D filament dryer or a low-temperature oven (between 65°C and 70°C) for about 4 to 6 hours. Be very careful not to exceed 80°C , as the filament could soften and fuse together inside the spool, rendering it unusable. Once dry, always store it in sealed bags with silica gel.

Mastering adhesion and avoiding bed disasters
PETG has a strong adhesive properties and tends to stick excessively. If you're using smooth PEI sheets, be careful: the material can adhere destructively and tear off pieces of the surface when you try to remove the piece. To prevent this, always apply a thin layer of lacquer or glue stick to act as a barrier.
If you use textured PEI, the risk is lower, and usually, simply keeping the temperature under control is sufficient. A golden tip is to let the bed cool completely before removing the model; the thermal shock helps the part release on its own without unnecessary effort.
Solving common problems and intelligent design
If you find that the layers are separating, try increasing the nozzle temperature by about 5 degrees and lowering the fan speed. For parts that need to withstand stress, such as industrial cable sheaths, don't skimp on wall thickness: use at least 3 or 4 perimeters and a gyroid infill of 30%, which distributes mechanical stress better.
Regarding the design, prevent water from accumulating in the layer lines to avoid premature degradation. If you're printing screw holes, allow a 0.2 mm tolerance so they fit perfectly the first time without hours of sanding.
Mastering PETG requires patience with the material's drying time and precise temperature control to avoid stringing. By choosing the correct variant based on sun exposure and ensuring a good print bed, it's possible to create extremely durable technical components that far outperform PLA in any demanding environment.