- The BIOS/UEFI controls the boot process and basic hardware configuration, including memory, power, security, and devices.
- The firmware can be accessed by pressing specific keys when turning on (Del, F2, F10…) or from the advanced Windows menus.
- Activating XMP/EXPO profiles, adjusting the boot order, and enabling virtualization are key changes to get the most out of your PC.
- Modifying voltages or updating the BIOS carries risks, so it's best to follow the manufacturer's instructions and use safe values.
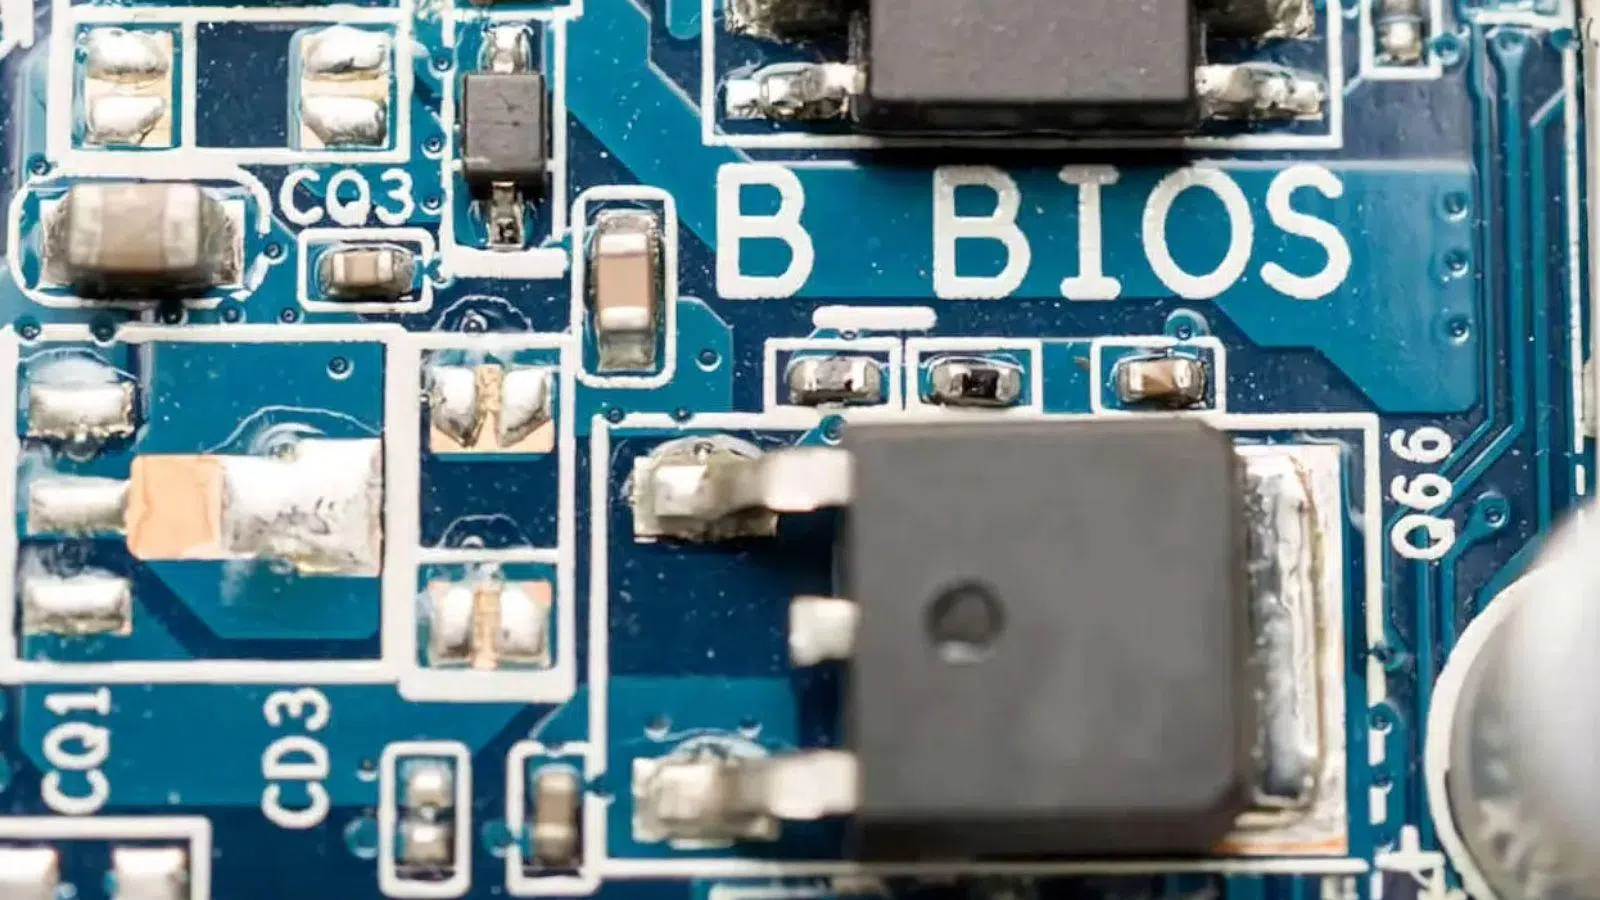
If you're wondering how to configure your PC's BIOS or UEFI to get the most out of your hardware, you've come to the right place. It might seem a little daunting the first time you try it, but with some information and common sense, you'll be able to adjust key options without putting your computer at risk.
The BIOS (or rather, modern UEFI) is the firmware that controls the computer's boot process and basic configuration : boot order, fans, power, RAM profiles, security, and so on. It's not a toy, but it's not a monster either; understanding what each component does will allow you to improve performance, enable features disabled by default, and troubleshoot startup problems.
What is BIOS and what is UEFI today
Although almost everyone still calls it "the BIOS" out of habit , what you actually have in most modern computers is UEFI (Unified Extensible Firmware Interface). It performs the same function from the user's perspective, but adds advanced features and a more user-friendly interface.
UEFI is a modern replacement for the classic BIOS that can even simulate the older mode, called Legacy or CSM, to remain compatible with older disks and operating systems that use MBR instead of GPT. If you need to migrate, you can convert an MBR disk to GPT to take advantage of UEFI.
Among the most obvious differences are the ability to use a mouse in a graphical interface , support for large drives, faster boot times, and security options such as Secure Boot and more direct use of TPM modules. Even so, the names of many options are very similar to those of the traditional BIOS.
How to enter the BIOS or UEFI when booting the PC
The first step to being able to change anything is knowing how to access the BIOS/UEFI menu . The classic method is to press a specific key right when turning on the computer, before the operating system starts loading.
The window in which you can enter is very short, sometimes barely a second . If you exceed the time limit and you see Windows starting to load, you'll have to restart and try again. A good reference point is to press the key as soon as you see the manufacturer's logo on the screen.
The correct key depends on the motherboard or laptop brand, although there are some very common patterns. These are the most frequent combinations to enter the BIOS or UEFI:
- General (many desktop PCs): The Delete key (DEL) is usually the most common. In other cases, F1, F2, F10, or Esc are used.
- ASUS, ASRock, Acer, Gigabyte/Aorus, MSI: usually F2 or Supr.
- Dell: F2 or F12 depending on the model.
- Lenovo: F2 or Fn + F2 combination on some laptops.
- HP: F10 as the main access key.
- Microsoft Surface or others with physical buttons: Press and hold Volume + when turning on.
- Samsung and Toshiba: generally F2.
- Sony: It can be F2, F3 or F1, it depends on the team.
If you have no idea what motherboard you have, you can check the manufacturer from within Windows . Run the DirectX diagnostic tool by typing dxdiag in the search bar or the Run dialog box (Win + R). On the System tab, you'll see the "System Manufacturer" field, which will give you the clue you need to know which key to use.
How to enter the BIOS from Windows without struggling with the key
On many modern computers, especially those with Fast Startup enabled in Windows , there's barely enough time to press the BIOS key during boot. In these cases, the operating system itself provides direct access to the UEFI firmware, eliminating the need for a series of failed restarts.
One fairly straightforward way is to use Windows settings . From there, you can force a special restart that will take you to a pre-boot menu, where you'll find the option to enter UEFI settings.
To access it through the settings, follow this process in Windows 10 or 11 :
- Open the Configuration from Windows from the Start menu (gear icon).
- Enter the section Update and security (or System > Recovery, depending on the version).
- Find the section Recovery.
- Within Recovery, in Advanced startPress the button to restart now.
After restarting, an advanced boot options menu will appear . There you will need to choose:
- Solve problems (Troubleshoot).
- then Advanced.
- Y finally UEFI firmware settings (or UEFI Firmware Settings).
Upon confirmation, the computer will restart and you'll enter the BIOS/UEFI directly without having to repeatedly press F2 or Delete at the right moment. This is a very convenient method once you're already in Windows.
There's an even faster way from the power menu itself. If you want to access the same advanced startup menu without going into Settings, do the following:
- Open the Windows shutdown options (Start > power button).
- hold down the key Shift keyboard.
- While still holding Shift, click the mouse on Restart.
The system will boot into the Advanced Boot Options menu we just discussed, and from there the steps are the same: Troubleshoot > Advanced options > UEFI firmware settings. It's a very practical way to enter the BIOS without having to time the boot process perfectly.
Using a boot disk to access the BIOS
If Windows won't start and you can't use its menus, you still have an alternative: an emergency boot disk or USB drive . With it, you can load the Windows recovery tools and from there access the UEFI firmware, even if your main system won't boot.
This method is especially useful if you work with Linux or other operating systems , because accessing the firmware from within the system itself can vary. However, it doesn't apply to Apple computers (Macs), as their boot processes and firmware work differently and they don't use the standard PC BIOS/UEFI.
The catch is that to use this method, you must already have your BIOS configured to boot from USB first . If it isn't, you'll run into a vicious cycle: you need the BIOS to tell it to boot from USB, and you need it to boot from USB to access certain tools.
Even so, it's worth having a bootable USB drive ready and, if possible, configuring USB booting as the preferred option in emergencies. This will be incredibly useful for diagnosing disks, running a test Linux distribution, or launching the Windows recovery environment when you encounter a blue screen of death (BSOD).
Once you boot from the Windows installation or repair USB drive , the path is usually:
- Select Repair equipment instead of Install.
- Ir a Solve problems.
- Access to Advanced.
- Choosing UEFI firmware settings and click on Restart.
After confirming, the computer will restart directly into the BIOS/UEFI . This is a very convenient shortcut when the main system fails to boot, saving you from having to wait for Windows to load correctly before you can adjust the firmware settings.
UEFI Graphical Interface: Example with ASUS Motherboards
Many modern motherboards, such as those from ASUS, feature a graphical interface in the UEFI that allows you to navigate with your mouse and view system information in a very visual way. It's much more user-friendly than the classic plain text blue menu.
When entering an ASUS graphical UEFI (for example, on an AM4 platform with an X570 chipset and a Ryzen processor), the first thing you usually see is a summary of the system status : fan speeds, connected drives (HDD, SSD, NVMe), amount and frequency of RAM, CPU temperature, voltages, motherboard model, date and time, etc.
On this initial panel, you can use your mouse to navigate , activate quick fan profiles, choose the basic boot priority, and jump to advanced menus. ASUS typically offers an "EZ Mode" and an "Advanced Mode" for users with varying levels of experience.
Main section (basic information)
The Main tab typically displays general system information : CPU model and frequency, amount of memory, installed BIOS/UEFI version, serial number, and system date and time. It's like the "technical specifications" of your PC within the firmware.
There are almost no critical settings in this area. One of the few things you can easily change is the UEFI interface language . Some firmwares include Spanish, others only English, and some additional languages. Many people prefer to leave it in English because most tutorials, forums, and documentation use those terms.
Extreme Tweaker Menu or Tweaker (overclocking and performance)
On ASUS motherboards geared towards gaming or mid-range/high-end systems, you'll find a menu called Extreme Tweaker or simply Tweaker . This section is the central hub for adjusting frequencies and voltages for both the CPU and RAM.
If you're inexperienced, it's best not to mess around too much in this section . Changing parameters without knowing what you're doing can lead to overheating, random restarts, crashes, or even permanent damage if you push the voltages too far. For overclockers and advanced users, it's pure gold, but you have to proceed with extreme caution.
Within this menu you will find key options , for example:
- AI Overclocker Tuner: This determines how the memory will be configured. It can be set to Auto, Manual, or use profiles such as DOCP/XMP/EXPO to ensure the RAM operates at the advertised frequencies.
- Memory Frequency: allows you to select the RAM operating frequencyWithout activating XMP/EXPO profiles, many modules remain at 2133/2400/4800 MHz instead of the 3200/3600/6000 MHz stated on the box.
- FCLK Frequency (on AMD): controls the frequency of Infinity Fabric buswhich influences the performance of internal communication between CPU, memory and other components.
- Core Performance Boost: It is used to enable or disable functions. Turbo Boost/Turbo Corewhich allow the CPU to automatically increase frequency when there is thermal headroom.
- CPU Core Ratio: Adjust the processor's multiplier to vary its base frequency; it is one of the cornerstones of manual overclocking.
- TPU (TurboV Processing Unit): It provides access to automatic overclocking profiles or advanced frequency and voltage settings controlled by the motherboard itself.
A very common and quite safe practice for most users is to activate the XMP/EXPO profile of your RAM . This will allow your modules to operate at their designed speed, instead of being limited to the conservative default settings.
Advanced Menu: Power, CPU and Peripherals
The Advanced section (sometimes called Advanced, ACPI, Power Management or similar ) concentrates many of the power management options and detailed configuration of the hardware integrated on the board.
Here you will usually find submenus for APM/ACPI (advanced power management), options related to how the computer responds to power outages, sleep and resume modes, and also the activation of certain processor functions.
Some typical options you'll see in this section are:
- ErP/EuP (Energy-related Products): This feature regulates power consumption when the device is off or in sleep mode. If enabled, the device will consume less than 1W (or even 0,5W), but you will lose the ability to power it on using the keyboard/mouse or charge USB devices while it is off.
- Restore AC Power Loss: allows you to define what the PC does after a power outageYou can leave it in Power Off (it stays off) or Power On (it turns on automatically when the power comes back on).
- Power On by RTC: authorizes the automatic activation of the equipment at a specific time using the real-time clock from the plate.
- Power On by PCIe / Wake-on-LAN: enables the computer wake up remotely via the network card, widely used in professional environments.
- CPU, SMT, SATA, USB, etc. options: Many BIOS/UEFI systems have sub-tabs to enable/disable simultaneous threading (SMT), SATA ports, USB, integrated sound cards, integrated GPU, and other peripherals.
On some motherboards, you'll see a separate tab called Peripherals or Devices , which specifically groups the USB, SATA, video, audio, and network options. Whether in Advanced or Peripherals, the idea is the same: to control which integrated hardware is active and how it behaves.
Monitor: temperatures, voltages, and fans
The Monitor tab is typically dedicated to monitoring the system's status in detail . It's the perfect place to check that the computer is operating within reasonable limits, especially if you've adjusted performance parameters.
In this section you can see CPU, motherboard and other sensor temperatures in both °C and °F, voltages of the main power supply lines (12V, 5V, 3.3V), speed of the fans connected to the motherboard and, in some cases, configurable fan curves.
This information is very useful when your PC won't boot properly or shuts down unexpectedly . If, after overclocking or changing memory profiles, you see erratic temperatures or abnormal voltages, you'll know it's time to roll back adjustments in the BIOS or revert to default settings.
Boot, Startup or Boot Priority: boot management
The boot section is usually called Boot, Startup, or Boot Priority , depending on the manufacturer. It is one of the most important sections for installing operating systems, using bootable drives, or diagnosing startup problems.
From here you can define which device is checked first to boot : primary SSD, another hard drive, DVD drive, USB flash drive, or even the network. When you're going to format or install Windows or Linux, you'll need to change this order so that the computer boots from the correct installation media.
Some of the most common options in this menu are:
- Boot Configuration: general startup controls, including Fast Boot so that the system starts up faster.
- CSM (Compatibility Support Module) or Legacy Mode: Activates a compatibility mode to boot like a traditional BIOS and accept disks with MBR partitions.
- Secure Boot: security mechanism that only allows operating systems to boot signed and trustworthypreventing low-level malware from starting up.
- Boot Option Priorities: This list is where you set the exact boot order (Boot Option #1, #2, etc.). Normally, the SSD with the operating system should be first once it's installed.
- AMI Native NVMe Driver Support: own controller to recognize NVMe drivesIt must be enabled if you use this type of disk.
Keep in mind that if you change the boot order, for example by putting the USB drive first, that setting will remain until you change it again . If you leave a bootable USB drive connected, your PC might try to boot from it instead of accessing your usual operating system.
Tools and Security: Utilities and Protection
Some manufacturers, like ASUS, include a Tools tab with additional features. Others group these functions under Security . In either case, this is where you'll usually find firmware update options and passwords.
On ASUS motherboards, one of the star tools is ASUS EZ Flash 3 Utility , which allows you to flash the UEFI from a USB drive or, in some models, directly from the internet. MSI has M-Flash, Gigabyte offers Q-Flash, but the idea is the same: to update the BIOS/UEFI without needing external programs in Windows.
In the security section, you can configure passwords to access the BIOS or to allow system startup. This is also where, on many motherboards, Trusted Platform Modules (TPMs) and features like Secure Boot are enabled. Some older BIOS versions have a menu called TCG Feature Setup or TPM that allows you to manage these options.
Exit Menu: Save, discard, and restore values
Once you've finished adjusting the settings, you'll need to decide whether to save or discard the changes . This is all managed on the Exit tab, which is usually the last tab in the interface.
In almost all modern BIOS/UEFIs you will find options such as :
- Load Optimized/Optimal Defaults: Restores the manufacturer's recommended factory settings. This is very useful if any changes have made the device unstable.
- Save Changes & Reset (or Save & Exit): save all changes made and restart the pcIt can usually also be activated with the F10 key.
- Discard Changes & Exit: Exit the BIOS without saving anything you modified during that session.
On some computers, selecting one of these options will display a confirmation window asking if you're sure. Once you confirm, the PC will restart and apply (or not) the changes based on your selection.
Classic text-based BIOS: example with Lenovo
Many laptops, brand-name computers, and miniPCs still use a classic text-based BIOS interface , often based on APTIO from AMI or other developers. There's no mouse or elaborate graphics, but the concept of menus and tabs remains.
In this environment you move around using the arrow keys on the keyboard, the Enter key to accept and some shortcut keys that are usually indicated at the bottom of the screen (for example, F9 for default values, F10 to save, Esc to go back).
The Main screen is once again the starting point, displaying a summary of the basic configuration (CPU, RAM, BIOS version, date and time). From there, you can access the other tabs: Devices, Advanced, Power, Security, Startup, and Exit.
In a typical Lenovo BIOS, the Devices or Peripherals menu groups the configuration of the integrated peripherals:
- USB Setup: Options for USB ports (enable/disable, legacy compatibility, etc.).
- SATA Setup: SATA port control, AHCI/RAID mode and disk recognition.
- Video Setup: settings Integrated GPU or the main video output.
- Audio Setup: activation and parameters of the integrated sound card.
- Network Setup: network adapter configuration, PXE boot, Wake-on-LAN, etc.
In the Advanced tab you may only see something like CPU Setup , which focuses on processor settings: virtualization technologies, Hyper-Threading/SMT, core power saving options, etc.
The Power or Power Management tab brings together options related to consumption , automatic power-up after power outages, behavior of different energy states, and specific manufacturer functions.
The Security section is where most of the firmware's security settings are grouped : administrator and user passwords to enter the setup, activation of Secure Boot on compatible devices, and TPM management (through menus such as TCG Feature Setup).
In Startup you'll find the equivalent of the Boot menu in graphical UEFI systems : boot order, Fast Boot/Quick Boot, Legacy/UEFI mode, etc. From there you decide which device the system will boot from.
Finally, the Exit tab works very similarly to modern UEFI: it allows you to save and exit, exit without saving, or load optimal values . Selecting one of these options usually brings up a dialog box asking for confirmation, and the computer restarts immediately afterward.
Which BIOS settings are worth changing
Not all BIOS options are meant to be touched daily, but there is a set of particularly interesting settings to improve the performance, compatibility, or functionality of the computer.
One of the clearest examples is the XMP/EXPO profiles of RAM . When you buy DDR4 or DDR5 modules, you see, for example, 3200, 3600, or 6000 MHz on the box, but when you install them and check with a monitoring program, they often appear to be running at a lower frequency (for example, 4800 MHz instead of 6000 MHz for DDR5).
This is because the modules have a set of default safe values (JEDEC) with lower frequencies, and a high-performance profile stored as XMP (Intel) or EXPO (AMD) that is not automatically activated. For the RAM to operate at the expected speed, you must enter the BIOS and activate that profile in the corresponding menu (Tweaker, AI Overclocker, OC, etc.).
There are also other functions geared towards overclocking the processor and integrated graphics , although these are more advanced. They require a deeper understanding of voltages, temperatures, and stability. If you're unsure what you're doing, it's best to stick to moderate overclocks or even leave them alone.
Beyond performance, there are crucial options for certain professional uses . For example, if you want to work with virtual machines, you'll need to ensure that hardware virtualization (Intel VT-x/VT-d or AMD-V/SVM) is enabled in the BIOS. Without it, some hypervisors and advanced features simply won't work or will perform significantly worse.
As you can see, the BIOS is not only used to boot the system; it also decides whether your PC truly takes advantage of what you paid for the hardware , or whether it remains limited by default with conservative factory settings.
Risks and precautions when changing parameters in the BIOS
One of the biggest fears for users is messing with the BIOS and having their PC stop working . And while it's true that things can get messy if you change certain values haphazardly, it's also true that if you stick to basic settings, the risk is minimal.
Changing parameters like enabling XMP/EXPO for RAM or modifying the boot order is relatively safe as long as you know what you're doing. Most problems arise when you manipulate voltages, power limits, or aggressive memory timings without prior experience.
Keep in mind that the BIOS saves boot changes until you revert them . If you configure your PC to boot from USB first and then connect a bootable USB drive, your operating system might not appear, and you'll be stuck in an installation environment without understanding what happened.
Another critical point is BIOS/UEFI updates . These are often necessary to support new processors, fix bugs, or improve stability, but they must be performed carefully. If power is interrupted during flashing (due to a power outage, for example), you can end up with a corrupted BIOS (bricked), preventing the computer from booting at all.
Before updating, be sure to read the manufacturer's instructions , use the correct tool (EZ Flash, Q-Flash, M-Flash, etc.), and, if possible, have a stable power supply (ideally with a UPS). Always keep in mind that the process will take a few minutes during which you shouldn't touch anything.
If you ever mess things up by setting the wrong value, most modern motherboards include recovery mechanisms : Clear CMOS keys or pins, automatic restarts after several boot failures, or even dual BIOS on high-end motherboards. Before you panic, consult your motherboard manual.
The BIOS/UEFI is a powerful yet safe configuration tool if used responsibly . By only adjusting settings you understand and exercising caution, you can fine-tune your system for better performance, greater versatility, and emergency preparedness, without needing to be an electronics expert.
