- Using a microSD card allows you to free up a large part of the phone's internal space without losing photos or videos.
- Google Files makes it easy to move entire folders or specific files to your SD card in just a few steps.
- Setting the camera to save directly to the microSD card prevents the internal memory from becoming saturated again.
- Checking and maintaining the SD card in good condition is key to ensuring the mobile phone detects it and works without errors.
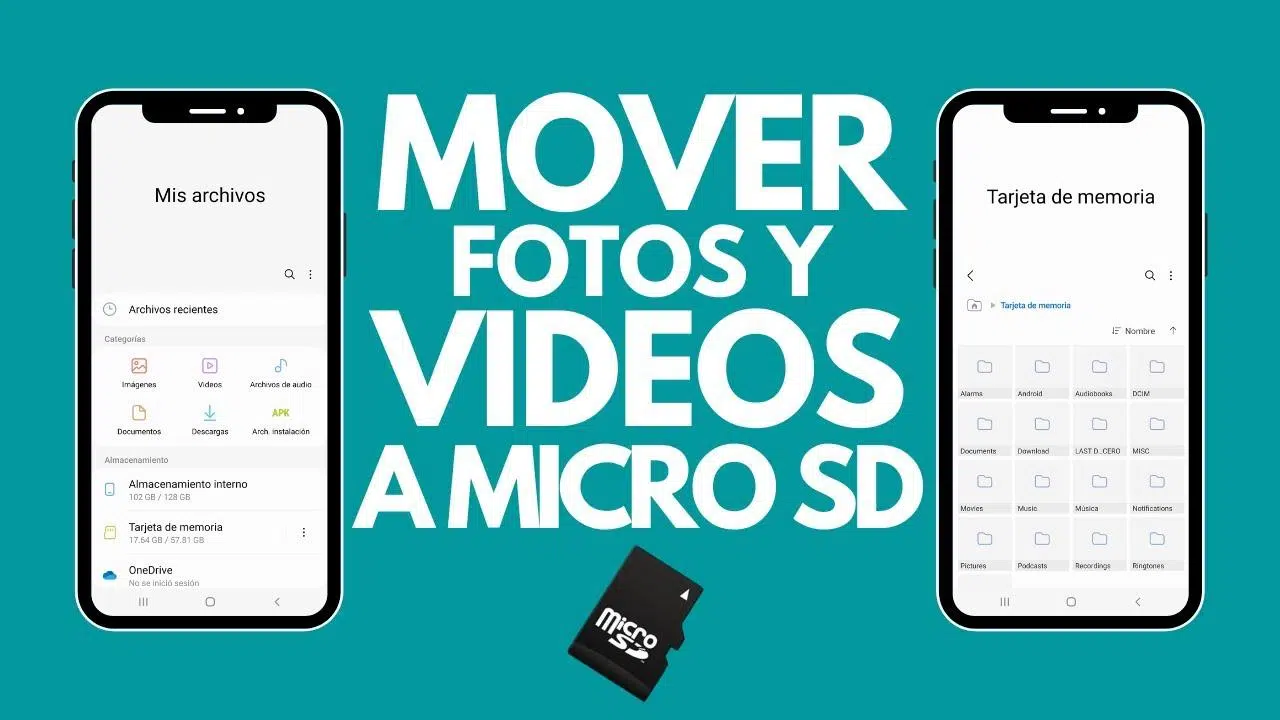
If you use your phone for everything, it's easy for the internal memory to fill up with photos, videos, and files very quickly. There comes a point when you can't even update apps or take a simple photo because Android warns you that there isn't enough space. Luckily, if your phone supports memory cards, you have a very simple solution: move your photos and videos to a microSD card to free up space instantly.
Besides freeing up storage space, saving your memories to an external card has another very interesting advantage: if your phone crashes, breaks, or there's a system problem, your files stored on the microSD card will still be safe . Let's take a look, calmly and clearly, at how to insert the card, configure your camera to save directly to it, and how to transfer photos from your phone to the microSD card using Google Files and other methods very similar to those used on a computer.
First of all: check memory and microSD compatibility
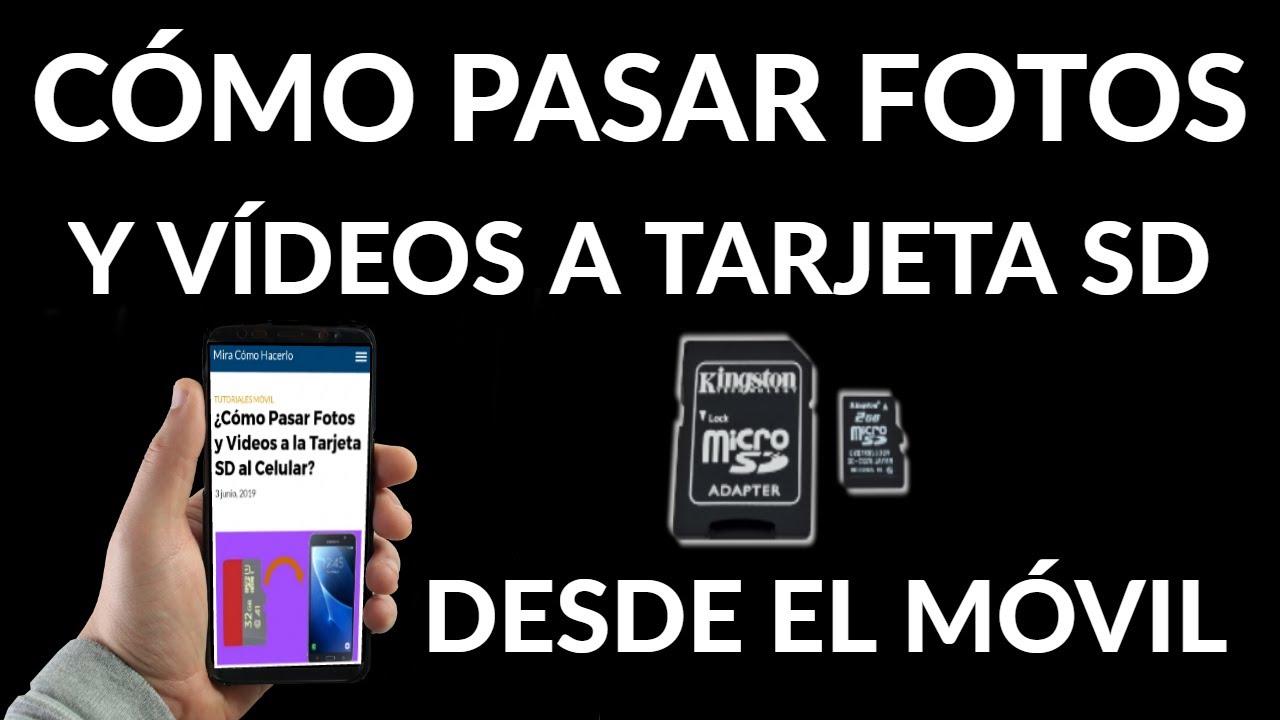
Before you start moving things around like there's no tomorrow, it's a good idea to check how much internal storage you have available and whether your phone actually supports a microSD card. Not all recent models include this slot, so it's best to double-check.
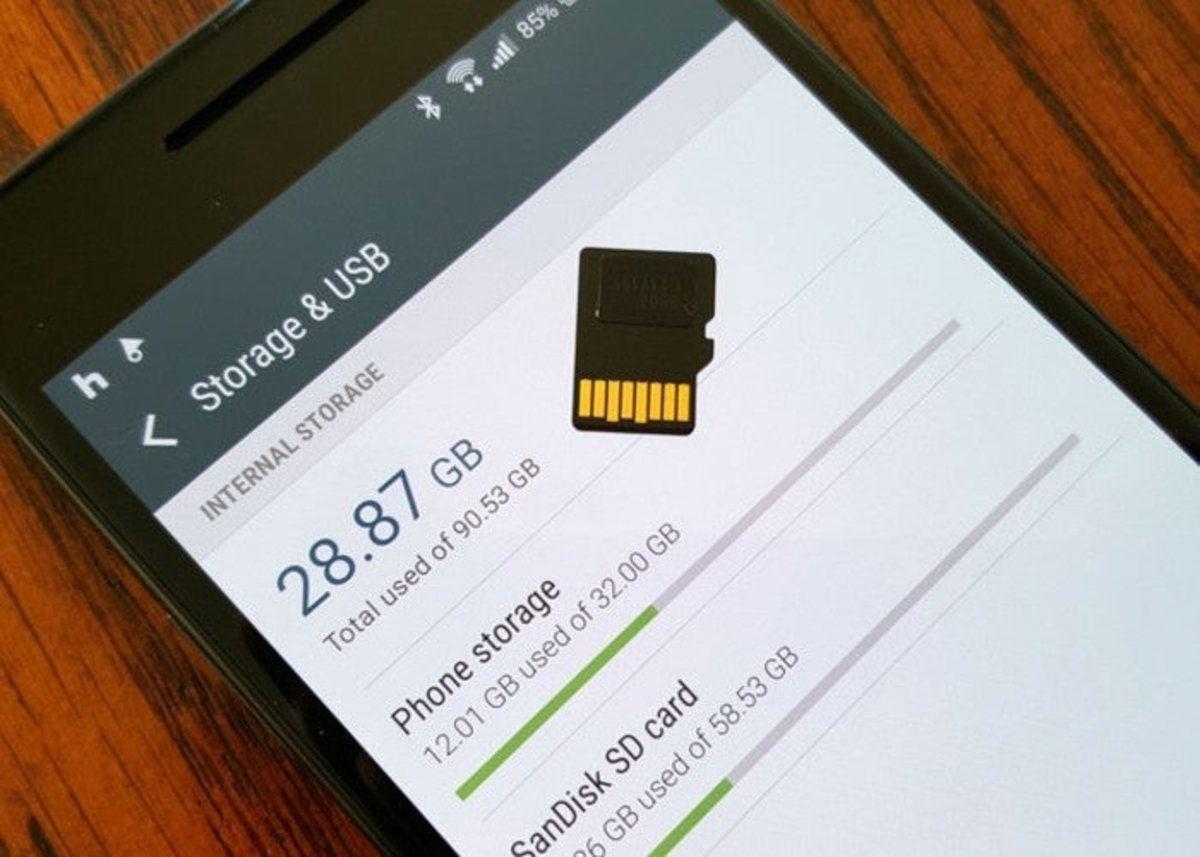
On most Android phones, you can go to Settings > Storage to see the total space, how much is being used, and how much is free. On that same screen, you'll usually see the SD card or memory card section, if one is inserted. This way, you'll know if you really need a microSD card and, if you already have one, how much free space it offers.
It's also a good idea to check the maximum storage capacity your phone supports, which you can find on the manufacturer's website or in the manual. Using a 32GB card is not the same as using a 256GB card, and some older phones don't recognize high-capacity cards . Knowing this will save you from wasting money on a microSD card that you won't be able to fully utilize.
Step 1: Correctly insert the microSD card into the mobile phone
The first step, though it may seem obvious, is to insert the microSD card into its slot . In most current smartphones, the SIM and microSD trays are combined, although some older models may have a separate slot just for the memory card.
To do this safely, it's best to completely power off your phone before touching the tray. Use the small metal tool (the typical safety clip that comes in the box) and insert it into the hole in the tray. With a little pressure, the tray will pop out so you can insert the microSD card.
Note the card's position, as it's usually marked with a small symbol on the tray itself. Place the microSD card in its slot, making sure it's snug but not forced, and carefully reinsert the tray. Once you've finished, you can turn your phone back on and wait for Android to detect the new card.
Once the system recognizes it, you should see a message in the notification bar indicating that an SD card has been detected. From that moment on, you can begin configuring it and moving your photos and videos to the microSD card to free up space.
Step 2: Configure the camera to save new photos to the microSD card
Once the card is inserted, it makes sense that new photos and videos you take will no longer be saved to the internal memory, but directly to the microSD card to avoid filling it up again . This can be adjusted from within the phone's camera app.
Open the camera app and look for the Settings or Options icon , which usually looks like a gear at the top of the screen. Within the menu, locate the Storage, Storage Location, or Data Storage section (the name may vary depending on the brand and model).
When you enter that section, you'll see that Internal Memory is selected . Change that option and select SD or microSD card as the destination for photos and videos. From then on, everything you take with the camera will be saved directly to the card, saving space on your phone's ROM.
This setting only affects photos you take from now on; older photos will remain on your internal storage . If you want to free up space, you'll have to move them yourself, which you can do directly from your phone using a file explorer like Google Files or even by connecting your phone to your computer with a cable.
Step 3: Move all photos and videos with Google Files almost automatically
To transfer a large number of photos and videos to your microSD card at once without too much hassle, one of the best options is to use Google Files, Google's file manager . It comes pre-installed on many modern Android phones, and if you don't have it, you can easily download it from Google Play.
When you open Google Files, you'll see several tabs. The one we're interested in for automating the process is the Clean tab , where the application suggests different ways to free up space. Among these recommendation cards, you'll often find one called something like "Move files to SD card ," designed specifically for sending photos, videos, and other content to the microSD card.
Tap that card and then tap the "Select and free up" button . A list will open with all the items in your internal storage that are good candidates for moving to the card—especially photos and videos you have saved on your phone's memory . At the top, there's usually a checkbox to select all the files at once if you want to move everything.
Once you've selected the files you want, tap the "Move to SD card" button . A pop-up window will appear notifying you of how many items you're about to move. Confirm the operation by tapping "Move" and let the application do its work; the process may take several minutes if you have many GB of photos and videos.
The first time you use this feature, Google Files will ask for special permissions to access and manage your SD card . This is part of Android's security measures. Simply follow the on-screen instructions: tap "Continue" and then "Allow access to memory card ." From then on, the process will be automatic, and you'll see the free space on your internal storage increase as the microSD card fills up.
To summarize the workflow within Google Files, you open the app, go to Clean, choose "Move files to SD card ," select the photos and videos you want, and confirm the move. It's a very convenient way to transfer many files without having to go folder by folder.
Step 4: Manually move specific photo folders
If you prefer more control, or if the automatic option in Google Files isn't appearing for whatever reason, you can always move your photo folders manually , just like you would on a computer. For this, you'll need a file manager; again, you can use Google Files or another file explorer you have installed.
In Google Files, go to the Explore tab . Scroll down to find the Internal storage section and tap it to see all the folders on your phone. Here you'll easily find the folders where your photos are saved, such as DCIM (usually for camera photos), Pictures , or even app folders like video editors, social media, or messaging apps.
When you see the folder you want to move, tap the small arrow or menu icon next to it to display the options. In that context menu, choose the "Move to" option . The app will ask if you want to move it to internal storage or the SD card; select SD card to continue the transfer.
Next, Google Files will display the folder structure of your microSD card. You can navigate to the location where you want to save the folder (for example, to create an organized section for your photos), and when you're in the right place, tap "Move here ." The entire folder will then begin copying/moving to the card.
Depending on the size of the folder, the process may take a while, especially if it includes many high-resolution videos. When it's finished, it's a good idea to check that the folder appears on the SD card and that the photos open without any problems. If everything goes well, you can repeat the process for other folders such as Pictures, Videos , or specific app directories that accumulate a lot of media files.
Step 5: Copy or move files from Google Files using categories
If you don't want to move entire folders but specific files according to their type (for example, only some large videos or selected photos), Google Files offers another very convenient way: using the Categories section within the application.
When you open Google Files, on the main screen you'll see several sections organized by content type: Images, Videos, Audio, Documents, Downloads , etc. Tap on the category you're interested in; for example, Images, if you only want to view photos.
Once inside, locate and select the file or files you want to move. In the upper right corner, you'll find the More options icon (usually three dots). Tapping it will display the available actions, including "Move to" or "Copy to," depending on whether you want to move the file or simply create a copy on the microSD card.
Choose your preferred option and, on the next screen, select SD card as the destination. If you want to create a new folder to keep everything more organized, you can tap "Add new folder ," enter the desired name, and then confirm with "Move to folder" or "Copy to folder ." If you prefer to use an existing folder, simply select it and tap "Move here" or "Copy here . "
This categorization system is very practical, for example, for locating and moving only the videos that take up the most space , or only certain documents, without having to search folder by folder in the entire internal storage tree.
Step 6: Transfer files from the storage devices section
Another way to work with your microSD card from Google Files is to use the "Storage devices" section , where you'll see both your internal storage and the SD card listed. This allows you to navigate the microSD card's folder structure very directly.
To use it, open Google Files and, in the Explore view, look for the section where the drives are listed. There you should see something like “Internal Storage” and “SD Card” . Tap on SD Card and you’ll enter the root directory of the card, with all its folders and files.
From this screen, you can also move or copy files to another folder within the microSD card itself, or from the internal memory to it. If you want to create a new folder on the card, the procedure is very similar to creating categories: select the location, tap "Add new folder ," enter a name, and confirm the action.
When you want to move specific files, you can select them and use the "Move to" or "Copy to" options , choosing the appropriate destination folder. This method is especially useful if you're organizing your memory card into sections (for example, a "Camera Photos" folder, a "WhatsApp" folder, and a "Videos" folder) and want to keep everything more organized.
If, instead of working from the SD card, you first access Internal Storage , you can select files and then specify the microSD card as the destination, just as in the previous steps. In other words, it's an alternative way to access the same move and copy functions, but starting from the storage device view.
Step 7 (optional): Transfer the DCIM folder and others from your mobile device or computer
If you want to do a more thorough cleanup, a very effective strategy is to move almost the entire DCIM folder to your microSD card . DCIM is the standard folder where most phones store the photos and videos you take with the camera, and inside it there's usually another folder called Camera that contains most of your captures.
Using Google Files or any other file explorer, you can go to internal storage, locate DCIM > Camera , select the entire folder, and use the "Move to > SD Card" option . This way, without having to go file by file, you can send virtually your entire photo and video library to the microSD card.
Keep in mind that photos and videos from apps like WhatsApp, Telegram, or social media are saved in different locations (for example, in a folder called WhatsApp/Media within your internal storage). If you also want to free up that space, you'll need to locate those folders and repeat the same process of moving them to the SD card.
If you prefer working from a computer, you can also connect your phone via USB cable, select the file transfer mode on your phone, and then drag and drop folders from the internal memory to the microSD card on your PC. This process is almost identical to copying folders between drives on a computer, with the added benefit of clearly seeing how much space they occupy and how much free space you have left.
Troubleshooting: The microSD card is not being detected properly
Sometimes, after inserting the card, the phone doesn't display it correctly, or Google Files doesn't show it in the list of devices. If this happens, the first thing to do is check in your system settings to see if the microSD card is actually being recognized.
On many recent Android devices, you can go to Settings > Device maintenance > Storage (or similar paths depending on the brand) and check if there's a section that shows the SD card . If it appears, you'll see its capacity and the space used; if it doesn't appear anywhere, the phone isn't detecting the card.
If it's not recognized, try turning off your phone, removing the tray, and reinserting the microSD card, making sure it's properly seated and the metal contacts are clean. In some cases, the problem might be with the card itself: if you have another compatible device (another phone, a camera, a card reader on your PC), try it there to see if it works.
When your memory card is damaged or has errors, Android may offer you the option to format it . Be careful, because formatting erases all the contents of the microSD card. If you have important files, try backing them up on a computer first before accepting the formatting. Once formatted from your phone, the card should be detected again without problems, and you can use it to store your photos and videos.
If the phone still doesn't recognize the card, the problem is likely with either the phone's internal card reader or the microSD card itself. In that case, the best course of action is to try a different card, and if that doesn't work either, consider contacting a repair shop to rule out a hardware issue.
Taking care of your phone's storage organization and getting into the habit of sending your photos and videos to the microSD card when you see it filling up will save you a lot of headaches. With the right camera settings and tools like Google Files for moving entire folders or individual files, it's easy to keep your internal memory free for apps and updates , while your memories are safely and flexibly stored on the memory card.
