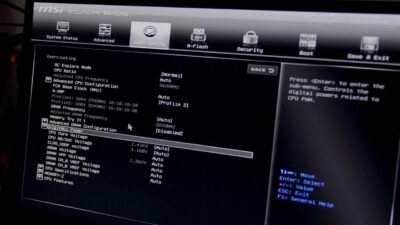
- Updating the BIOS and loading optimized values creates a stable and compatible foundation for your gaming PC.
- Enabling XMP/EXPO profiles and technologies like Resizable BAR allows you to take full advantage of RAM and GPU.
- Adjusting the fan curve in BIOS helps keep temperatures and performance under control.
- Complementing these adjustments with updated drivers and good Windows configuration completes the optimization.
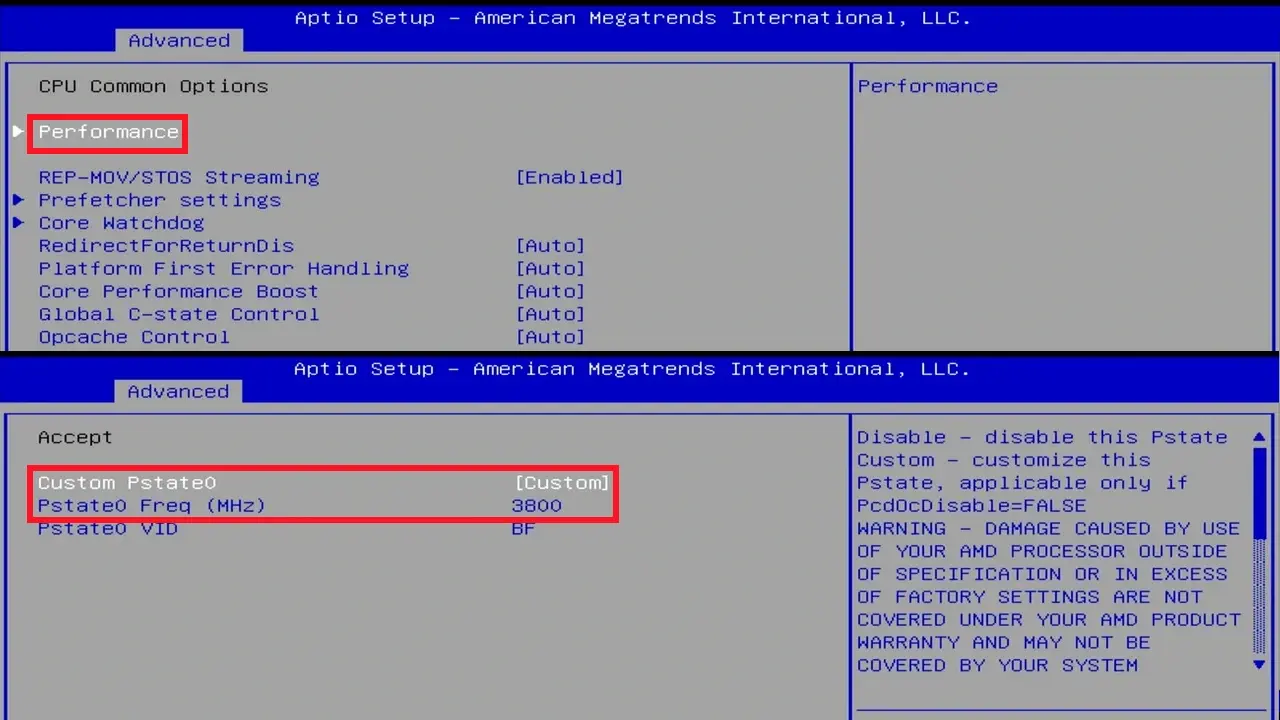
If you're building your first gaming PC, it's perfectly normal for the BIOS to seem like gibberish and for every video to tell you something different. The good news is that, with a few basic tweaks and some common sense, you can get it running smoothly for gaming without overcomplicating things or risking damaging your hardware. If you prefer a practical guide, you can configure your PC's BIOS or UEFI step by step.
The BIOS (or rather UEFI on modern computers) is the intermediate layer that ensures the operating system communicates correctly with the motherboard, processor, memory, graphics card, and other components. Adjusting its settings can be daunting because an incorrect change can cause errors or instability , but knowing what to enable and what to disable is one of the best ways to squeeze out extra FPS and improve overall system performance. From there, you control the PC's startup, disk detection , RAM speed, CPU technologies, fan curves, and advanced features like the Resizable Bar and automatic overclocking.
For gaming, these parameters matter because they determine whether your processor and memory are working at full capacity , whether the graphics card can efficiently access all of its VRAM, and whether the system boots in modern mode (UEFI) or carries over older compatibilities (CSM/Legacy) that may limit features.
Furthermore, many manufacturers release new BIOS versions that fix bugs, fine-tune performance, and improve compatibility with newer CPUs and memory. Therefore, it's crucial to understand that performance isn't solely dependent on Windows or GPU drivers ; the foundation lies in the motherboard's configuration.
Another point to consider is stability. A gaming PC shouldn't just be fast; it should also be rock solid during long sessions . A poorly configured memory profile or aggressive overclocking from the BIOS can cause crashes, blue screens, or game closures at the worst possible moment.
Therefore, it is advisable to follow a series of ordered steps: update BIOS if necessary, load safe values, optimize memory and activate the technologies that do give a real FPS boost, leaving the most extreme overclocking for when you have more experience or rely on automated tools.
Before you touch anything: precautions and BIOS update
First, a word of caution that shouldn't be taken lightly: messing with the BIOS always carries some risk . It's not something to be afraid of, but you should proceed with caution. Changing the wrong value can prevent your PC from booting, and an interrupted update process (for example, due to a power outage) can render your motherboard unusable.
Therefore, before updating the firmware or modifying settings, it's crucial to read your motherboard manual and consult the manufacturer's official website. There you'll find specific instructions for your model (ASUS, MSI, Gigabyte, ASRock, etc.) and the supported update methods: USB BIOS Flashback, Q-Flash, M-Flash, EZ-Flash, and similar methods.
To determine if an upgrade is right for you, you need to accurately identify your hardware. Note the brand, exact model, and revision of your motherboard , as well as the BIOS version you currently have installed (usually displayed on the BIOS initial screen or boot screen). With this information, you can compare the changes in each new version on the manufacturer's website.
BIOS updates typically bring improvements such as compatibility with newer processors , bug fixes that could cause instability or crashes, performance tweaks for memory and CPU, and sometimes new features (like support for Resizable BAR or changes to the cooling system). If your PC is very recent or your motherboard is older, there's a good chance there's a newer version available that's worth updating.
If you decide to update, always use the manufacturer's recommended method, prepare a formatted USB drive as instructed, and, very importantly, do not turn off or restart your computer during the process . Once completed, re-enter the BIOS and perform the following key steps to restore it to a clean and stable state.
Load optimized default values after the update
After updating the firmware (and it's also a good idea to do this before making any other significant changes), it's highly recommended to use the " Load Optimized Defaults" option or something similar (depending on the manufacturer, it might be called "Optimized Defaults," "Load UEFI Defaults," etc.). This function resets the settings to a set of parameters that are safe and tested by the manufacturer.
This reset prevents old settings or unusual values you may have changed from conflicting with the new BIOS version. Sometimes, minor changes between versions can cause strange behavior if the motherboard tries to maintain a legacy configuration that no longer works correctly.
The typical workflow after an update would be: enter the BIOS, load optimized settings, save, and restart. Then, return to the BIOS to apply the changes that actually improve gaming performance, such as enabling the RAM's XMP/EXPO profile or the Resizable Bar.
While loading default values might seem like you're "losing" optimizations, it actually ensures you start from a clean and stable base . From there, every adjustment you make will be more predictable and easier to revert if something goes wrong.
Keep in mind that after restoring the optimized settings, you may need to reconfigure basic aspects such as the boot order (for example, so that the PC boots from your primary SSD and not a secondary drive) or some peripheral settings. This is normal and part of the process.
Enable XMP / EXPO / DOCP to get the most out of your RAM
One of the simplest yet most impactful changes you can make in games is to enable memory profiling. Many RAM kits are sold with a high frequency (for example, 3200, 3600, or 6000 MHz), but if you don't adjust anything in the BIOS, they will operate at the much lower JEDEC base frequency , which negatively impacts performance in games that are heavily reliant on memory latency and bandwidth.
To solve this, there are XMP/EXPO/DOCP profiles (on Intel and AMD platforms). By enabling them, the BIOS automatically applies the frequency, timings, and voltage for which your RAM kit is certified by the manufacturer.
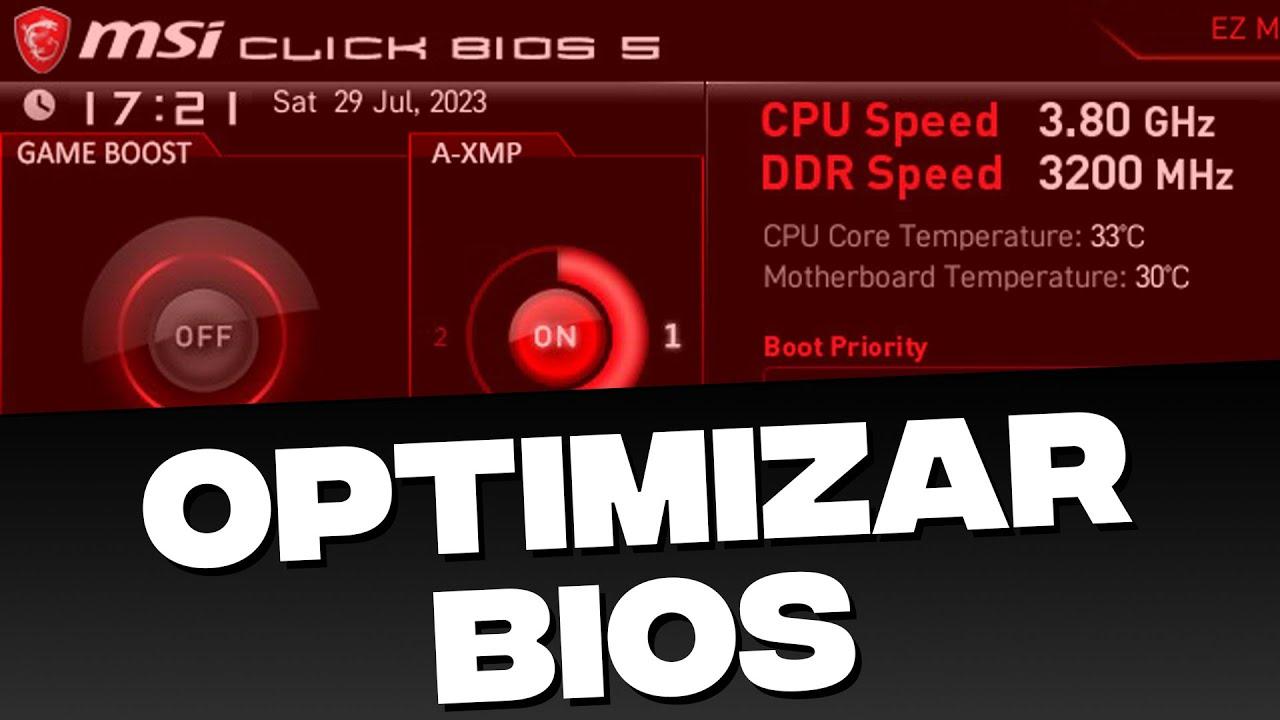
Activating it is usually very straightforward: enter the BIOS, go to the memory or automatic overclocking section, look for a drop-down list with XMP/EXPO/DOCP, and select the corresponding profile (sometimes there's more than one, but usually you choose the main one, which is often named after the kit). Then, save the changes and restart.
It's crucial to ensure that the RAM kit you're using is supported by your motherboard and CPU . The motherboard manufacturer's website usually publishes a Qualified Value List (QVL). While your specific model isn't guaranteed to be on the list for compatibility, it's a useful reference. If enabling XMP/EXPO results in blue screens, unexpected restarts, or a system that won't boot properly, you might need to lower the frequency slightly or check that the modules are correctly installed in the recommended slots.
With the memory profile correctly configured, you'll see that the system responds better overall and that, in many games, FPS and frame rate stability improve, especially in competitive titles where CPU and memory make the difference.
Enable Resizable BAR / Smart Access Memory to increase FPS
Another interesting feature controlled from the BIOS is Resizable BAR, known in the AMD ecosystem as Smart Access Memory (SAM) . This technology allows the processor to access the entire VRAM of the graphics card instead of just small memory windows, which in some games translates into a noticeable performance increase.
To take advantage of Resizable BAR, several requirements must be met. On the GPU side, you need a relatively modern card: AMD Radeon RX 6000 series or higher , NVIDIA GeForce RTX 3000 series or higher, or Intel Arc. As for the motherboard, recent chipsets are generally compatible: 500 and 600 series on AMD platforms and 400, 500, and 600 series on Intel, although it's advisable to check your specific model's specifications on the manufacturer's website.
Activation involves entering the BIOS and finding a couple of key options. You'll typically need to enable Above 4G Decoding (sometimes called 4G Decoding or something similar) and ensure that CSM or Legacy boot mode is disabled, so the system boots in pure UEFI mode. Once these changes are made and saved, the specific Resizable BAR or SAM option will usually appear for you to enable.
Not all games benefit equally, but most modern titles include optimizations for this technology, especially recent AAA games. It's also important to keep your GPU drivers up to date, as AMD, NVIDIA, and Intel all fine-tune their drivers to take advantage of Resizable Bar in specific titles. If you experience graphical issues or instability in older games after enabling it, you can always disable the feature again in the BIOS.
Fan curve from BIOS: less noise and better temperature
Cooling is key to maintaining performance. If your processor or graphics card gets too hot, it may start lowering its frequency to protect itself, leaving you with fewer FPS mid-game. Adjusting the fan curve from the BIOS or UEFI allows you to find the right balance between noise and temperature.
Most modern motherboards include a dedicated section for controlling system fans (CPU_FAN, SYS_FAN, etc.). From there, you can choose preset modes (silent, normal, turbo) or design a custom fan curve. A typical gaming fan curve might, for example, set the fan speed to 60% below 50°C , increase to 70% above 60°C, and reach 100% above 70°C.
This type of configuration makes the PC quite quiet for desktop or light tasks, but it really kicks in when you launch a demanding game. It's always a good idea to monitor temperatures with a Windows tool and adjust them if you see the CPU or GPU getting dangerously close to their thermal limits.
Besides the CPU cooler, it's important that the case has decent airflow: at least one fan drawing in cool air and another exhausting it. If the ambient temperature is high or dust accumulates, even the best fan curve set in the BIOS won't prevent problems, so you'll need to clean the filters and fans from time to time to ensure everything breathes properly.
Overclocking and AI Overclocking from BIOS: when it's worth it
Manual overclocking via BIOS remains the domain of advanced users, but some manufacturers have introduced AI-assisted automatic overclocking systems . ASUS motherboards, for example, offer the AI Overclocking feature, which analyzes the processor and cooling system's potential to apply slightly more aggressive settings in a relatively safe manner.
To use these features, once you start your computer and the ASUS logo appears on the screen, you can press the Delete (or Del) key to enter the BIOS. There you will find an AI Overclocking section where you can select modes such as "AI Optimized ," which allows the firmware to manage the frequency and voltage range based on load and temperature.
These tools are a good entry point for those who want a bit more performance without having to tweak multipliers and voltages one by one. Even so, it's important to understand that any type of overclocking increases power consumption and heat , and can shorten the component's lifespan if pushed too hard or if the cooling isn't adequate.
If you enable AI Overclocking (or similar features from other manufacturers), carefully monitor temperatures and stability in your games and stress tests. If everything runs smoothly and temperatures remain within safe limits, you can leave it as is. If you notice crashes, artifacts, or screen freezes, you might want to switch back to standard mode or reduce the aggressiveness level.
Optimize the operating system to complement the BIOS settings
Although the focus is on firmware, gaming performance is the result of the combination of BIOS, drivers, and Windows configuration . It's not very useful to have perfectly tuned RAM and CPU if the operating system is overloaded with background programs or doesn't have gaming-optimized options enabled.
Windows 10 and Windows 11 have a feature called Game Mode. In Windows 11, you can activate it by clicking the Start icon on the taskbar, going to Settings, accessing the Gaming section, and selecting the Game Mode option. The process is very similar in Windows 10: Start button, Settings, Gaming section, and checking the box for Game Mode.
This feature adjusts certain internal parameters to prioritize the resources needed for games, limiting background activity while you're playing. It's not a miracle worker, but it helps provide a more consistent experience, especially on systems with limited CPU or memory.
Another key setting is disabling the automatic startup of applications you don't need. In Windows 11, you can find a list of programs that load when your system starts in Settings, under Apps and Startup, and disable those you rarely use but that consume resources . In Windows 10, access is similar; go to Settings and look for the Apps and Startup section.
Limiting these types of processes, along with having the BIOS properly configured, makes the whole system feel lighter: faster boot times, less lag when switching windows while playing a game, and less competition for CPU and RAM while gaming.
GPU drivers and scaling technologies: the perfect complement
In addition to everything you can do in the BIOS, updating and optimizing your graphics card drivers is essential for any gamer. NVIDIA and AMD release new drivers regularly, optimized for the most popular titles and including fixes for graphics and performance bugs.
If you have an ASUS graphics card, you can download the latest drivers from the ASUS Download Center. The process is usually simple: enter the model number (for example, ROG-STRIX-RTX3080…), go to the Drivers & Utilities section, select your operating system, and download the latest available display driver, checking the version and date to ensure it's the most up-to-date.
Once you've downloaded the executable, simply launch it and follow the installer's instructions. Keeping these drivers up to date is important not only for improving FPS but also for ensuring the proper activation of technologies like DLSS and FSR , which rely in part on driver support.
In the case of NVIDIA, DLSS (Deep Learning Super Sampling) uses artificial intelligence to reconstruct the image at a higher resolution from a lower-resolution internal rendering, allowing for increased FPS while maintaining good graphics quality . In compatible games, the graphics options menu usually offers modes such as Off, Performance, Balanced, and Quality. For a good compromise, Balanced mode is generally recommended.
AMD offers something similar with FSR (FidelityFX Super Resolution), which is also configured through the game's settings and usually includes similar modes (Off, Performance, Balanced, Quality). Again, the Balanced mode typically provides an interesting mix of sharpness and a noticeable FPS increase, especially useful if the GPU is struggling.
Graphics settings in games and screen resolution
Beyond the BIOS and drivers, it's worth spending a few minutes adjusting the graphics settings within each game . Reducing certain resource-intensive parameters can result in a significant performance boost with a manageable loss of visual quality, especially if you play competitively.
Options like global detail, shadow quality, ray tracing, draw distance, and some special effects are usually the ones that most impact performance. Lowering them by one or two points from the maximum, while keeping high the settings you really notice (for example, texture quality), can give you several extra FPS without the game looking bad.
Resolution is also key. Playing in 8K (7680×4320) or 4K (3840×2160) puts a lot of strain on the graphics card, while the classic Full HD (1920×1080) is much more manageable. If you notice that a game is struggling, you can try lowering the resolution or combining a slightly lower resolution with upscaling technologies like DLSS or FSR to maintain a sharp image.
On high refresh rate displays (144 Hz, 240 Hz), the priority is usually achieving a high and stable frame rate, so sacrificing some graphical quality for a smoother feel is often well worth it. Ultimately, it's about balancing what you see with how the game feels in your hands.
Resolve performance issues after optimizing BIOS and system
It's possible that, even after fine-tuning the BIOS, updating drivers, and configuring the graphics settings, you might not be satisfied with the results. In such cases, it's advisable to review several points before considering a hardware upgrade, starting with verifying that your components actually meet the minimum and recommended requirements of the game in question.
If your processor or graphics card isn't powerful enough for the game's demands, it's normal for performance to be less than ideal. However, developers usually release patches that improve hardware utilization over time. Keeping the game updated and, if possible, providing feedback to the developers can help future updates optimize performance.
Another critical aspect is temperature. Dust and dirt on fans, heatsinks, and filters can cause temperatures to spike, forcing the hardware to reduce its frequency to protect itself. Cleaning the case, the CPU cooler, and, very carefully, the graphics card itself, can restore the machine's ability to maintain its turbo frequencies for longer.
If you're still experiencing stuttering, crashes, or other issues, it could be a sign that a BIOS setting is too extreme (for example, an overly aggressive memory profile or an automatic overclock that's pushing the voltage too high). In that case, it's a good idea to reduce those settings slightly or temporarily revert to the optimized default values to see if stability improves.
Ultimately, optimizing gaming performance comes down to understanding that the BIOS is the foundation upon which everything else is built: a motherboard with up-to-date firmware, safe values loaded, RAM running at the correct frequency, technologies like Resizable BAR enabled when your hardware supports it, and a finely tuned fan curve make all the difference. Add to that updated drivers, a Windows system free of background processes, and graphics settings that match your system's specifications, and you're well on your way to enjoying stable gaming with good FPS and no headaches.