- Regular maintenance prevents the accumulation of grease and dust from degrading the tactile response of the switches.
- Deep cleaning requires disassembling the keys to disinfect them and free the motherboard of solid residue.
- Using isopropyl alcohol and compressed air is the safest combination for removing dirt without damaging electronic circuits.
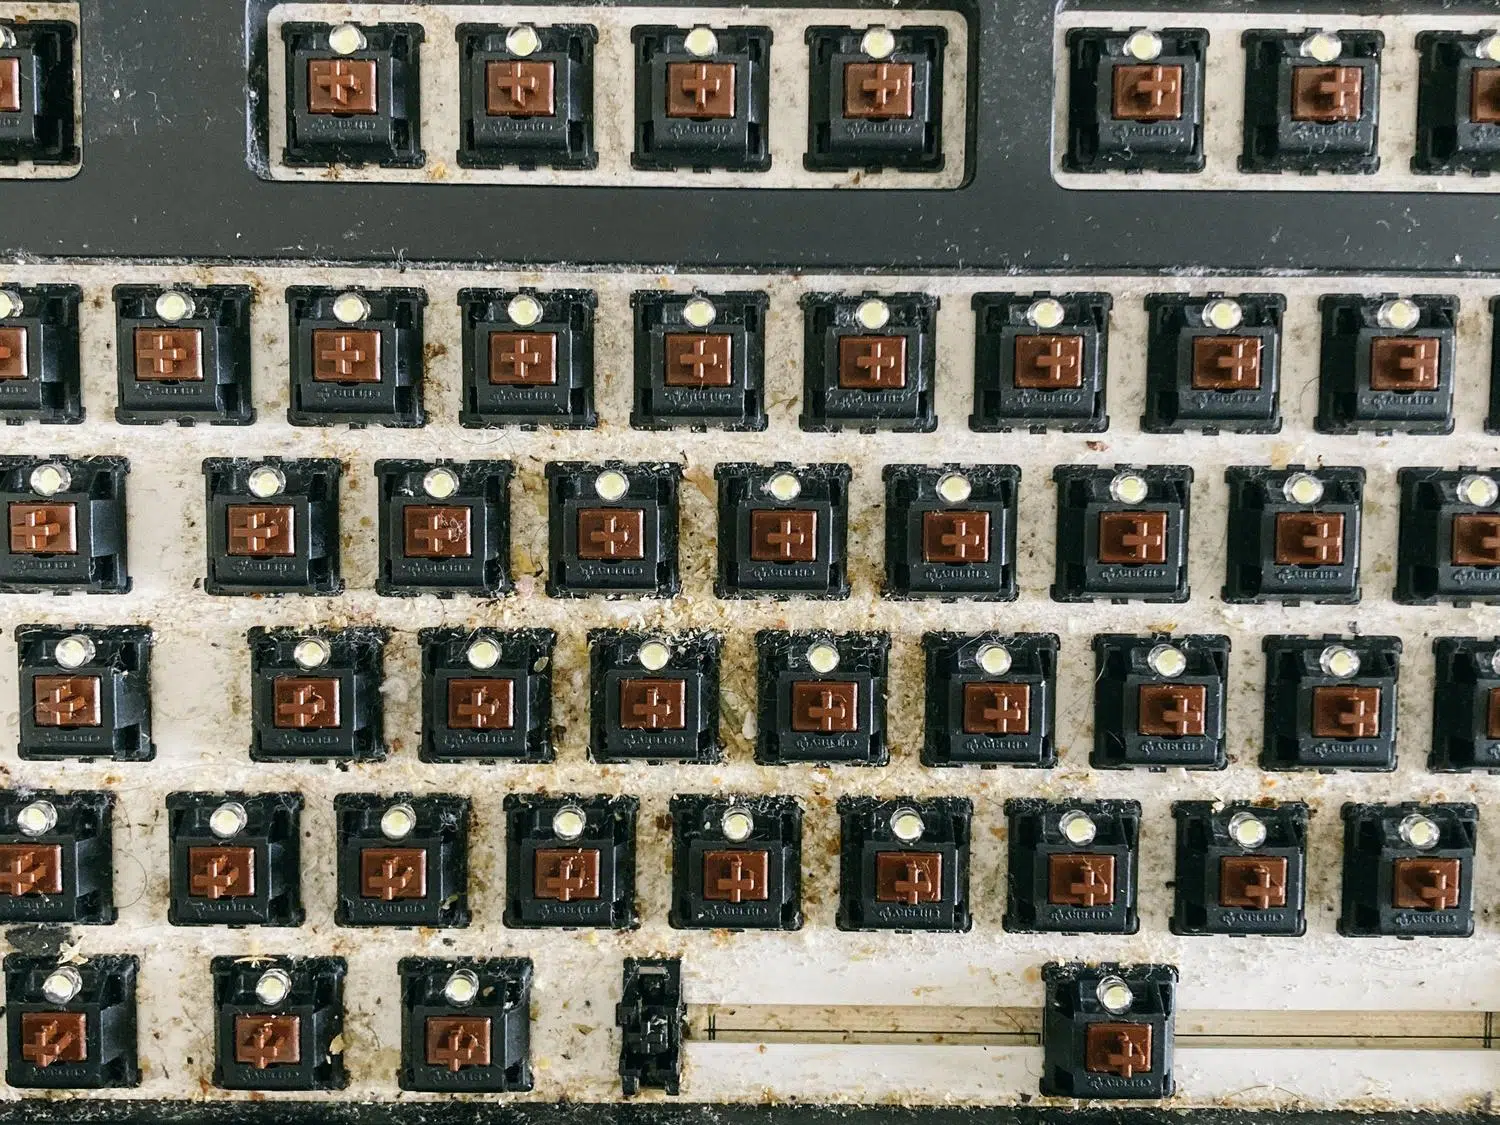
Owning a mechanical keyboard is a joy thanks to its distinctive feel and precision, but there's a problem: they're veritable magnets for dirt. Between breakfast crumbs, pet hair, and the natural oils from our fingers, the space between the keys ends up becoming a breeding ground for grime that's not only disgusting but can also make some keys feel sticky or malfunction at the worst possible moment.
You don't need to be an electronics expert to keep your equipment in top condition, although it's vital to avoid doing anything drastic to prevent damaging the circuit board. In this article, we'll break down everything from daily cleaning habits to the thorough mechanical keyboard cleaning you should perform every few months to ensure your investment lasts for years and your typing experience remains smooth and satisfying.

Survival kit: Necessary materials
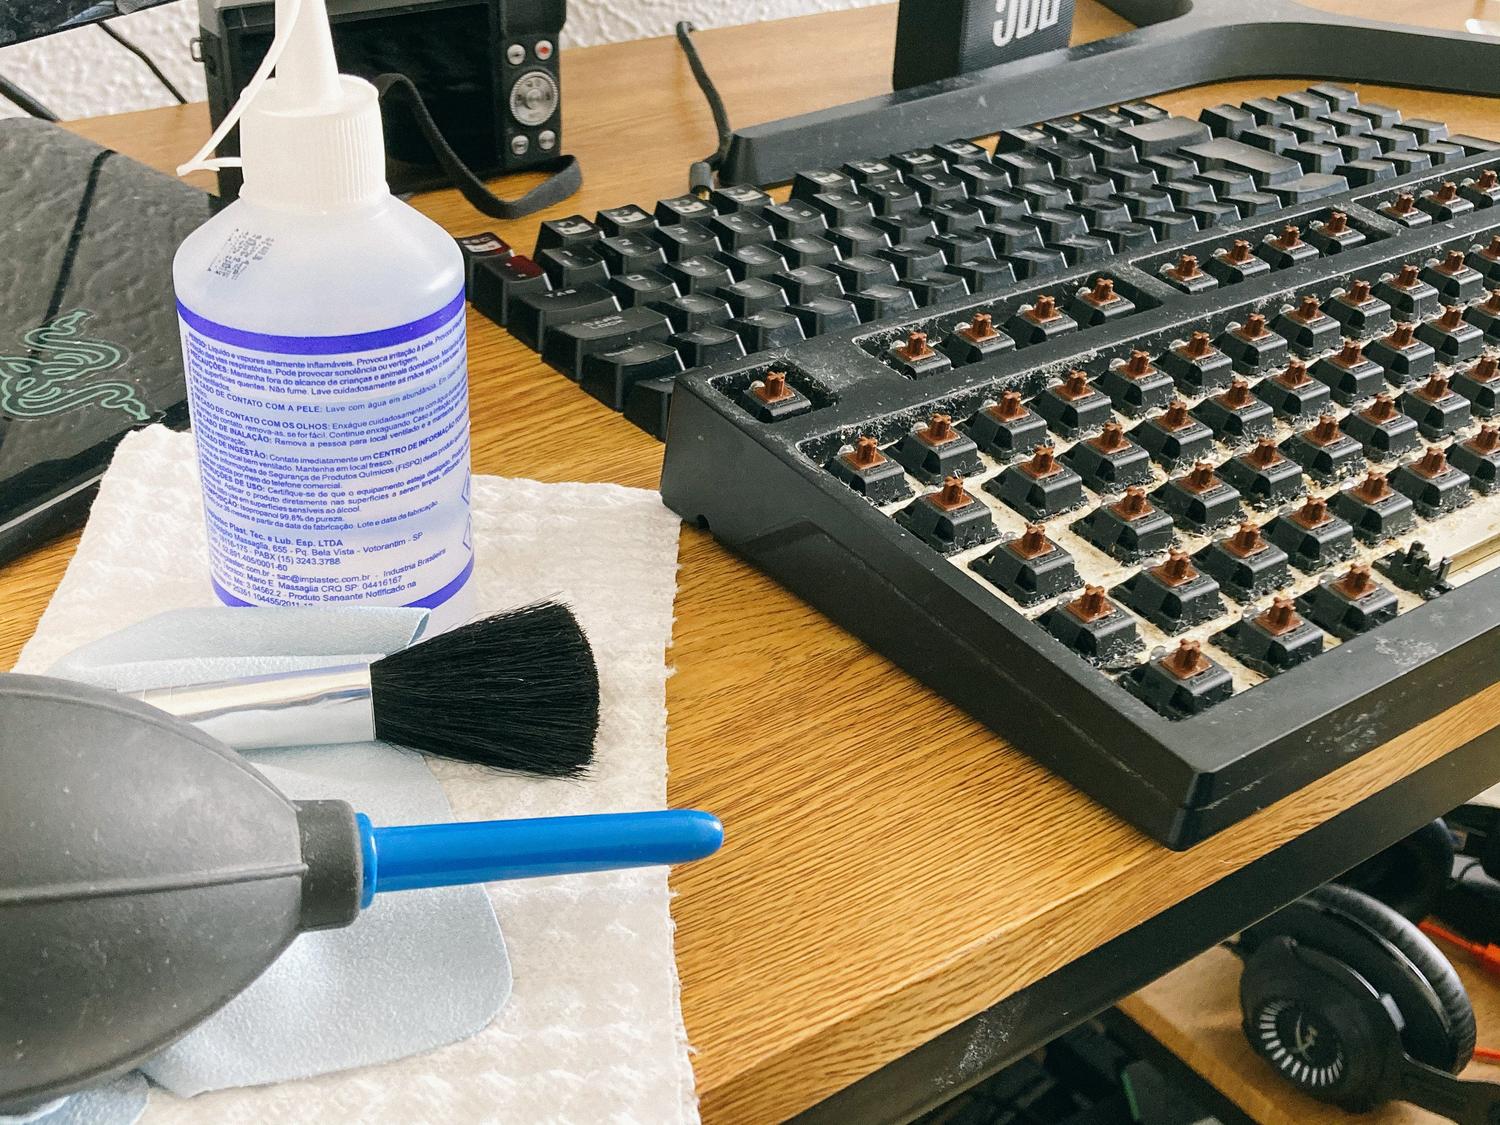
Before you start taking everything apart, it's a good idea to have everything you need ready so you don't interrupt the process. For a professional result, we recommend getting a keycap puller , either plastic or wire; this will prevent you from scratching the plastic or damaging the stabilizers. Compressed air will also be essential for reaching those hard-to-reach corners, and a soft-bristled brush will be useful—it could be anything from a makeup brush to a completely dry, old toothbrush.
As for liquids, forget about abrasive products. Ideally, use 70% isopropyl alcohol , as it evaporates quickly and degreases safely. Complete your kit with a couple of lint-free microfiber cloths, cotton swabs for fine details, and a container of warm water with a little dish soap for cleaning the keys.

Preventive maintenance: The quick routine
Don't wait until your keyboard looks like a garbage dump to take action. The smartest thing to do is establish a weekly cleaning routine as part of your computer's preventative maintenance . The first step is always the same: unplug the device to prevent the computer from typing strangely or freezing. Once it's safe, turn it upside down and gently tap it to dislodge any larger debris. Avoid hard knocks , as we don't want anything to come loose inside.
For any remaining dust, use the narrow nozzle of your vacuum cleaner or compressed air. If using compressed air, remember to use short, sideways bursts ; directing the air straight at you from close range could create condensation or simply push the dirt further in. Finish by wiping the surface of the keys with a slightly damp microfiber cloth and then immediately drying them with another soft cloth to remove all traces of moisture.

Deep cleaning: Disassembly and disinfection
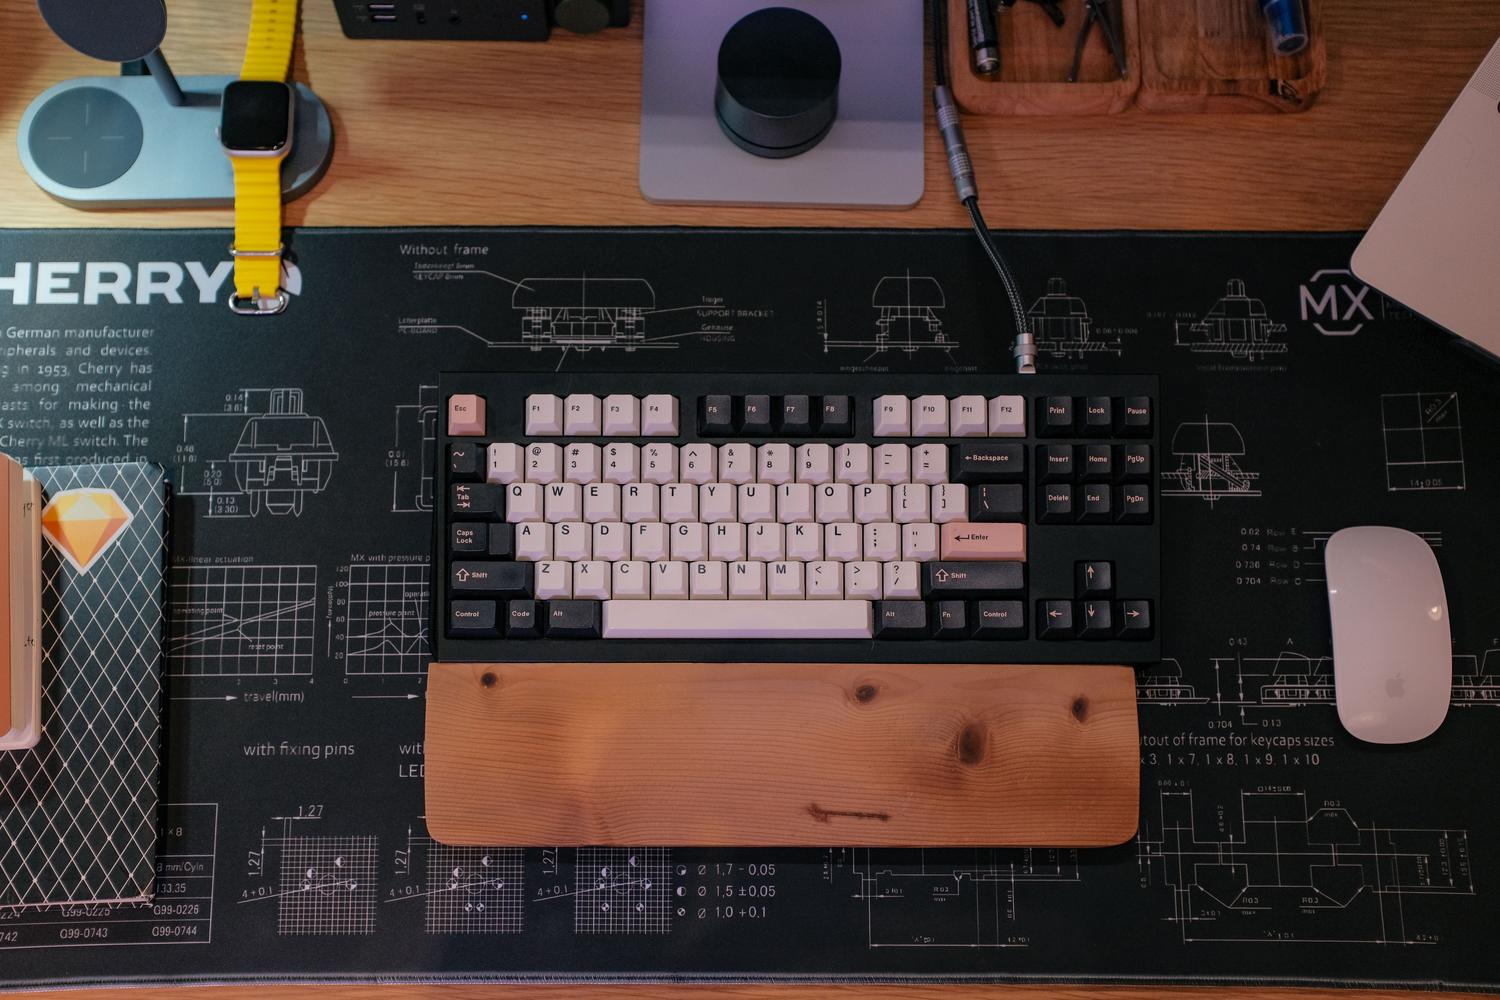
When you feel your keyboard isn't gliding as smoothly or there's too much grime built up, it's time for a thorough cleaning. Before you start removing parts, here's a foolproof trick: take a picture of your keyboard layout . You don't want to spend two hours trying to remember where the function key or the percent symbol is.
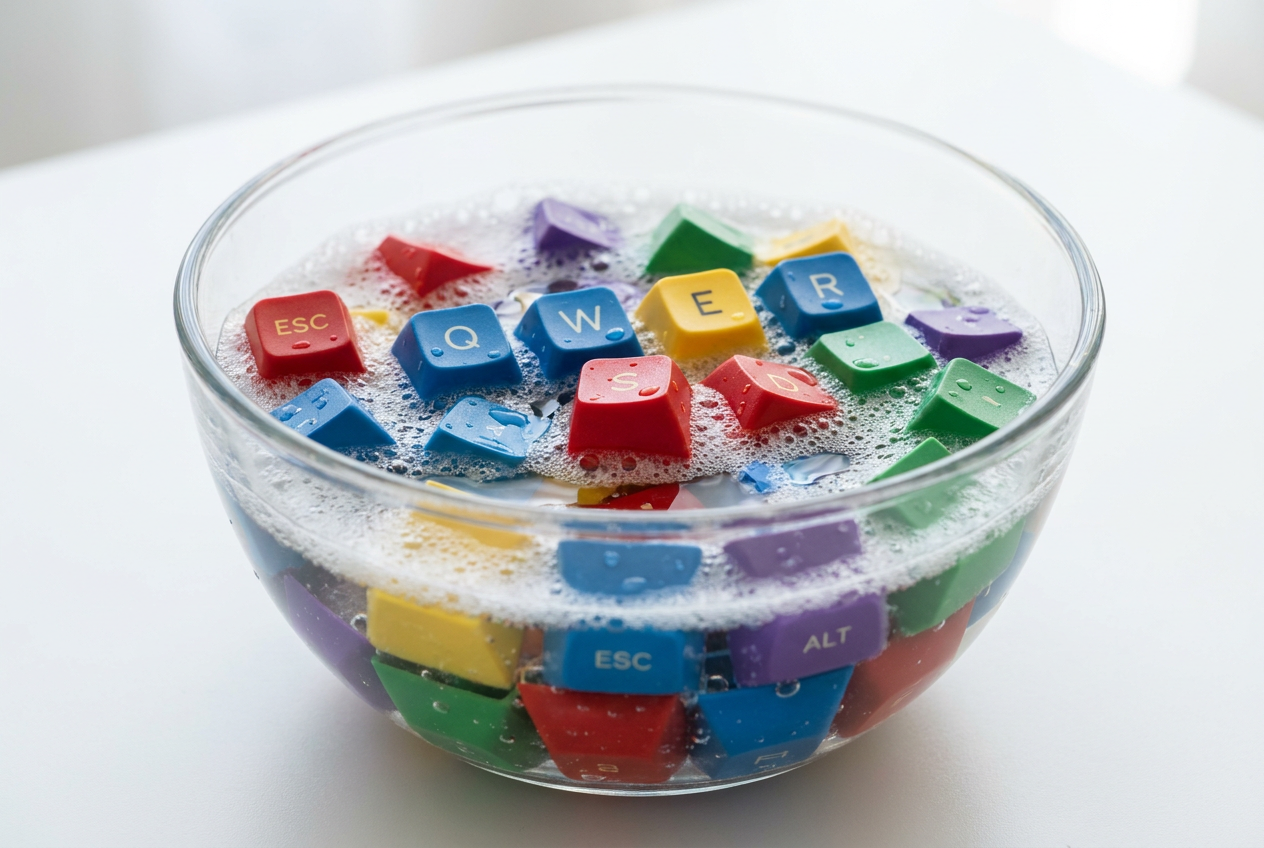
Use the keycap puller to carefully remove each key. Be very careful with long keys like the space bar or Enter key, as they have stabilizing wires that can bend if you pull too hard. Once removed, soak all the keys in a container of warm, soapy water. For a more thorough cleaning, some people use denture cleaning tablets , which are excellent at removing oils and sterilizing the plastic without leaving any residue.
While the keys are air-drying (make sure they are completely dry before reassembling, especially the lower crossheads), take care of the base. Use the dry brush to remove any dirt stuck between the switches, then vacuum the entire base. If you see any stubborn stains on the base, dampen a cotton swab with isopropyl alcohol and gently clean it, being careful not to let the liquid drip onto the printed circuit board (PCB).

Accident and special case management
Spilling coffee or soda is every user's nightmare. If it happens, the absolute priority is to unplug the cable immediately . If it was just water, simply leave it to dry upside down for a couple of days, although if you have a laptop, you should know what to do when cleaning up spilled water on your laptop . But if the liquid was sugary, be prepared for an immediate deep clean, as sugar crystallizes and leaves the keys sticky.
In extreme cases where a switch has failed due to a spill, you could try cleaning it with a toothpick and isopropyl alcohol, although this is risky. If you have soldering skills, you could replace the damaged switch , but remember that this voids the warranty. For those with membrane keyboards, the process is similar but without removing the keys, relying more on alcohol and cotton swabs to clean the edges.
Advanced tricks for enthusiasts
If you want to take your keyboard to the next level, consider lubricating the switches . Using a guide for lubricating mechanical keyboard switches with products like Krytox or Tribosys every 6 to 12 months will reduce friction and improve the keyboard's sound. Additionally, modifications such as installing sound-dampening foam in the casing not only improve acoustics but also help prevent dust from accumulating in certain areas.
Don't forget to check the manufacturer's software. Sometimes, keeping the firmware updated optimizes key response and fixes stability issues, ensuring that both physical and software maintenance work together to get the most out of your peripheral.
Caring for your keyboard with a combination of weekly dustings, quarterly soap baths, and judicious use of isopropyl alcohol ensures that your work or gaming tool stays spotless. Avoiding eating at your desk and using keyboard protectors when not in use are the best weapons against dirt, ensuring that every keystroke is as precise and satisfying as the first day.
