- Most printer failures in Windows are due to outdated drivers, incorrect configuration, or errors in the print queue.
- Removing the printer, reinstalling it with the correct driver, and using the Windows troubleshooter usually resolves most cases.
- WiFi and Bluetooth printers require thorough network, port, and security checks, as well as keeping firmware and drivers up to date.
- Print quality and cartridge recognition improve by maintaining the hardware, updating the software, and using compatible consumables in good condition.
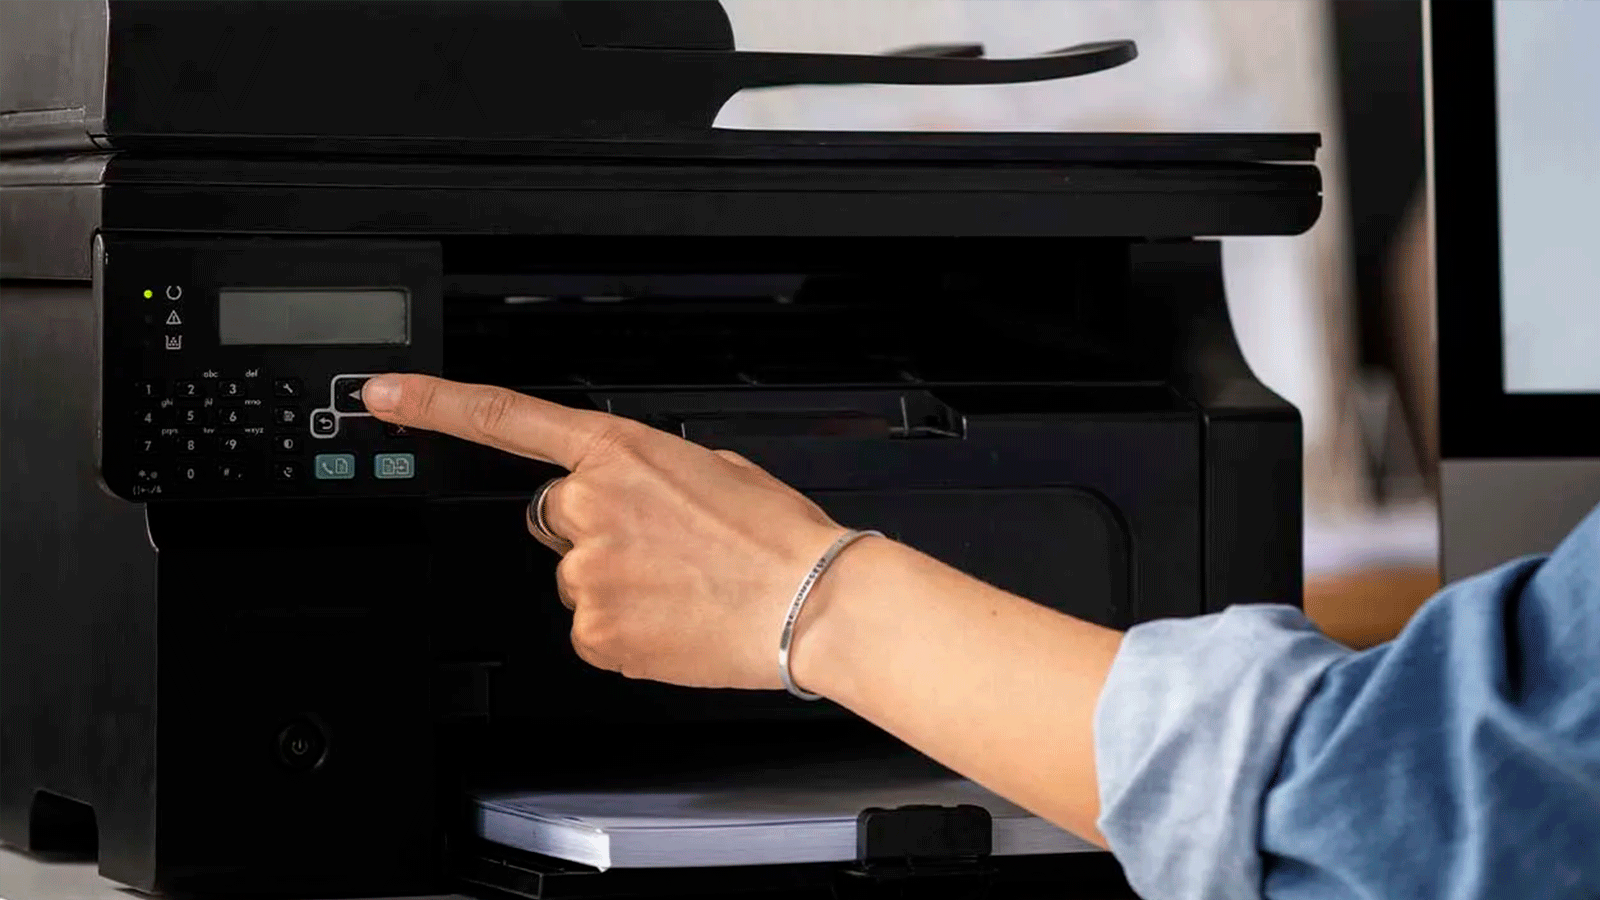
If you use Windows daily, it's only a matter of time before your printer decides to stop working right when you need it most . Error messages, stuck print jobs, a printer that "disappears" from the system or gets stuck in an offline state... sounds familiar, right?
The good news is that most of these problems can be fixed without technical expertise. In this guide, we'll gather, in an organized way, all the checks and tips recommended by Microsoft and major manufacturers to fix printer problems in Windows 10 and Windows 11: from connection and driver errors to print quality issues, Wi-Fi, Bluetooth, and recent changes in Windows updates.
Typical printer problems in Windows 10 and Windows 11
When Windows and your printer don't get along, the symptoms are usually the same: it won't print, it shows "offline," the print queue gets stuck, or you can't even add the device . Before you panic, it's helpful to identify which group your case falls into.
One of the most annoying problems is that when you try to print, the document gets stuck in the print queue and doesn't move forward . You see the jobs in the list, but the printer doesn't even react, or it displays a generic error message.
It's also very common for Windows to display the printer as "Offline," "Unavailable," or similar, even when it's turned on . In other cases, when you click "Add a printer or scanner," the system is unable to find it, whether it's connected via USB or network.
Another classic problem: after a Windows update, a printer that has worked for years now displays driver errors, "driver unavailable" messages, or software installation failures . This is especially common when upgrading from Windows 10 to Windows 11 or after major feature updates.
Finally, there are also more physical or quality-related problems: blank pages, blurry printing, misaligned colors, paper jams, or empty cartridge warnings when you know there's still ink . All of these can also be addressed step by step.
Basic checks before things get complicated
Before messing with advanced settings, it's a good idea to check the simpler ones. Often, the problem can be fixed with a couple of basic steps, saving you time with more complex adjustments that weren't even necessary. These initial checks apply to both Windows 10 and Windows 11.
The first thing to do is make sure the printer is actually turned on, with no error lights, the lid closed, and no paper jammed . It might sound obvious, but a misaligned cartridge or a paper jam can completely block printing, and Windows will only see a "generic error."
If your printer uses USB, check that the cable is securely connected at both ends and try a different USB port on your PC. If possible, use a different cable . Cheap USB hubs can sometimes cause problems, so it's best to connect the printer directly to your computer.
For Wi-Fi or Ethernet printers, check the printer's control panel to ensure it's connected to the network without any unusual warnings. It's crucial that the printer and computer are on the same local network and the same Wi-Fi network ; one should not be on a guest network while the other remains on the main network.
Finally, in Windows, go to Control Panel or Settings and see if the printer appears in the list of devices. If it doesn't appear anywhere, or if it shows a warning icon, it's a clear indication that there's a detection or driver problem.
Remove the printer from Windows and reinstall it.
One of the most common solutions found in official guides and technical forums is to completely remove the printer from the system and then add it again as if it were new . It's surprising how many errors are fixed this way, especially after Windows version upgrades.
In Windows 10, the typical process is to open Settings > Devices > Printers & scanners . There, you select your problematic printer and click "Remove device." In Windows 11, the process is similar, but you go to Settings > Bluetooth & devices > Printers & scanners.
After removing the driver, it's recommended to restart your PC so Windows can properly release all the driver's resources. Then, if it's a USB printer, reconnect it and wait for Windows to attempt automatic installation . In many cases, the system will download the generic or class-specific drivers, and it will be ready to use.
If the printer is a network printer (WiFi or Ethernet cable), when you return to the Printers and Scanners section, you'll need to use the "Add device" or "Add a printer or scanner" button and let Windows search the network for available printers and offer to add it . If it finds it, simply click "Add device."
If the printer you want isn't listed, you'll usually be offered the option "The printer I want isn't listed" or "Add manually." From there, you can choose to search by TCP/IP address, hostname, or add a local or network printer with manual configuration , depending on the type of connection your device uses.
Manual reinstallation of a local or older printer
When automatic detection fails, or the printer is older, the best solution is usually to install it manually by selecting the correct port and driver . This applies to USB, parallel (LPT), and serial (COM) ports.
In the "The printer I want is not listed" wizard, choose the option to add a local or network printer with manual configuration . On the next screen, select "Use an existing port" and choose the port to which the printer is connected (USB, LPT1, COM, etc.) from the list. Then click Next.
Next, Windows will display a list of printer manufacturers and models. If you have a driver disc from the manufacturer, you can use the "I have a disc" button . Otherwise, it's worth trying "Windows Update" to have the system download a more extensive list of supported models and choose the make and model combination closest to your printer.
After selecting the driver, the wizard will ask you for a name for the printer. You can type anything you like, for example, something that identifies the model and connection type (USB, network, draft, color, etc.). This will make it easier to distinguish it later when you have several installed.
In the sharing settings, if you're only going to use it from that PC, you can select "Do not share this printer." If you want other devices on the network to be able to print from that computer, select "Share this printer" and define the name and location. Finally, it's usually a good idea to print a test page to confirm that everything is working correctly.
Recent changes in Windows 11: goodbye to some old drivers
Recently, Microsoft has decided to clean up Windows 11 by removing legacy components carried over from much older versions . One of the major changes affects printer drivers known as "legacy" or legacy drivers (particularly models V3 and V4).
These legacy drivers were introduced years ago; for example, the V4 format appeared in Windows 8 to support many printers of that era . They continued to work for quite some time, but were considered obsolete a few years ago, and now Windows 11 has begun to phase out support for them in recent versions such as 24H2 and 25H2.
In practice, this means that if you have a very old printer that relied on those legacy drivers , you might find that it stops working after certain Windows 11 updates. Microsoft had already announced that it would simplify and modernize the printing stack to improve security and stability.
The official recommendation in these cases is to contact the printer manufacturer and check if there is an updated or Windows 10/11-specific driver that is not dependent on that legacy model. If the manufacturer has released a modern driver, it's the best way to extend the life of the printer.
In parallel, Microsoft is pushing the use of the IPP (Internet Printing Protocol) class driver , a universal print driver integrated into both Windows 10 and Windows 11, which does not require installing additional software and is intended to replace many older proprietary drivers.
Driver errors: “not available”, faulty or outdated
One of the most common causes of printer problems is drivers. Windows may indicate that "the driver is unavailable," that it is corrupted, or that it is incompatible with the current system version . Sometimes the problem is that it was never updated, and other times it's due to a faulty latest version from the manufacturer.
When you see these kinds of messages, the first reasonable step is to try updating the driver from within Windows itself . You can do this from Device Manager, by going to the Printers section, right-clicking on your printer model, and selecting "Update driver" so the system can search for newer versions.
If Windows doesn't find anything useful, you'll have to go directly to the printer manufacturer's official website , locate the support section, enter the exact model, and download the latest driver and software package for your specific version of Windows (10 or 11, 32 or 64 bits).
When the driver appears completely broken, it usually works best to first uninstall the device and the driver, and then reinstall it from scratch. To do this, remove the printer from Settings > Devices / Bluetooth & devices, and then, in Device Manager , find the entry for that printer and select "Uninstall device." After restarting, reconnect the printer and immediately run the downloaded official installer.
On older computers, you can even use drivers from previous versions of Windows in compatibility mode, or resort to generic drivers from the operating system itself if the manufacturer's drivers are no longer updated. They don't offer all the advanced features, but they are usually sufficient for printing basic documents.
Windows Tools: Troubleshooter and Print Spooler
Windows 10 and Windows 11 include several tools designed to automatically fix common printer problems . They're not magic, but they do resolve many cases of incorrect configuration, internal service failures, or print queue issues.
The first resource is the printer troubleshooter . In Windows 10, you can access it from Settings > Update & Security > Troubleshoot > Printer. In Windows 11, the troubleshooter is also located within Settings, where you can search for "Printer" in the search box to find it quickly.
When you run it, the tool analyzes the system: it checks services, the print queue, permissions, driver status, and if it detects anything unusual, it applies automatic fixes or suggests steps to take . It costs nothing to try it at the beginning of the diagnostic process.
When the print queue gets stuck and documents won't print, the most effective solution is usually to manually empty the queue and restart the print service . This involves opening the Services console (services.msc), stopping the Print Spooler service, and deleting the temporary files stored in the system folder dedicated to print jobs.
The typical path for these files is something like C:\Windows\System32\spool\PRINTERS . Once the print queue is stopped, all the files in that folder are deleted. Then, return to the Services window, set the startup type to Automatic, and restart the service. From then on, the old print jobs will disappear, and you can send your documents to print again.
Connection errors: USB, WiFi, local network and internet
Many printer problems in Windows are related to connectivity. Sometimes there's a faulty cable, an incorrect network configuration, or a port that has changed . Other times, the firewall or antivirus software is overly strict and blocks access.
If your printer connects via USB and you're experiencing errors during installation or device detection, try disconnecting the printer when prompted by the installer, testing with a different USB port or cable, and removing other peripherals while testing . Some installers get confused when they detect multiple devices simultaneously in the same drivers.
With Wi-Fi printers, one of the most common problems is that the computer and printer aren't actually on the same network. Make sure they 're both using the same Wi-Fi network, and if your router creates guest networks, ensure neither is connected to that separate network . You can also move the printer closer to the router during testing to avoid interruptions due to poor signal.
If your printer is a network printer with its own IP address, it helps a lot to assign it a static IP address on the router or the printer's control panel. This way, in Windows you can add it using the "Add a printer using TCP/IP address or hostname" option and directly enter that IP address. This will prevent problems when the router dynamically changes IP addresses.
When everything seems correct and Windows still won't communicate with the printer, it might be worth temporarily disabling your firewall or antivirus software as a test. If the printer works as soon as you disable them, you'll know the problem originates there, and you'll need to add a permanent exception for the printing software or the printer's IP address, or even open ports on your router.
"Offline" status, default printer, and jammed print queue
Sometimes the printer is there, it appears in the device list, but it shows as "offline" even though it's physically turned on and working . In these cases, the problem is often with the Windows local print queue settings.
From the Windows Settings page, you can go to Devices > Printers & scanners (or the equivalent in Windows 11), select the printer, and click "Open queue." A window will open with a list of pending jobs and a top menu called "Printer."
In that menu, it's important to ensure that the "Use printer offline" option is unchecked , as this will force Windows to treat the printer as if it were disconnected even if it isn't. It's also advisable to disable "Pause printing" if it's enabled. Additionally, in that same window, you can select "Set as default printer" so that it's the printer the system always uses.
When the print queue gets stuck, you'll see several jobs with statuses like "Queued," "Error," or "Printing" that never finish. From this same window, you can cancel the problematic documents one by one or cancel them all to clear the queue and resend what you actually want to print.
If the graphical interface freezes or becomes unresponsive, you can always use the Task Manager (Ctrl + Alt + Delete) to close the printing application or restart Windows Explorer, or even restart the computer so that all services start from scratch.
WiFi and Bluetooth printers in Windows: key settings
Wireless printers offer convenience, but they also introduce potential points of failure. With Wi-Fi, each manufacturer may use a different system to find and pair the PC with the printer , so it's always a good idea to check the manual to see the exact network scanning method.
In many models, the installation process includes a specific driver and a utility from the manufacturer that facilitates finding the printer on the network. If, after some time, it stops working, the printer's network or Wi-Fi driver may simply be outdated , and you should download the latest version available from the official website.
When troubleshooting a Bluetooth printer, it's best to start with the basics: check that the Bluetooth icon is active on the printer's screen and that it's not already paired with another device. If it is, you'll need to unpair it or turn off Bluetooth on the other device to avoid conflicts.
On your PC, make sure Windows Bluetooth is working correctly. If you experience frequent dropouts or disconnections, the problem might be the computer's Bluetooth driver , especially if it's an older model. Updating the drivers through Windows Update, Device Manager, or the motherboard manufacturer's website can make a difference.
If none of these adjustments resolve the issue, you can always resort to the more advanced options suggested by the Microsoft forums: installing generic drivers, trying drivers for previous versions of Windows in compatibility mode, or even completely uninstalling the Bluetooth adapter and letting Windows detect it again after restarting.
Print quality: misaligned lines, blurriness, and blank pages
Not all printer problems are connection issues. Often the device prints, but it does so poorly: crooked lines, misaligned colors, smudged ink, or even completely blank pages when you were expecting a document.
When lines don't align or colors overlap, it's almost always related to printhead alignment or cleaning . The solution usually involves opening the printer properties or printing preferences, going to the maintenance section, and running the "printhead alignment" and/or "printhead cleaning" options.
If the printout is very dull or blurry, it's worth checking the paper type and quality settings. Damp or poor-quality paper, combined with an economy print mode at low density , can produce poor results. You can increase the quality and choose a suitable paper, such as photo paper for photos, from the print properties.
When you receive completely blank pages, the first thing to do is check that it's not actually a blank page at the end of the document . If you rule that out and you know the cartridges have ink, there might be a software or driver problem: in these cases, it often works well to unplug the printer, uninstall the manufacturer's software, and reinstall the latest stable version from their website.
In laser printers, if you notice lighter areas, smudges, or a loss of quality, in addition to checking the toner, you should also inspect the thermal fuser and rollers . Over time, these components can accumulate residue or wear out. Basic maintenance, as recommended by the manufacturer, usually helps extend their lifespan and prevent recurring problems.
Cartridges, toner and sensors: when it doesn't recognize the ink
Another common issue is problems with consumables. The printer may indicate that a cartridge is empty or unrecognized even if you know you just replaced it or that it still has enough ink or toner.
Some printers use chips in the cartridges so the printer can recognize the consumable. If the chip is damaged or missing (especially in some compatible cartridges), the system may reject it or mark it as invalid . In that case, you should remove the cartridge, check if it actually has a chip, and if it doesn't or the chip is defective, contact the supplier.
If the cartridge has a chip and appears to be working correctly, you can gently clean the cartridge's contacts and the printer's sensor with a dry, lint-free cloth. Sometimes simply removing the cartridge and carefully reinserting it is enough for the printer to detect it correctly the second time.
In laser printer toner cartridges, when low toner warnings appear but some powder is still visible inside, gently shaking the cartridge often helps to redistribute the compacted toner. This can extend its lifespan slightly before it needs to be replaced.
It's important to remember that some cartridge recognition failures are also due to outdated drivers or firmware . Therefore, if your printer starts rejecting cartridges it previously accepted, it's worth checking if the manufacturer has released software or firmware updates that fix errors with specific cartridge models.
Special cases: COM port, multiple configurations, and manufacturer software
Although less common, some printers still connect via serial (COM) or parallel (LPT) ports , especially in industrial settings or with older equipment. In these cases, it's crucial to ensure that Windows has assigned the correct port and that this assignment doesn't change when logging off or restarting.
To manage these ports, you can check the printer properties and the Ports tab , making sure the correct port is selected. If the computer changes the assigned COM port number, printing may stop working until the configuration is updated to point to the new port or a permanent port is set.
Another interesting possibility is to install the same printer multiple times in Windows, each with a different configuration (for example, one for color and another for black and white) . The trick is to first know the port and driver used by the original printer, and then use the "add a local or network printer with manual settings" option, choosing the same port and driver.
Next, each instance is assigned a unique name (for example, “PrinterName – Color” and “PrinterName – B/W”) and its printing preferences are adjusted separately . This way, when printing from any program, you can directly choose which configuration to use without having to change parameters each time.
On the other hand, many major manufacturers (HP, Canon, Epson, etc.) offer their own applications, such as HP Smart or other proprietary utilities, that can automatically detect and repair some printing problems , especially after Windows 10 updates. If your printer is compatible, it's a good idea to install these tools and let them perform an initial system scan.
Just be careful not to accumulate too many printer management programs at the same time, because they can sometimes conflict with each other or with generic Windows drivers. Ideally, stick with the manufacturer's official, up-to-date software and avoid older suites that are no longer supported.
With all of the above in mind, most printer problems in Windows can be resolved by combining a few well-chosen actions: checking connections, updating or reinstalling drivers, clearing the print queue, checking the network status, and taking advantage of the diagnostic tools provided by the system itself and the printer manufacturer. If you follow these guidelines carefully, the printer will usually start working again, and you can focus on what's important: getting the paper out when you send it.
