- Most printer problems in Windows are related to outdated drivers, connection errors (USB, WiFi or network) and print queue failures.
- Windows 10 and 11 offer built-in tools such as the troubleshooter, service management, and "Printers and scanners" options to detect and fix common problems.
- On older printers, the removal of legacy drivers in Windows 11 forces the use of modern drivers from the manufacturer or the IPP class driver.
- Proper maintenance (updates, cleaning, checking cartridges and using appropriate paper) prevents many print quality errors and blockages.
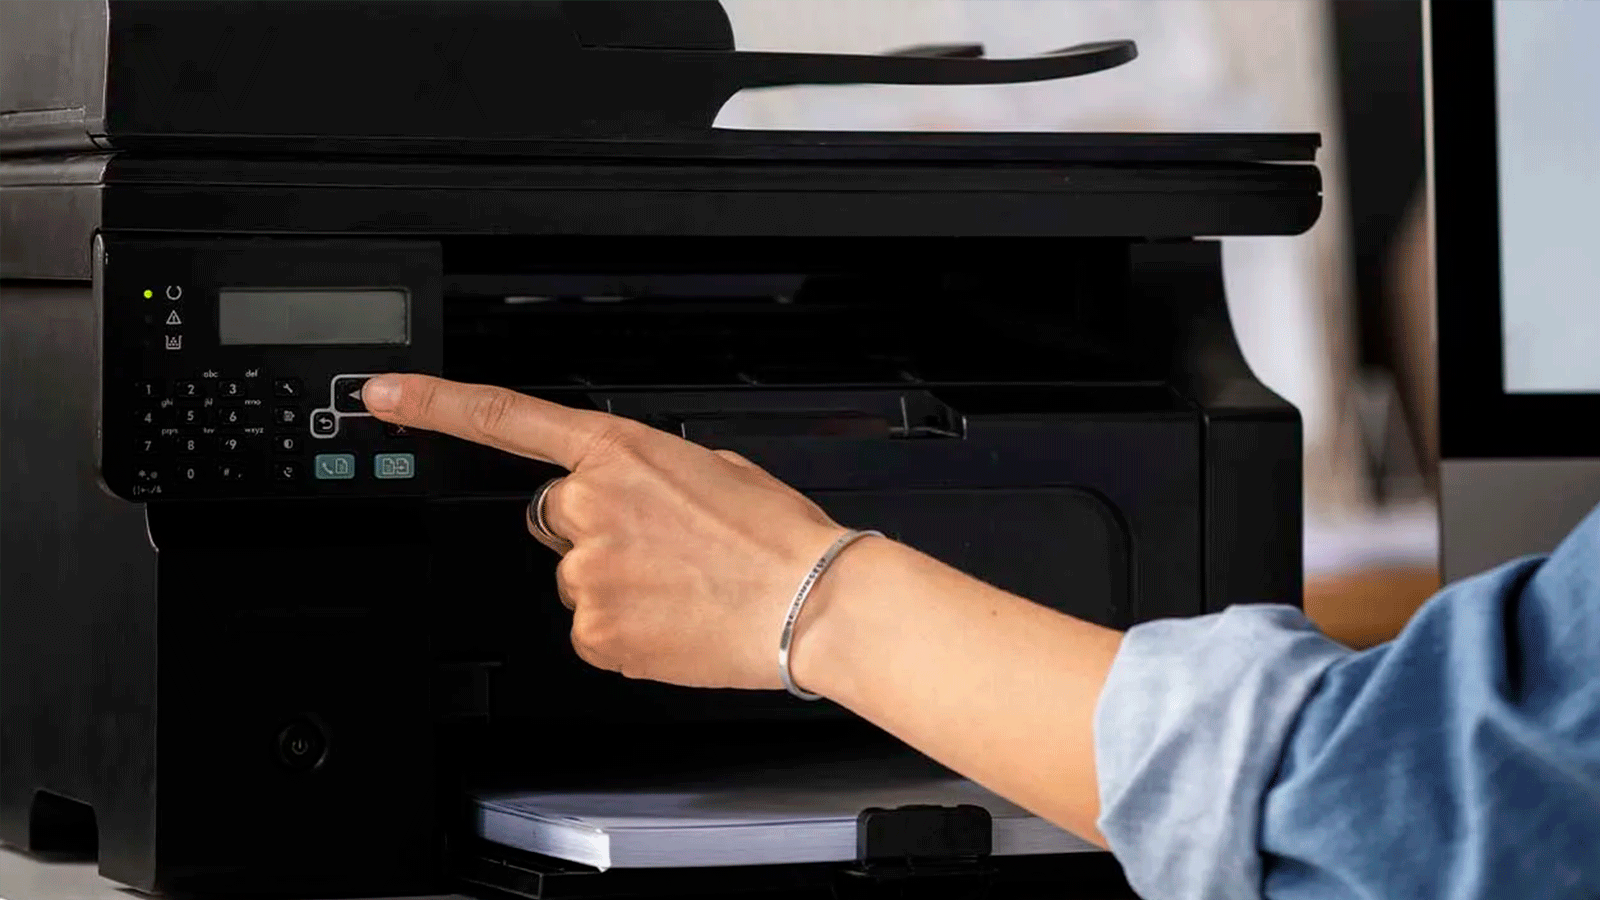
If you use Windows daily, sooner or later you'll run into a printer problem when you're in the biggest hurry . Error messages, documents stuck in the queue, the typical "Windows cannot connect to the printer"... and you're staring at the screen, not knowing where to begin.
The good news is that most of these problems can be fixed by following a series of logical checks and ordered steps in Windows 10 and Windows 11. From checking cables or Wi-Fi, to reinstalling the driver or experimenting with the print spooler and system services, there's plenty you can do before giving up or calling a technician.
Basic checks before you go crazy
Before delving into advanced menus, it's worth checking the obvious: many problems can be fixed simply by verifying physical connections, the printer's status, and a simple restart . It sounds silly, but it solves more than you might think.
Start by checking that the printer is turned on, with no error lights, the covers closed, and no paper jams . If the printer indicates low ink or toner, a very low level, or a cartridge error, you'll need to resolve that first, or Windows will continue to complain.
If it's a USB printer, make sure the cable is firmly connected to both the PC and the printer . Try a different USB port on your computer, preferably a direct one (avoid hubs or extension cables). If you suspect the cable is the problem, try a different one to rule out a damaged cable.
For Wi-Fi or network-connected models, check that the printer is connected to the same router and network as your computer . Often, the PC is on one Wi-Fi network and the printer on another (or on the guest network), and suddenly they can't see each other. If you're unsure, access the printer's control panel and check the network name and signal strength.
Finally, do the simplest thing: turn both the printer and the computer off and on again . Unplug the printer for a minute, plug it back in, and restart Windows. Many temporary errors related to drivers, stuck services, or print queues disappear with this simple step.
Remove the printer in Windows and reinstall it
One of the most effective solutions when your printer is acting up is to completely remove it from the system and let Windows detect and reinstall it . It's simple and resolves many configuration problems and corrupted drivers.
In Windows 10, go to Start > Settings > Devices > Printers & scanners . In Windows 11, the path is very similar: Start > Settings > Bluetooth & devices > Printers & scanners . There you will see the list of installed printers.
Select the problematic printer, click Remove device , and confirm with "Yes." This tells Windows to forget it, including its associated settings. Don't worry, you can add it again later.
To reinstall it automatically, make sure the printer is turned on, ready, and connected via USB or to the network . Return to the same Printers & Scanners screen and choose Add a device (or “Add a printer or scanner”). Windows will search for available models nearby.
If your printer appears in the list, click Add device next to its name and let Windows complete the process. If it doesn't appear, use the "Add manually" or "The printer I want isn't listed" option to force a more advanced installation, such as specifying an IP address or network name.
Manual reinstallation and printer ports (including COM)
When Windows is unable to configure the printer automatically, you can resort to manual installation. This option allows you to choose the exact port, model, and specific driver , ideal for older printers or highly customized installations.
Within “Add printer”, select the option to add a local or network printer with manual configuration . Then, instead of creating a new port, choose “Use an existing port” and select the appropriate one (USB, LPT, or even a serial COM port on very old computers or those with adapters).
Older printers with RS-232 serial connections use a COM port for communications . While less common today, it still exists in some professional settings or repurposed installations. You must ensure your PC has this port available or use a COM-to-USB adapter and then select the correct COM port from the list.
In the next step, you'll need to specify the driver. If you have the printer's disc, select "I have a disc" and navigate to the driver's location. Otherwise, click Windows Update to download an expanded list of manufacturers and models, and then select the exact make and model combination.
Once you've chosen the driver, give the printer a recognizable name (for example, "Office - B/W Laser" or "Living Room WiFi Color" ). On the sharing screen, you can decide whether you want other computers on the network to use the printer or if you want to keep it for your PC only. Finally, you can print a test page to confirm that everything is working correctly.
Drivers, outdated controllers, and changes in Windows 11
Many printing problems in Windows stem from outdated, corrupted, or simply incompatible drivers . This has become especially relevant with Windows 11 and its changes to legacy driver support.
For years, Microsoft has allowed the use of legacy V3 and V4 drivers designed for older hardware, often without updates for over a decade. These drivers have allowed older printers to connect to modern PCs… until now.
With Windows 11 (especially versions 24H2 and 25H2 and the KB5074105 update), Microsoft has begun a cleanup policy: these legacy printer drivers are no longer supported . This means that very old computers may stop working if they only have these legacy drivers installed.
Microsoft itself recommends, in scenarios with older printers, contacting the manufacturer and checking if there is an updated driver, adapted to the newer versions of Windows 11, or resorting to more modern alternatives such as the IPP class driver included in the system or activating Windows Protected Print Mode.
The IPP class driver is a universal print driver integrated into Windows 10 and 11 that allows you to use many printers without third-party software, provided the device is compatible with this standard. It is more secure and simplifies maintenance, but it doesn't always offer all the advanced features of the manufacturer's software.
Updating, downloading, and reinstalling drivers in Windows
If your printer stops working after a Windows update, or you see the message "printer driver is unavailable ," you need to check the status of your drivers. Ideally, start with the system's automatic options and, if those don't work, go to the manufacturer's official website.
In Windows 10, you can open Device Manager (from Cortana or with Win + X > Device Manager), find the printer in the relevant category, right-click on it, and choose "Update driver ." Windows will attempt to find and install the latest compatible version.
If you're still unlucky, or the system indicates that you already have the best driver, visit the manufacturer's support section (HP, Canon, Epson, Brother, etc.) , locate your exact model, and download the latest package for your version of Windows (32 or 64 bits, and specifying whether it's Windows 10 or 11).
In many cases, it's advisable to first uninstall the old driver and associated software . You can do this from Settings > Apps by removing the printer program, or from Printers & scanners by removing the device. After restarting, install the new driver following the wizard's instructions.
If you can't find an official driver or are unable to install it, you can always use the generic print drivers built into Windows as a second option . They aren't as comprehensive, but they may be more than sufficient for printing simple documents, especially on network printers that support standard protocols.
Installation errors and USB connection problems
When installing a printer via USB, it's quite common to encounter an installation error just as the wizard prompts you to connect the cable . In many cases, the problem stems from a physical fault in the port itself, the cable, or the way it's being connected.
If the printer software indicates that it cannot detect the device, disconnect and reconnect the cable only when prompted by the installer . Try a different USB port on your computer, and if it still doesn't work, try a different cable to rule that out. If you have many peripherals connected, temporarily disconnect any you don't need.
Another possibility is that malware, viruses, or security issues are blocking the installation. Run a full scan with your updated antivirus software and, if it detects anything, clean it before proceeding. You can also unplug the printer for a minute and plug it back in, just in case it's stuck in a strange state.
If the installation continues to fail, go to Settings > Devices > Printers and use the Windows printing troubleshooter . It often detects common installation errors, permission issues, or missing services and fixes them without you having to do anything else.
Printer not linked, not connected, or not appearing
Another classic: you open a document, click print, and Windows tells you it can't connect to the printer or that it's "offline," even though the printer is right in front of you and everything seems fine. In this case, you need to check both your Windows settings and your network or Bluetooth status.
To begin, make sure your printer is set as the default . In Windows 10, go to Settings > Devices > Printers & scanners, select your printer, click Open queue , go to the Printers menu, and check that the "Use an offline printer" option is unchecked . Also, enable "Set as default printer" if you want it to be your primary printer.
If your PC can't find the printer when you try to add it, use the "The printer I want isn't listed" option again . You can search for it by entering its IP address, hostname, or using other advanced options. In many cases, Windows can even download and install the appropriate driver automatically.
For Wi-Fi printers, check that both your PC and printer are connected to the same Wi-Fi network and the same type of network (private, not guest) . If possible, move the printer closer to the router or temporarily try using an Ethernet or USB cable to rule out coverage issues.
Another very useful tool is network discovery and printer sharing . In the Control Panel, go to Network and Internet > Network and Sharing Center > Advanced sharing settings and enable network discovery and printer sharing for your private network profile.
WiFi and Bluetooth printers that don't connect properly on Windows
Wireless printers (WiFi or Bluetooth) are very convenient… until they stop appearing in Windows. This is where both the device's own configuration and the PC's network or Bluetooth drivers, which are sometimes outdated, come into play.
For Wi-Fi models, check your printer's manual because each brand has its own method for scanning and detecting devices on the network . Without performing this search step on the printer, your PC may never see it, even if they are on the same Wi-Fi network.
If your printer refuses to work despite being properly installed, try the "Printer" troubleshooter : In Windows 10, go to Settings > Update & Security > Troubleshoot > Printers and run the tool. In many cases, this will repair the print queue, permissions, and any related services.
For Bluetooth printers, check that the Bluetooth icon is lit and visible on the printer's screen . If it's not visible, it may be turned off or pairing may not be complete. Follow the manufacturer's instructions to enable Bluetooth or pair the printer.
Also make sure the printer is compatible with your Wi-Fi security level (WPA2/WPA3) and the band you're using ( 2,4 GHz or 5 GHz ) . Some printers only work on 2,4 GHz and will have problems if the router switches them to 5 GHz.
If the problem lies with your PC's Bluetooth (very common in older computers), you can update the Bluetooth driver from Device Manager or through Windows Update . If that doesn't work, there are several advanced options: reinstall the driver, use the generic driver, show hidden drivers, install a driver for another version of Windows in compatibility mode, or contact the manufacturer's support.
Common problems with cartridges, toner, and print quality
When your printer prints, but the results are terrible, you need to look beyond Windows. Many problems stem directly from faulty cartridges, compressed toner, damaged fusers, or unsuitable paper , as well as certain print quality settings.
If the printer indicates that a cartridge is empty when you know it isn't, the cartridge detection system or the identification chip may be malfunctioning . Remove the cartridge and visually check that it has a chip and that it's undamaged. If the chip is missing, you'll need to contact the supplier; if it's dirty, clean it very gently.
In some cases, especially with compatible or third-party cartridges , the printer simply refuses to recognize them. Reseat the cartridge, make sure it's properly seated, and check if the manufacturer offers a firmware update that improves compatibility.
In laser printers, if it's been a while since you changed the toner and the prints are coming out very light or with streaks, try gently shaking the toner cartridge to redistribute any powder that may have compacted. While you're at it, check the condition of the thermal fuser if you see any smudges or areas where the toner isn't properly fused.
If you notice misaligned lines or colors, go to Control Panel or Settings > Printers , open Printer Preferences or Properties, and look for the maintenance section. There you'll usually find tools for aligning printheads and performing cleaning , which often resolve these types of issues.
Blurry printing, blank pages, and a jammed print queue
A blurry or blank document usually has very specific causes. The paper might be damp, of low quality, or not compatible with the printer . The print quality settings and the actual amount of ink or toner also play a significant role.
If you use cheap or very thin paper, or have selected an economy print mode with low density , the result will almost always be worse. Try increasing the print quality settings, using heavier paper, and, if it's photos, using appropriate photo paper.
When your printer prints completely blank pages for no apparent reason, it could be that the document includes a blank end page or that the software/driver is corrupted . Disconnect the power cable, uninstall the printer software, download the latest stable version from the manufacturer's website, and reinstall it.
If the print queue is blocked , you'll see the pending documents counter increase, but nothing will come out of the printer. You can view all pending print jobs by going to Settings > Devices > your printer > Open queue.
Select the document(s) causing the problem and click Cancel . If the jam is severe, the best solution is to cancel the entire queue and resend the document from its source (Word, PDF, browser, etc.). If the queue freezes and becomes unresponsive, you can use Ctrl+Alt+Delete, open Task Manager, close the related process, or even restart your computer.
Paper jam, error messages and "offline" status
A sheet of paper stuck inside the printer is a common problem that, if not handled carefully, can break internal parts or leave invisible paper scraps that will cause recurring issues. That's why it's advisable to follow a few basic guidelines.
If your printer has a button with a picture of a sheet of paper and an arrow , press it: many will automatically eject jammed paper. Another option is to turn the printer off and on again; some printers perform a cycle during startup that ejects the paper.
If you need to pull the paper out, gently open the covers, locate the jam, and remove the paper very slowly, without jerking or jerking, trying to get it out all at once . Check all the covers and access panels to make sure no pieces remain. If your printer manual provides specific instructions for paper jams, follow them exactly.
To prevent these problems, use good quality paper, position it correctly, and don't overload the tray . Avoid wrinkled or damp paper and ensure the printer is on a level surface. And don't forget to clean the feed rollers as often as the manufacturer recommends.
Regarding error messages (on-screen codes, flashing LEDs, beeps, etc.), each model has its own indicators. Consult your printer's manual or the manufacturer's official website to interpret these signals; there's usually a section on common errors and their solutions.
Additionally, if the printer appears as "offline" in Windows , check the following: that it's turned on, that the cables or network connection are working, and on the PC, that the "Use printer offline" option is unchecked in the print queue. This last point is a common mistake that often goes unnoticed and can prevent any printing from happening.
Print services, print queue, and troubleshooters
When simple methods aren't enough, it's time to delve a little deeper into Windows. The system has built-in services and specific tools for managing printing , which are very useful when the print queue becomes corrupted or jobs are stuck indefinitely.
One of the key services is the Print Spooler . If it gets stuck, no matter how many times you try to print, nothing will come out. To restart it manually, press Windows + R, type services.msc , and press Enter.
Locate the "Print Spooler" service, double-click it, and click Stop . Then, open File Explorer, go to C:\Windows\System32\spool\PRINTERS , and delete all the files in that folder (these are queued print jobs).
Return to the Services window, reopen the Print Spooler, set the startup type to Automatic if it isn't already, and click Start . Accept the changes. The queue will be cleared and ready to receive new print jobs.
Additionally, Windows 10 and 11 include specific troubleshooters for printers . You can find them in Settings by typing "printer" in the search box or by going to Settings > Update & Security > Troubleshoot (in Windows 11 it's under System > Troubleshoot). Run the Printer troubleshooter and follow the instructions.
Duplicate the same printer in Windows with different settings
If you frequently print in different qualities (for example, high-quality color and draft black and white ), changing the settings each time can be a real hassle. Windows allows you to install the same printer multiple times, each time with a different configuration.
First, you need to know which port and driver your current printer uses. In the search bar, type Control Panel , go to Hardware and Sound > View devices and printers, select your printer, right-click, and select Printer Properties.
On the Ports tab , you'll see the port it's using (for example, USB001 or a network port). On the Advanced Options tab , you can see which driver is assigned. Note this information, as you'll need it when creating the second "copy" of the printer.
Return to the Devices and Printers window and click Add a printer . In the wizard, choose "The printer I want isn't listed" and then the option to add a local or network printer with manual configuration . Next, select "Use an existing port" and choose the exact same port you saw earlier.
In the driver selection, choose the same one used by the original printer and confirm that you want to use the already installed driver. Give it a name that will help you remember its profile, for example, "Laser - Draft B/W" or "Color - High Quality ." Decide whether you want to share it or not, and finish.
Now you can go to the Printing Preferences for this new printer and configure different options (draft mode, black and white only, duplex, etc.). Windows will save these settings as a separate profile, and when printing, you can choose the appropriate printer based on your needs without having to adjust the settings each time.
Note that, depending on the version of Windows, these duplicate printers are sometimes visually grouped under a single icon, but the different settings are still accessible from the device properties or from the print dialog box of each program.
Ultimately, if you have many devices configured and want a more advanced view, you can use the Run command ( Windows + R ) with certain special paths to open Device and Printer Management panels where all the separate settings are displayed.
Ultimately, the key to a smooth printer experience in Windows lies in combining good physical maintenance (paper, cartridges, cleaning) with updated drivers and smart use of system tools : troubleshooting, resetting the print queue, reinstalling the printer when necessary, and adapting to driver changes in Windows 11. With these resources at hand, most printing errors that seem to appear "just to mess things up" at the last minute can be resolved in a few minutes.
