- The accumulation of dust and dirt on PCs and peripherals raises temperatures, generates noise, and can reduce the lifespan of components.
- Safe cleaning requires appropriate tools, isopropyl alcohol, compressed air, and measures against static electricity.
- It is essential to clean and maintain not only the tower, but also the keyboard, mouse, monitor, printer, and scanner using specific techniques for each one.
- Regular surface cleaning and an annual deep cleaning improve the performance, cooling, and overall hygiene of the equipment.
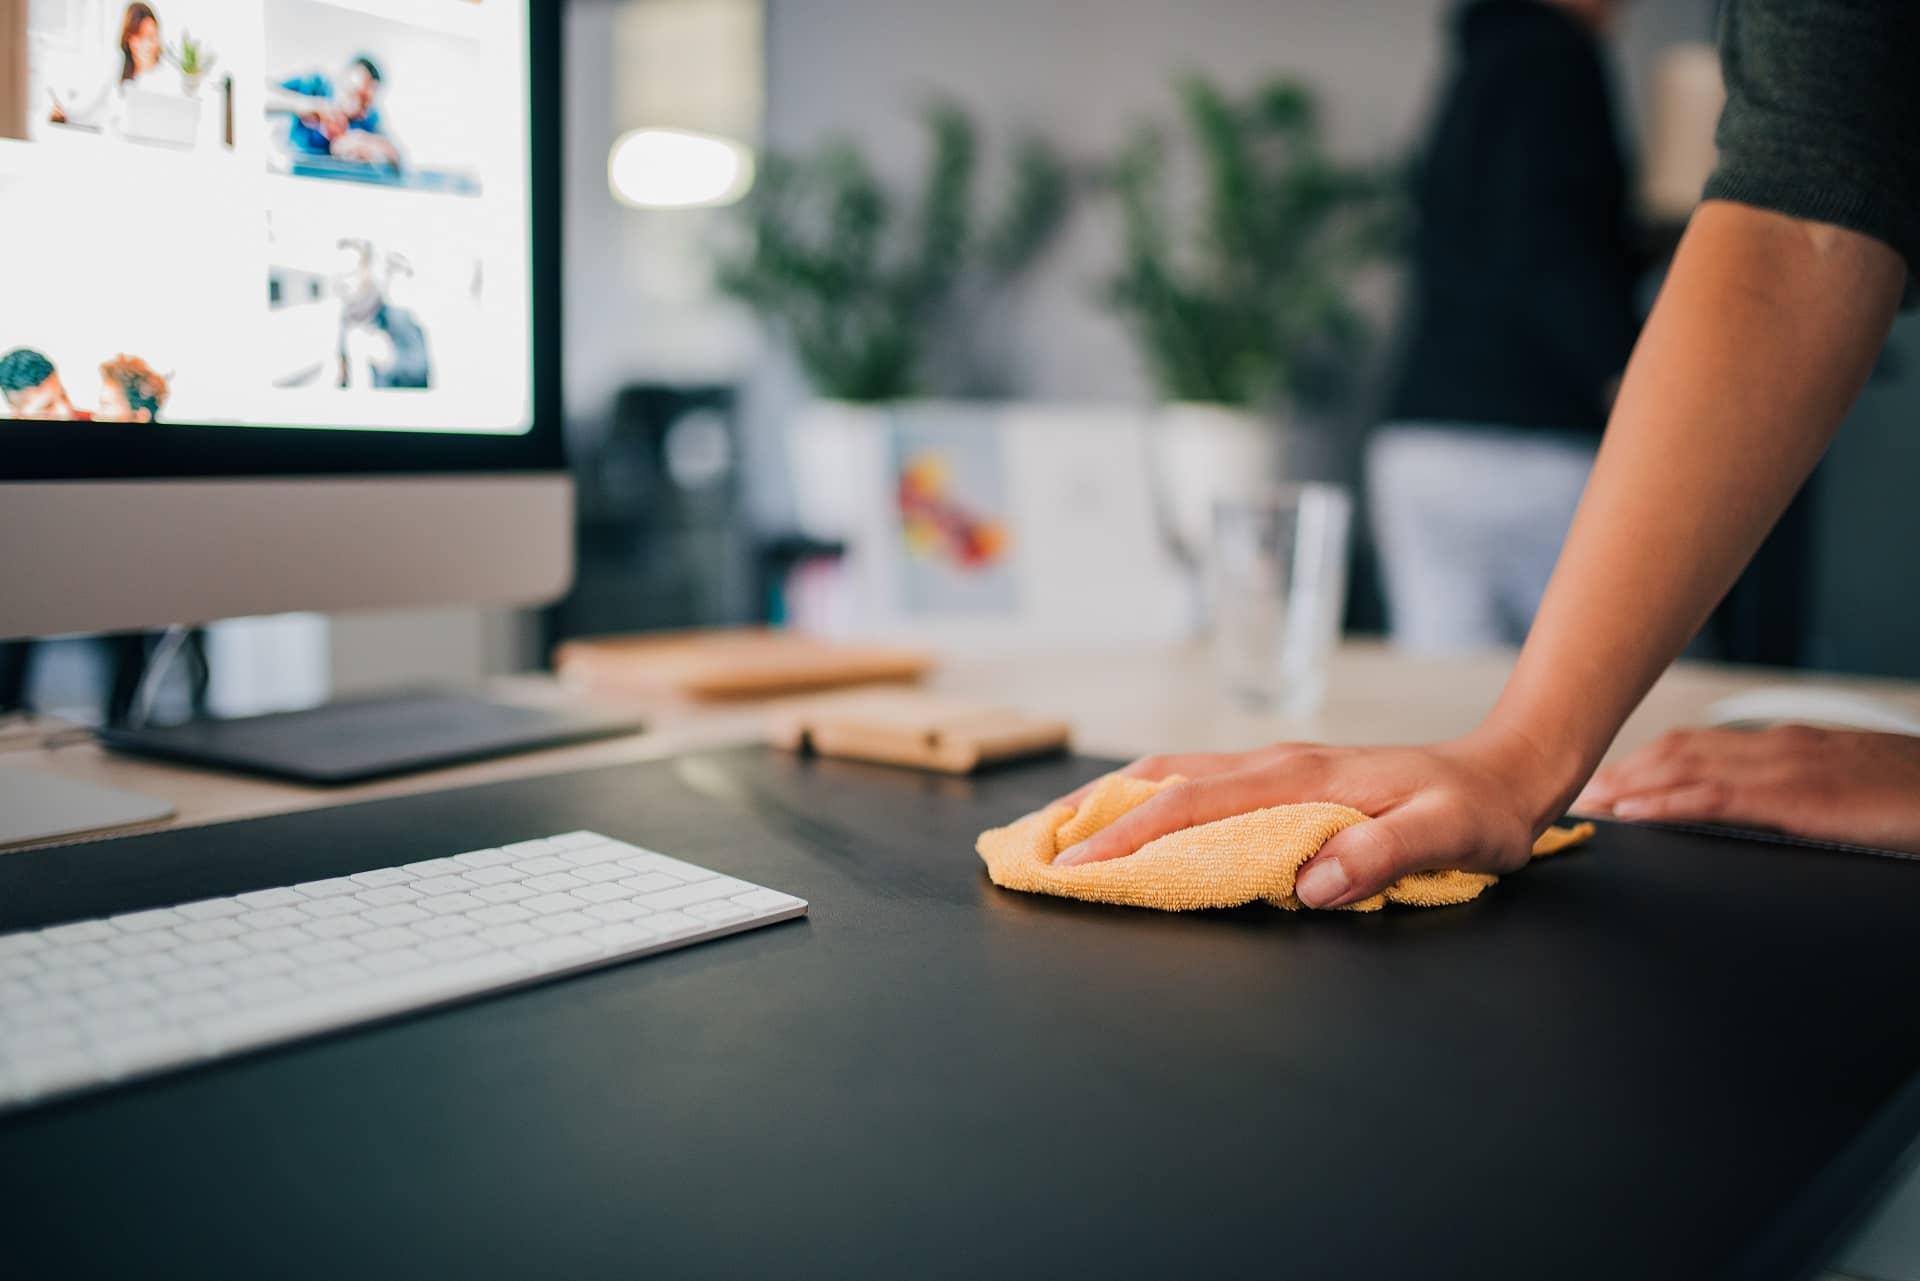
If your computer is noisier than before, overheats easily, or you notice it's running slower, the problem is most likely not software-related, but dust. The dirt that accumulates inside the PC and on peripherals (keyboard, mouse, monitor, scanner, printer, etc.) ends up affecting performance, temperature, and, over time, the lifespan of all components.
Furthermore, we're not just talking about aesthetics. Dust, lint, and hand grease can cause overheating, excessive noise, malfunctions, and even short circuits in extreme cases. That's why, just as you clean the living room or kitchen, you should have a cleaning routine for your PC and all its peripherals. Below you'll see how to do it step by step, along with all the important tips to avoid damaging anything along the way.
Types of PC cleaning and why dust is so dangerous
Before we get down to business, it's important to understand that there are actually two main levels of physical computer maintenance : a quick and frequent cleaning, and a thorough cleaning that requires disassembling things.
On one hand, there's surface cleaning , which involves removing covers, wiping the exterior, cleaning dust filters, and gently blowing out the interior without disassembling any components. This operation usually takes no more than 20-30 minutes, and if you do it every few months, it significantly delays the time when you need to fully disassemble it.
Next comes the deep cleaning , where you disassemble heatsinks, fans, cables, and, depending on your skill level, even the power supply or graphics card, leaving each component like new. This phase is also a great time to replace the thermal paste on your processor or GPU , since you'll be disassembling them anyway.
The reason for such care is that dust is not simply "harmless dirt ." With the heat inside the computer and the ambient humidity, the lint compacts, forming a kind of dark soot that becomes partially conductive. If it accumulates on the motherboard, power supply, or connectors, it can lead to improper contact and, in an extreme scenario, cause a short circuit.
Furthermore, dust buildup blocks vents, filters, and heatsink fins , reducing airflow. This leads to higher temperatures, fans spinning at full speed, extra noise, and the activation of safety mechanisms such as thermal throttling, which lowers the frequency of the processor, graphics card, or SSD to prevent damage, resulting in a loss of performance.
Essential tools and products for cleaning a PC and its peripherals
Before disassembling anything, it's crucial to prepare your workspace and tools. You're going to open an electronic device that's normally connected to the electrical grid , so the first thing to do, without question, is to turn off and unplug the computer and all peripherals.
To work comfortably, find a large, well-lit, and clear surface where you can place the components, screws, and covers without mixing them up. A large piece of cardboard or a plastic sheet underneath is ideal for protecting the table and catching any falling dust.
In terms of tools, ideally you should have a set of precision screwdrivers , preferably of decent quality and with magnetic tips. These magnetic tips greatly simplify handling small screws inside the case and prevent them from getting lost among the components or on the floor.
As for cleaning products, the most common and safest option is to use a compressed air spray , a soft-bristled brush, a small vacuum cleaner with low power or a narrow nozzle, microfiber cloths, a dust-trapping cloth, cotton swabs, and isopropyl alcohol of at least 90% , which is suitable for electronic components because it evaporates quickly and leaves no residue.
If you want to take it a step further, you can make your own outdoor and screen cleaning fluid by mixing approximately 80% distilled water, 20% isopropyl alcohol, and a few drops of desiccant (available at photography stores). This mixture cleans well, evaporates quickly, and reduces streaks.
Safety measures: static electricity, humidity, and products to avoid
The crucial detail that almost no one considers: static electricity can damage sensitive chips and circuits even if you don't feel the discharge. Therefore, it's essential to ensure you're fully discharged before touching your motherboard, RAM modules, graphics card, or M.2 SSD.
There are several ways to minimize this risk, but the most practical are to wear latex or nitrile gloves and an antistatic wrist strap connected to the metal chassis of the computer case or another ground point. If you don't have a wrist strap, get into the habit of frequently touching a grounded metal surface before handling each component.
If you have dust allergies or respiratory problems, it's a good idea to wear a dust mask , because blowing and moving the equipment will release a lot of dust into the air. If possible, do the more vigorous part of the cleaning (blowing with compressed air) in a well-ventilated area or even outdoors.
Regarding prohibited products, do not use alcohol other than isopropyl alcohol, solvents, steam cleaners, or wipes with harsh chemicals . They can leave conductive residues, damage plastics, erase screen printing, or, in the case of steam cleaners, introduce pressurized moisture where it shouldn't be.
Be careful when using a vacuum cleaner: excessively strong or poorly controlled suction can damage fans, bend heatsink fins, or even generate static electricity . If you use one, use a fine nozzle, low power, and only on areas of plastic or robust metal, never on small chips or fragile components.
How to clean your PC tower inside and out
The first thing you should do is clean the exterior. Wipe the entire casing with a duster before opening it , paying special attention to the ventilation grilles and areas where dirt tends to accumulate, so that when you remove the covers, not everything falls inside.
With the PC disconnected and all cables removed, you can take the opportunity to carefully clean the external ports (USB, audio, network, HDMI, etc.) with swabs lightly moistened with isopropyl alcohol, removing grease and dirt accumulated around the connections.
For the exterior of the chassis, it's common to use a microfiber cloth dampened with distilled water and a little mild detergent , or your own homemade solution. Avoid letting the liquid run inside through the vents; it's always best to use a well-wrung cloth and finish with a dry one.
Once the outside is clean, remove the side cover (or covers) by unscrewing its screws. Place the screws separately and label them ; a simple trick is to draw the outline of the cover or area on a piece of paper and place each group of screws on top with a small note. This way, reassembly will be much easier.
With the interior now visible, it's time to tackle the internal dust . Start by applying short bursts of compressed air to the fans, grilles, and power supply from a distance, never holding the nozzle too close to avoid damaging the blades or components. While blowing on a fan, hold the blades with a finger or a cotton swab to prevent them from spinning at full speed.
Next, use a soft-bristled brush to clean the motherboard, RAM area, PCIe slots, and surrounding areas . Lift the dust towards where you can vacuum it up or remove it later with the cloth, rather than simply moving it around.
Basic disassembly: heatsink, fans, and motherboard
If you want to go a step further, you can disassemble some key components. The processor heatsink tends to accumulate a good layer of dust on the fins , especially in tower models with many aluminum fins.
With traditional air coolers, once removed from the socket, you have two options. The first, more aggressive method, involves washing the fins under running water with mild detergent , then drying them thoroughly with paper towels and a hairdryer on a warm setting. Heatsinks have corrosion protection, so if you dry them properly, there shouldn't be a problem. However, the fan must be removed first and cleaned separately; never get it wet.
The most conservative option is to combine compressed air, a brush, and a microfiber cloth to remove the dust from between the slats, taking great care not to bend them. Sometimes it helps to direct the spray at an angle of about 45 degrees so that the dust comes out the other side instead of becoming more embedded.
If you have an all-in-one (AIO) liquid cooler, forget about submerging the radiator in water. The safe way to clean a liquid cooling radiator is with short bursts of compressed air , held at a distance and at an angle, followed by wiping the accessible areas with a microfiber cloth.
Specific cleaning of the graphics card, power supply and motherboard
The graphics card is one of the most sensitive and expensive components of the computer. It should be handled with care, always holding it by the edge of the PCB and avoiding touching metal components or gold-plated contacts.
If the design allows you to remove only the fans without removing the entire heatsink, that's ideal: remove the fans, clean them like the rest, and use a soft brush on the heatsink fins . In many cases, a very moderate amount of compressed air and a good wipe with a dry cloth or one slightly dampened with isopropyl alcohol are enough to remove any stubborn dirt.
When your graphics card is a few years old and you notice excessively high temperatures or the fans are always running at full speed, it might be time to completely open it up, thoroughly clean the heatsink, and replace the GPU's thermal paste . This requires more patience and following a tutorial specific to your model, but the improvement in temperatures can be significant.
You need to be even more careful with the power supply. It's not recommended to open it unless you know exactly what you're doing , because it can retain a charge even when disconnected. Usually, it's enough to blow compressed air out from the outside and use a soft brush on the grille, being careful not to insert anything into the slots.
The motherboard, meanwhile, is cleaned similarly to brushing your teeth: use a very soft-bristled brush to remove dust, cotton swabs for corners, and small amounts of isopropyl alcohol where degreasing is needed. Avoid getting it wet with liquids at all costs, and never rub it vigorously, especially on small components or fragile connectors.
Hard drives, SSDs, cables and thermal paste replacement
Mechanical hard drives and 2,5-inch SSDs are pretty straightforward. Their casing is sealed, so the goal is simply to clean the outer surface and the connector area . A soft brush for dusting and a microfiber cloth for wiping are usually sufficient.
M.2 SSDs require a little more care when handling. Remove the screw that secures them, gently pull them out, and wipe them with only a dry or very slightly damp cloth , without applying too much pressure. If they have a heatsink, clean the exterior without disassembling it unless you're going to replace the thermal paste or thermal pads.
It's also a good idea to check the condition and cleanliness of all internal cables (power, SATA, extensions). You can wipe them with a dry cloth to remove dust and check if any are frayed, have damaged insulation, or bent connectors; if you see anything unusual, it's best to replace it.
Since you already have the CPU cooler removed, let's tackle the main task: changing the processor's thermal paste . Using a paper towel and isopropyl alcohol, clean the old paste from both the processor and the base of the cooler until the metal surfaces are clean and grease-free.
When choosing thermal paste, if you don't have much experience, opt for ceramic-based pastes , which are non-conductive and reduce the risk of short circuits if you use too much and it overflows. Metallic pastes offer slightly better performance, but require a steady hand and great care to avoid spilling them outside the IHS area.
Cleaning peripherals: keyboard, mouse, monitor and ports
Peripherals are, quite literally, what you touch most often on a daily basis . Between crumbs, finger grease, dust, and potential splashes, your keyboard and mouse end up covered in grime long before the inside of your computer tower.
For the keyboard, the first step is the classic one: turn it upside down and gently shake it on a protected surface to dislodge crumbs and large debris. Next, use compressed air between the keys to dislodge anything stuck, and, if you like, use a vacuum cleaner with a very soft nozzle and low power setting.
If it still looks really dirty, prepare a light mixture of water with a few drops of detergent , lightly dampen a cloth, and wipe the tops of the keys to remove the grease. Then, finish with a dry cloth to remove any remaining moisture.
On desktop keyboards with removable keys, you can go further. Before removing anything, take a photo or draw a diagram of the keyboard to remember the position of each key. Then, using a key removal tool or a flathead screwdriver, carefully pry them up one by one (avoid very large keys, such as the space bar, if you're not familiar with the keycap mechanism).
With the keys removed, apply compressed air, clean the base with a slightly damp cloth and cotton swabs for the corners, and replace the keys. On keyboards where the keys cannot be removed, you can use slime-type cleaning gels that conform to the contours and remove much of the dirt when you lift them.
The mouse also benefits from some TLC. Unplug it or remove the batteries if it's wireless , and clean the top casing with a microfiber cloth dampened with your cleaning mixture or a little isopropyl alcohol, taking care not to let the liquid get into the button seals or the scroll wheel.
The critical part is at the base. As it moves across the table or mousepad, it collects dust and lint that compacts around the feet and the optical sensor . Run a dry or slightly damp cotton swab around the light emitter and the feet, and, if you have a mechanical ball mouse (now rare), remove the cover, take out the ball, and clean everything with a dry cloth or some isopropyl alcohol.
The screen, whether it's an external monitor or a laptop screen, deserves special treatment. Never use household glass cleaner or alcohol directly on the panel , as these can damage the anti-reflective coating or leave permanent marks.
The correct procedure is to unplug the monitor, lightly dampen a microfiber cloth with screen cleaning fluid or your homemade solution, and gently rub the panel and frame in circular motions . It's crucial not to spray the fluid directly onto the screen to prevent it from seeping in around the edges.
For the external ports on your PC, monitor, printer, or USB hub, simply use a cotton swab lightly moistened with isopropyl alcohol to clean the exterior and visible metal parts, then dry them. Do not attempt to scrape inside the connector with hard objects, as this can bend pins or damage the contacts.
Cleaning and maintenance of printers, scanners and other advanced peripherals
Beyond the typical monitor-keyboard-mouse combo, many home and office computers have printers, scanners or other devices that also suffer from dust and lack of maintenance.
In the case of the scanner, the priority is the mechanical area and the glass. If the scanning carriage moves erratically or gets stuck , it's time to lubricate the guides and slides with products specifically designed for precision mechanisms (for example, dry lubricants with PTFE, which leave a smooth but non-sticky film and don't attract more dust).
For glass, use a mild glass cleaner and a lint-free cloth , applying the liquid to the cloth, not directly to the glass, to prevent it from seeping in. Any smudges or specks trapped there will result in lines or shadows in the scanned images.
Whether inkjet or laser, your printer also benefits from a bit of maintenance. Turn it off, unplug it, and open the access panels to remove the cartridges, toner, and removable trays. Using a soft brush and, if possible, a vacuum cleaner with a small nozzle and low power setting, remove any paper scraps, dust, and loose toner particles.
In laser printers, it's helpful to apply a small amount of dry lubricant to the gears and slides where the carriages and trays move, being careful not to let it drip onto rollers or paper feed areas. You can place cotton wool under the area where you apply the lubricant to catch any excess.
Toner cartridges and other toners should be handled with care: remove them and clean the guides and contact surfaces with a clean, dry cloth . If there are electrical connectors, a specific contact cleaner helps remove residue without leaving conductive traces.
Cleaning frequency and good habits to keep dust at bay
The big question is usually how often it's worth going through all this. The answer depends on many factors, but as a guideline, a thorough cleaning of the inside of your PC at least once a year is a good starting point.
If you live near the coast, in areas with a lot of ambient dust, or with pets that shed hair, it makes sense to shorten that period to about six months , because fine sand, salt, and lint seep through any crack and attack metals and fans particularly well.
In between, it's a great idea to do some light cleaning every three or four months : remove the side panel, gently blow out compressed air, clean the case's dust filters, and give the fans and vents a quick once-over. This significantly reduces the work involved in the big annual cleaning.
The placement of your PC also has a greater impact than you might think. Having the tower directly on the floor guarantees it will collect much more dust than if you put it on your desk or a shelf. And if it's next to a window or in a drafty hallway, it will get dirty faster than if you keep it in a more sheltered area.
Added to all this is the health factor: a dusty computer not only makes the room dirty, but also releases particles into the air that you end up breathing . If you have asthma or dust mite allergies, keeping your computer and peripherals clean can prevent more than a few sneezes and even some attacks.
After applying all these tips for deep cleaning your PC and peripherals, from the tower to the printer, including the keyboard, mouse, monitor, disks and internal components, you will find that your computer runs cooler, makes less noise, lasts longer and is much more pleasant to use in terms of both performance and hygiene , something that is especially noticeable when you haven't given it a good cleaning for a while.
