- Identifying critical symptoms such as blue screens and random restarts linked to memory.
- Use of native Windows tools and specialized software to diagnose hardware errors.
- Differentiation between physical module failures and configuration problems due to overclocking or lack of capacity.
- Practical solutions ranging from physically cleaning the slots to replacing defective components.
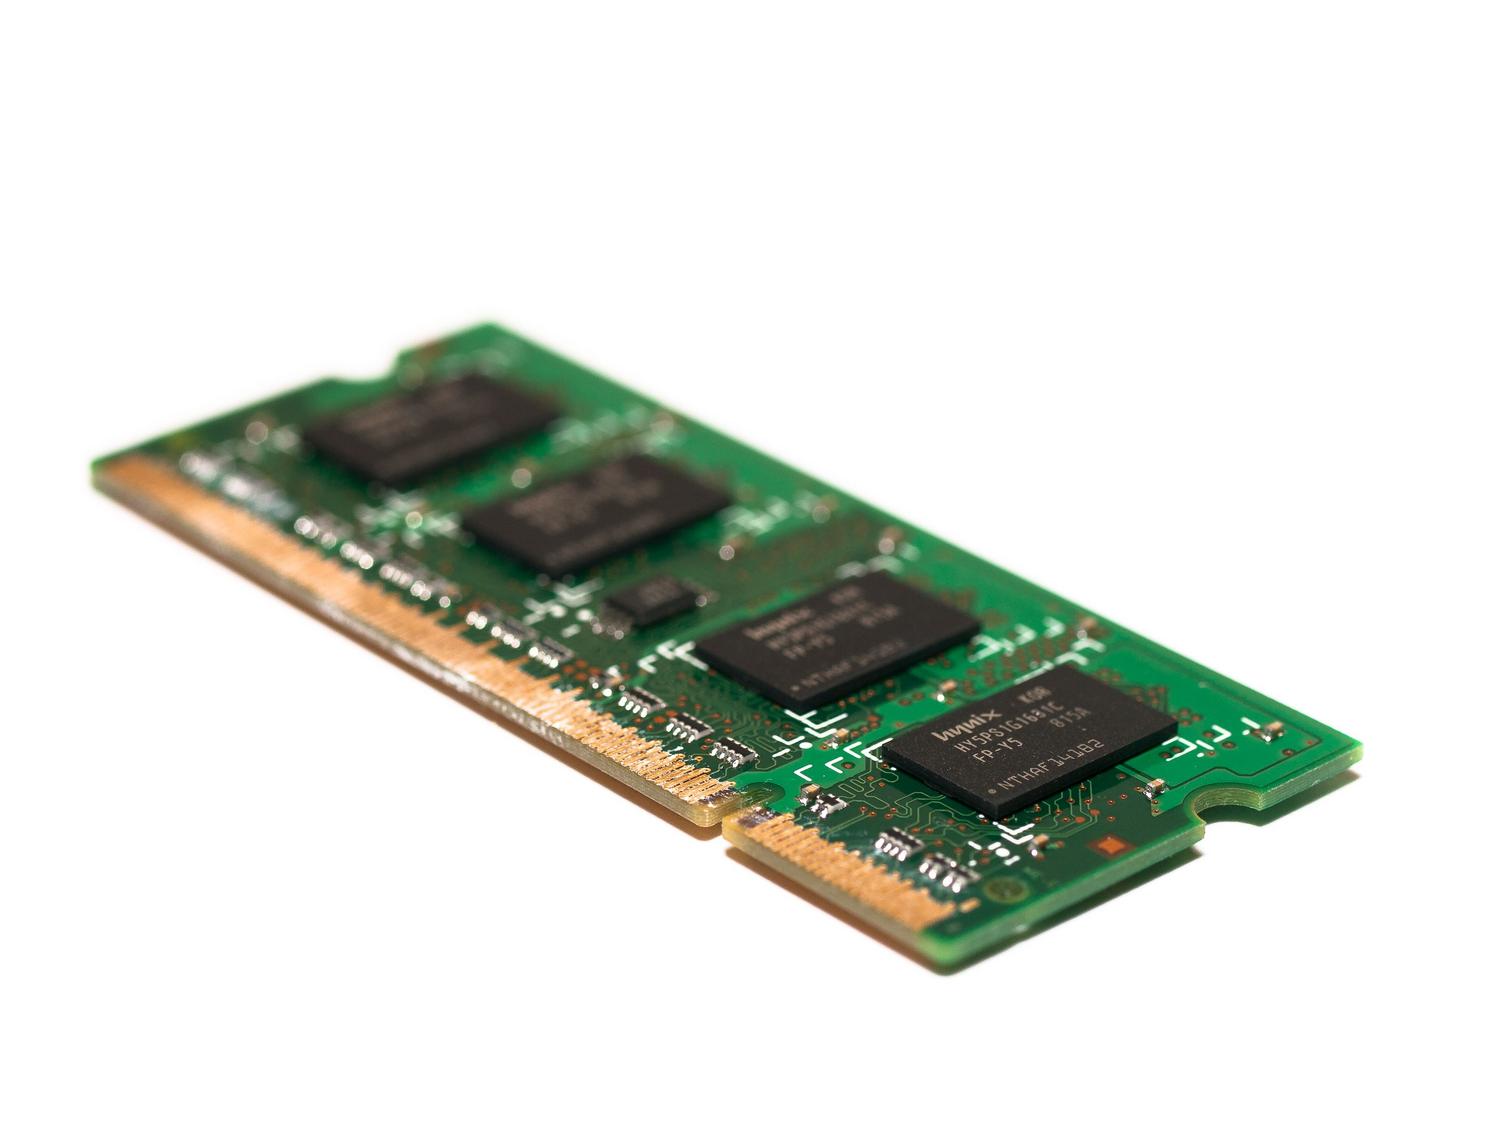
I'm sure it's happened to you: suddenly your computer starts running at a snail's pace, programs close unexpectedly, or worse, you get the dreaded blue screen of death. We often blame the software or a virus, but the truth is the problem could be with your RAM , that vital component that manages your system's active processes . If the RAM modules fail, it's as if the PC's brain has memory lapses, causing the entire system to malfunction.
Don't worry, you don't need to be a computer expert to find out. In this article, we'll break down all the ways to test your RAM , from the options already installed in Windows to more powerful third-party tools. We'll show you how to tell if your hardware is failing, if you've simply run out of memory for current games, or if it's a configuration issue you can fix in two minutes.

Signs your RAM is running out of time
Before we start the tests, it's a good idea to analyze your computer's behavior. There are some very clear clues; for example, if you notice the computer beeping when you turn it on, it's very likely that the BIOS is detecting a hardware error. It's also common for the PC to take forever to boot, even with an NVMe SSD, or for performance to drop drastically the longer you're in the session.
One of the most telling symptoms is the appearance of blue screens of death (BSODs) , especially those displaying the code MEMORY_MANAGEMENT . While these errors can originate from other sources, they usually indicate that the system is unable to manage memory correctly. Another obvious sign is when you access the system settings and see that not all of your RAM is recognized ; if you have 16 GB installed but Windows only detects 8 GB, it's very likely that one of the modules has failed.
Sometimes the problem is more subtle, like when you try to open a file and the system tells you it's corrupted . In reality, the data on the disk might be perfectly fine, but when it's loaded into RAM, an integrity error occurs, corrupting the information. If you experience unexpected crashes in demanding games, as sometimes happens with modern, resource-intensive titles, memory instability could be the culprit.

The problem with overclocking and XMP profiles
Not everything that appears to be a physical failure actually is. Many users enable XMP (Intel) or DOCP (AMD) profiles in the BIOS to maximize memory speed. However, over time or after certain updates, these configurations can become unstable. This causes Windows to interpret the error as a physical hardware failure when it's actually just a problem with advanced memory frequencies and timings.
Before spending money on new modules, the wisest course of action is to disable these profiles in the BIOS and let the RAM run at its base frequency. If, after making this adjustment, the blue screens disappear and the tests come back clean, you've solved the problem without spending a penny, confirming that your hardware simply doesn't support active overclocking.

How to use Windows Memory Diagnostic
Windows includes a very useful tool called Windows Memory Diagnostic that lets you analyze the health of your memory modules without installing anything unusual. To launch it, the quickest way is to press the Windows key + R, type mdsched.exe , and click OK. You can also find it directly in the Start menu by typing the same command.
Once you open the tool, it's best to choose the option to restart now and check for problems . This is necessary because the RAM must be empty for the test to be reliable. Upon restarting, you'll see a blue screen where you can choose between three levels of analysis:
- Basic: It is the fastest and performs standard tests with the cache active.
- Standard: A more in-depth analysis that adds several verification operations.
- Extended: It's the most thorough test, it disables the cache and can take several hours, but it's the one that detects the most difficult errors.
After the test finishes, the PC will restart automatically. The problem is that Windows doesn't always display the results in a clear notification. To see the verdict, you need to open the Event Viewer (by typing eventvwr.msc in the Run dialog box), go to Windows Logs > System, and look in the Source column for the MemoryDiagnostics-Results event . It will tell you if any errors were found or if everything is in order.

Advanced alternatives and third-party software
If the Windows tool doesn't find anything but you're still convinced something is wrong, it's time to bring out the big guns. The most respected program in this field is MemTest86 . This tool is much more thorough and aggressive than Microsoft's, allowing you to detect errors that go unnoticed in quick tests. There's a very comprehensive free version and a paid version for those who need a professional analysis.
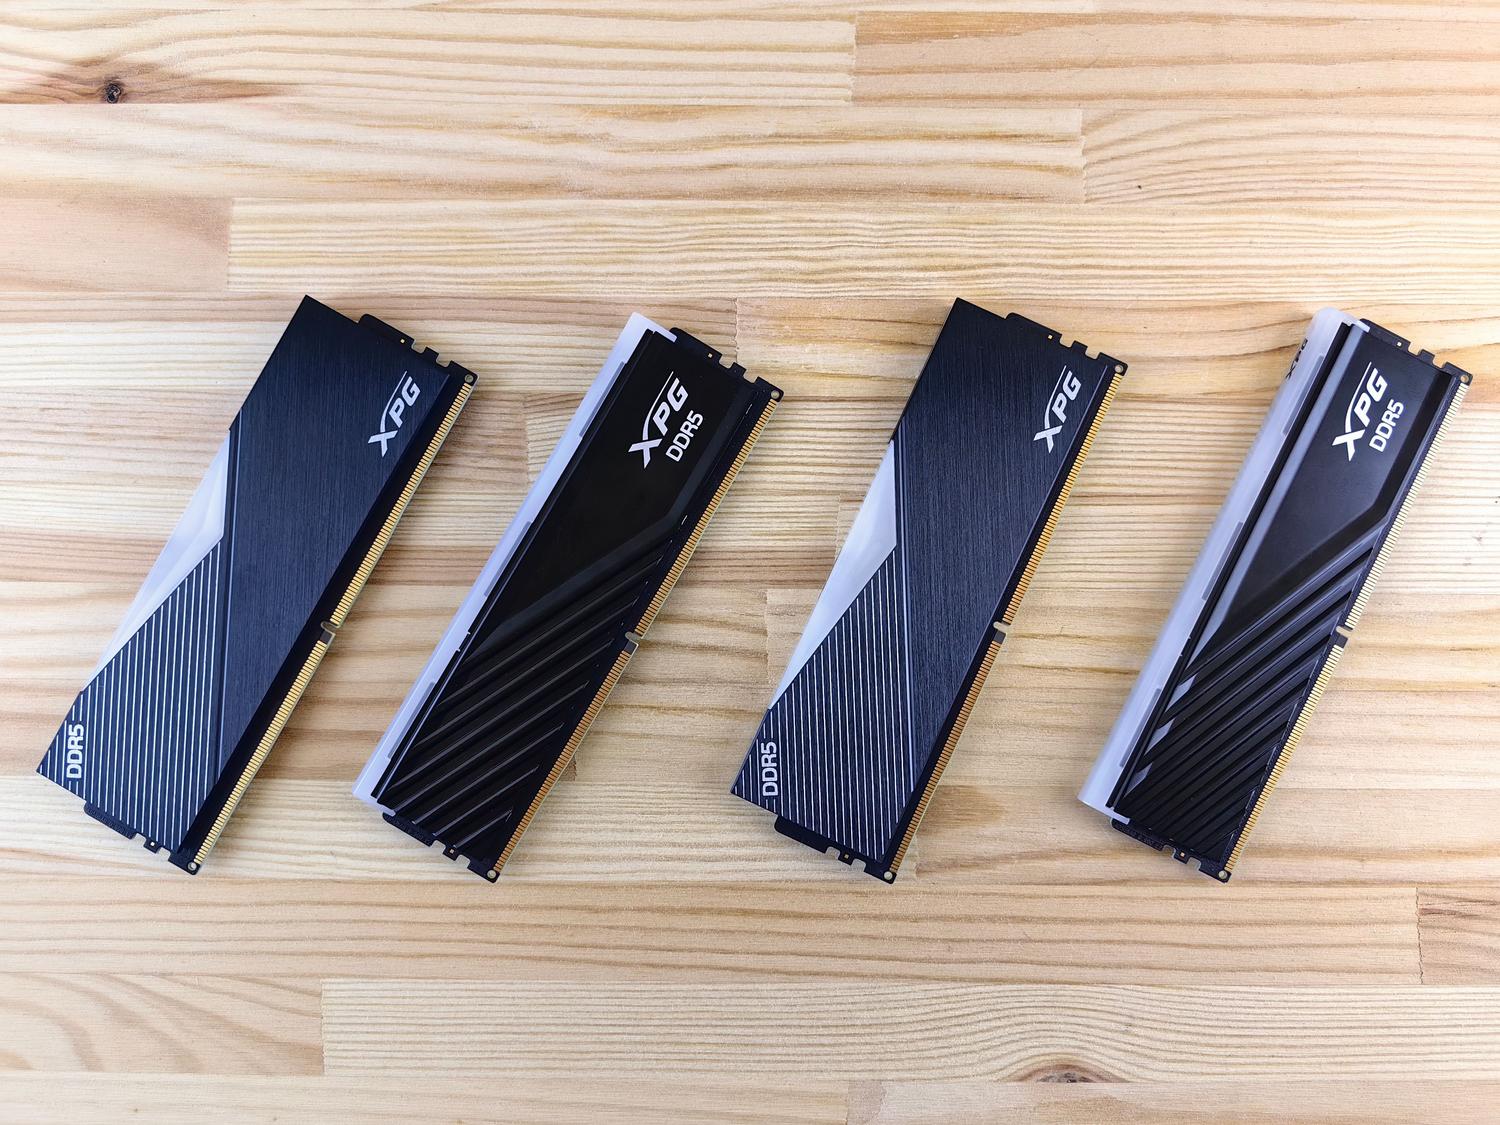
To know exactly what hardware you have installed before buying replacements, I recommend CPU-Z . It's a free application that will tell you in the Memory tab whether you have DDR3, DDR4, or DDR5, as well as the exact frequency at which they are running. This is crucial because RAM generations are not compatible with each other , as detailed in the DDR4 vs. DDR5 RAM comparison ; you can't put a DDR5 module in a slot designed for DDR4.

Hardware failure or lack of capacity?
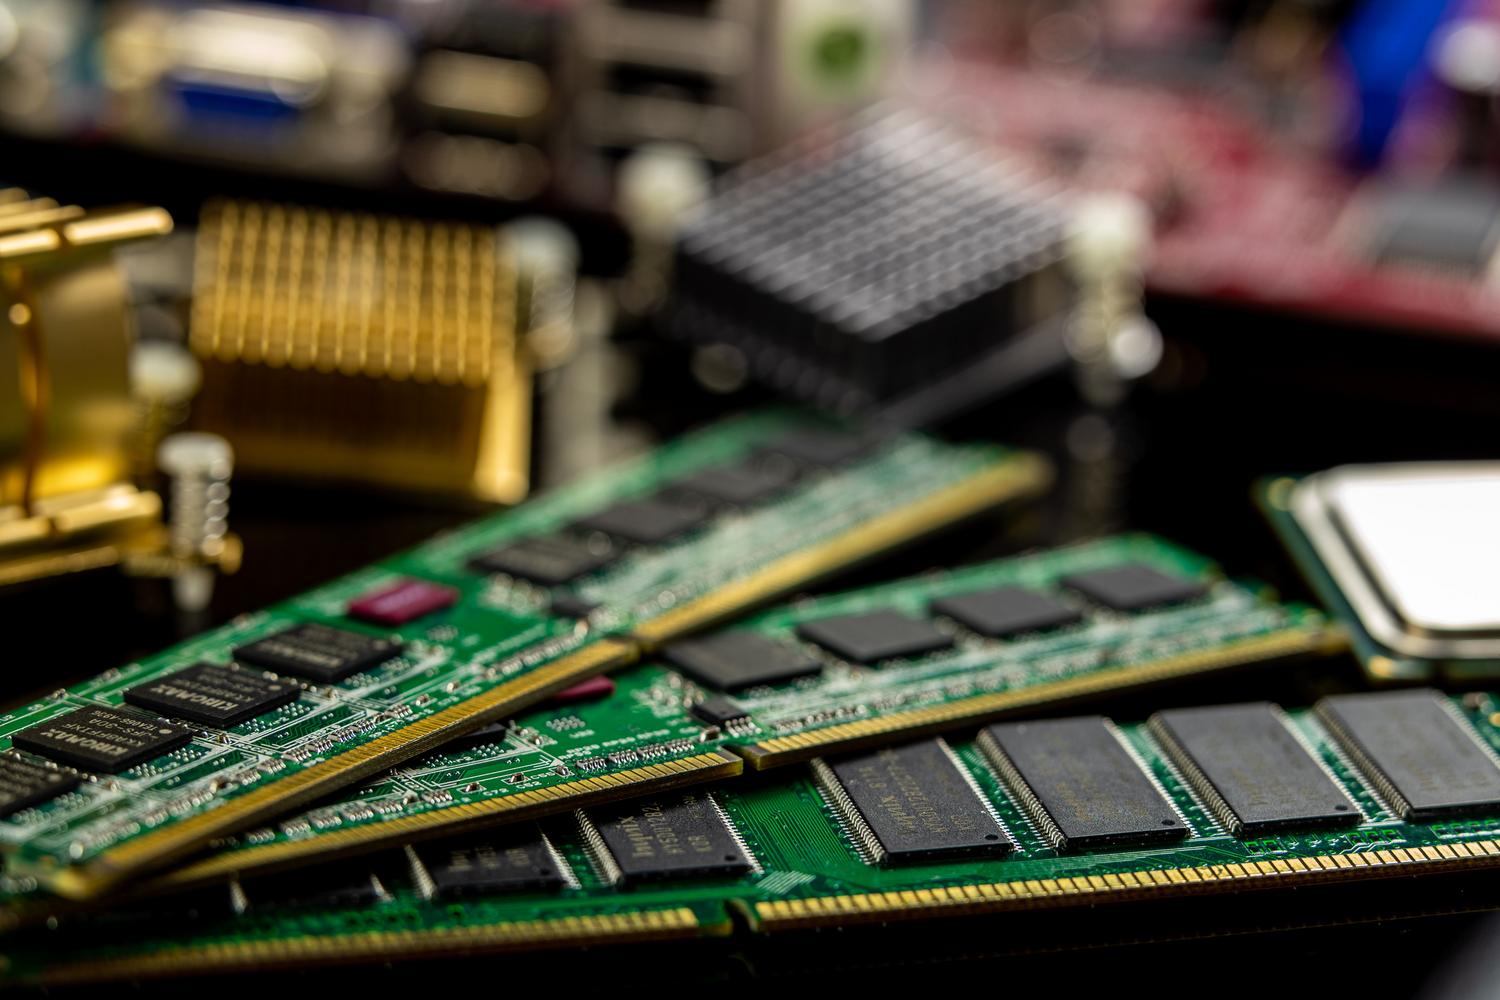
It's vital not to confuse a broken RAM module with insufficient RAM . If your PC is slow but you're not getting blue screens, you might simply have insufficient RAM for your needs. You can check this by opening Task Manager (Ctrl + Shift + Esc) and going to the Performance tab. If you see that memory usage is constantly near 100%, Windows will start using virtual memory (hard drive space), which slows down the entire system.
Depending on your needs, you'll require more or less storage capacity: 8 GB is sufficient for basic tasks and browsing; 16 GB is the current standard for gaming and multitasking; and if you're involved in 3D modeling, professional video editing, or heavy programming, you should aim for 32 GB or even 64 GB.

What to do if you detect real errors
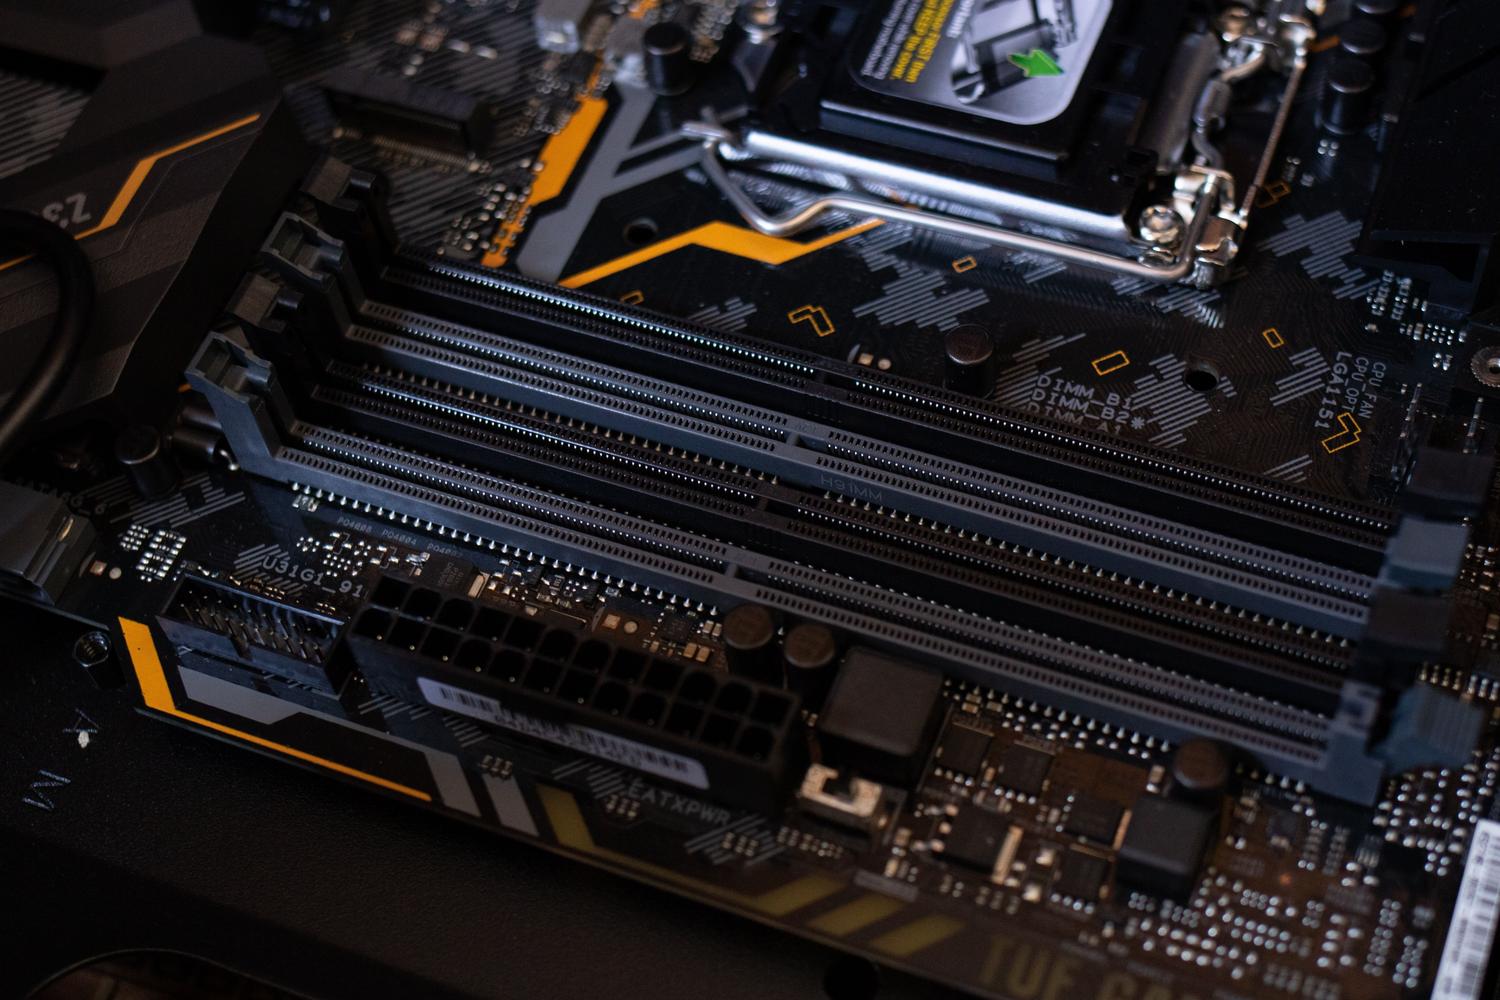
If the test confirms there are faults, you have several options. First, the simplest: open the tower and check that the modules are properly seated in their slots. Sometimes, an accidental bump or vibration can cause a latch to loosen slightly. If that doesn't work, you can try cleaning the RAM contacts or swapping the modules between slots to rule out a problem with the motherboard rather than the RAM.
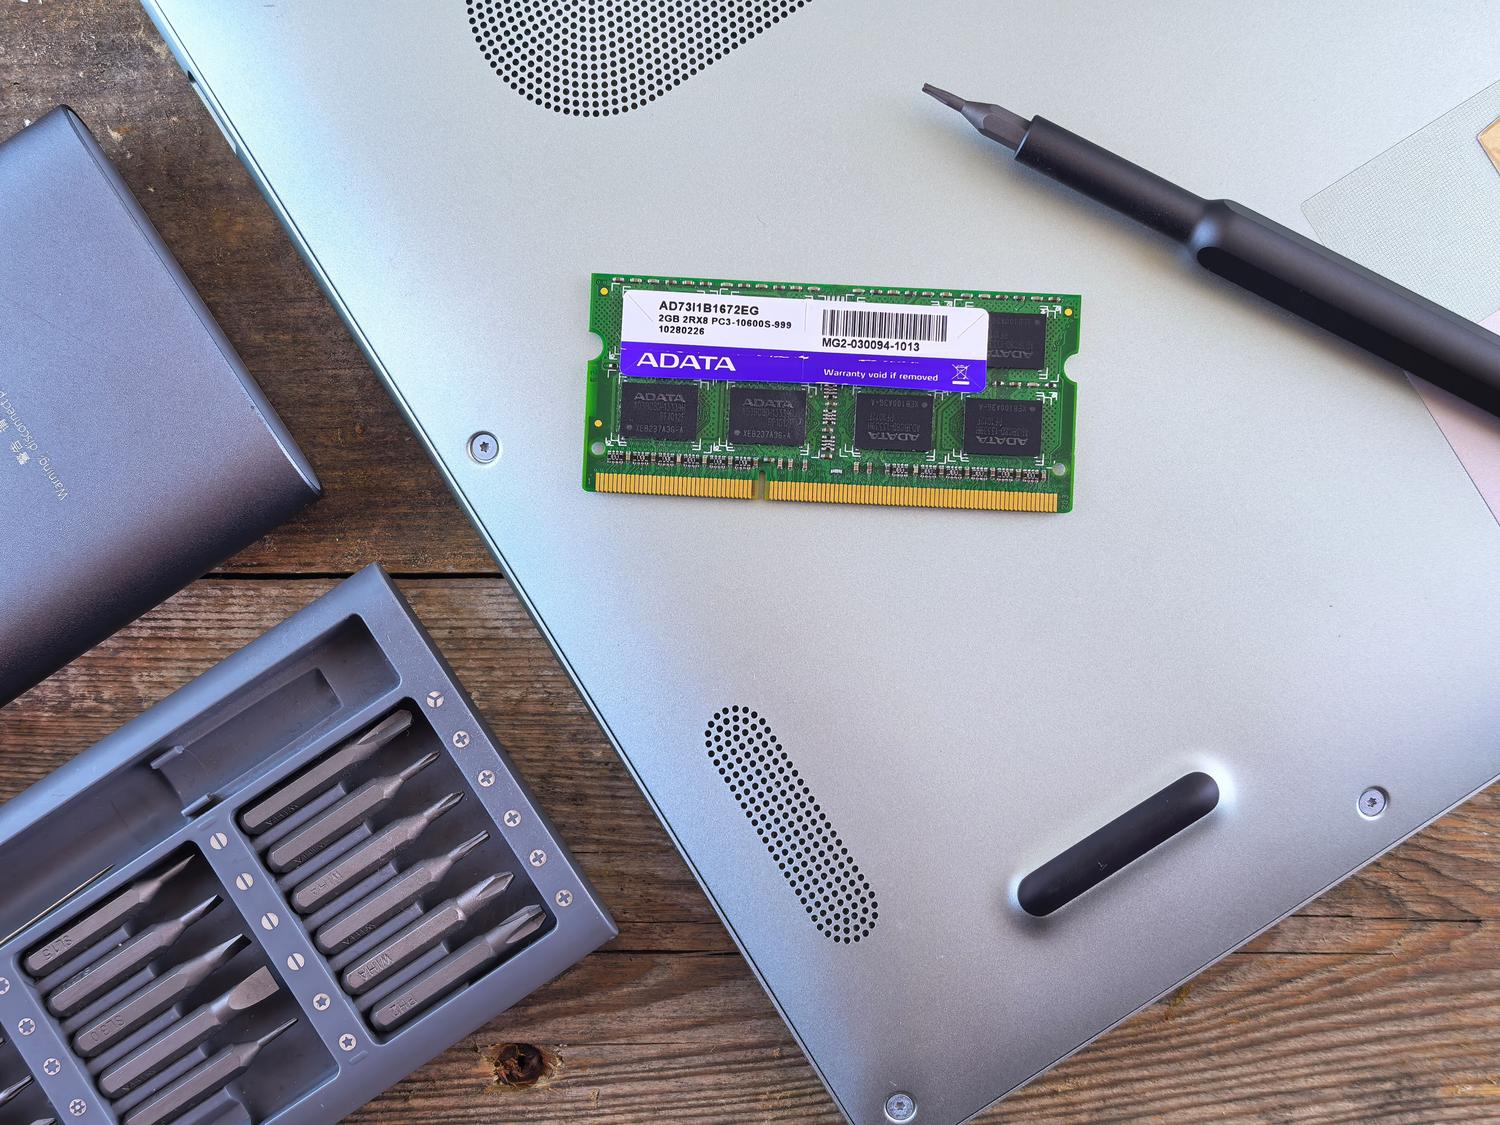
If you have multiple memory modules, it's best to test them one by one. If the PC malfunctions with module A but works perfectly with module B, you'll know exactly which one to replace . If the component is still under warranty, contact the manufacturer. Otherwise, you'll have to buy a new one that's fully compatible with your motherboard in terms of type and frequency.
Checking RAM on Mac computers
If you're an Apple user, the process is different. To see how much RAM you have, go to the Apple menu and select About This Mac . If you suspect performance issues, you can use Activity Monitor (in Utilities) to see which processes are consuming all the memory in the Memory tab.
For more technical details about the type of RAM in macOS, you can use the System Information tool through Spotlight. Although memory in modern Macs is usually soldered, it's important to monitor for memory leaks that could force the system to excessively page data on the SSD, potentially shortening the storage's lifespan .
Keeping your hardware clean, checking operating frequencies, and running regular tests are the best ways to ensure your computer doesn't let you down at the worst possible moment. Whether using the native Windows tool, resorting to MemTest86, or simply upgrading your system's capacity if it's under strain, identifying the source of the problem will allow you to decide if a software tweak is sufficient or if you need to invest in new components to restore your computer's smooth performance.
