- The HDMI connection is the simplest and most reliable method for carrying video and audio from your PC to your TV, provided you choose the right type of cable.
- If your PC or TV doesn't have a direct HDMI port, you can use DVI, DisplayPort, USB-C and adapters to get a quality signal.
- Wireless connections with Miracast, AirPlay, Chromecast and similar technologies allow you to mirror or extend your screen without cables.
- Adjusting resolution, screen modes, and audio settings is key to avoiding image problems, buffering, and latency.

Do you want to see your movies, series or photos in a big format? Want to enjoy your favorite content without everyone glued to their laptop screens? Connecting your PC to your TV, either with a cable or via Wi-Fi, lets you enjoy your favorite content in the living room, use a wireless keyboard and mouse from the sofa, and even play AAA titles on a huge 4K TV.
Besides leisure, Having your PC connected to the TV opens up a range of usesWork presentations, family video calls, photo and video editing with a large preview, or simply extending your desktop for more comfortable work. Below you'll find step-by-step instructions on how to properly connect a PC to a TV, the cables you'll need, how to do it wirelessly, and how to troubleshoot common image, sound, or latency issues.
Connecting a PC to a TV via HDMI step by step
The simplest and most reliable way to connect a computer to a TV is by using an HDMI cable that carries digital video and audio in a single connector. Almost all modern TVs have multiple HDMI inputs, and most current laptops and PCs include at least one HDMI output or a port that can be adapted to HDMI.
The HDMI standard, acronym for High Definition Multimedia InterfaceIt allows you to send a high-definition signal from your PC to your TV. Unlike older connections like VGA, audio also travels through the same cable, so you don't need extra audio cables if everything is set up correctly.
To physically connect both devices, simply Plug one end of the HDMI cable into the PC (HDMI output) and the other end to one of the TV's HDMI inputs. On a desktop computer, you should look at the back of the tower; on a laptop, the port is usually on one of the sides.
If your PC is far from the TV, you'll need to choose the right cable length. Long HDMI cables are very convenient While it's fine to cross the living room, the signal can degrade beyond a certain distance, resulting in poorer picture quality or sound dropouts. Whenever possible, try to keep the distance under 5 meters, or use high-quality cables if you need to extend it.
Which type of HDMI cable to choose
In stores you'll see that there are several types of HDMI cables and that some are considerably more expensive than others. You don't always need the most expensive model.The important thing is that the cable meets the specifications required by the resolution and frequency you want to use between your PC and your TV.
- standard HDMIDesigned for 720p and 1080i signals. In many cases they also support 1080p and even 4K, but resolution and refresh rate are not guaranteed.
- High-speed HDMIIt's designed to seamlessly transmit Full HD, 4K, and UHD resolutions with higher bandwidth. It's the best option if you're going to play games, watch UHD content, or use a 3D TV.
- HDMI with EthernetBoth the standard and high-speed versions include a data channel that allows sharing the Internet connection between compatible devices, such as some PCs and Smart TVs.
For most household uses, A standard quality HDMI cable is usually more than enoughIf your goal is to get the most out of advanced graphics, demanding games, or 4K HDR content, it's worth opting for a high-speed cable that guarantees a good data flow.
Important trickIf you notice image flickering, black screens, or cut-out sound, try using a shorter or higher-quality cable. These problems are typical when the cable is at its maximum capacity in terms of distance or bandwidth.
Detailed steps to connect PC and TV with HDMI
Once you've decided which cable to use, connecting your PC to your TV via HDMI is fairly straightforward. Even so, following a specific order helps avoid surprises and incorrect connections.
- Turn off the TV and the PC before connecting anything, especially if you are going to handle the back of the tower or the TV.
- Connect the HDMI cable Connect the output of the PC to the HDMI input of the TV you are going to use (for example, HDMI 1 or HDMI 2; look at the label next to the connector).
- Turn on the tv and, using the remote control, select the correct HDMI input source from the “Input” or “Source” menu.
- Start your PC or laptopThe system usually detects the TV automatically as an additional monitor.
- If the image does not fit or does not appear, go to Windows Control Panel > Display > Adjust Resolution (or Settings > System > Display in modern versions) and select the TV from the drop-down list of displays.
On many TVs, if they are turned on, They automatically detect that there is a new HDMI signal. and offer to switch to that source automatically. If this doesn't happen, you'll need to select the corresponding HDMI input from the menu. On models with systems like webOS, you can follow the specific guides in their input menu.
On some laptops, you may need to press [button/key] to activate the HDMI output. a combination of function keys (type Fn + F4, Fn + F8, etc.). This information is usually found in the equipment manual or on the keyboard itself, where a screen or projector icon appears.
Also remember that HDMI can carry sound from your PC to your TV speakers. If you don't hear anything on TV But the picture looks fine, check the audio settings in the operating system; in the playback devices section, HDMI output should be selected as the default.
Configure HDMI audio in Windows (including Vista)
To make the sound come out of the TV and not the laptop speakers, in Windows you will need to change the default playback deviceThis setting is similar in all versions, although in Windows Vista there were some extra details to consider.
In general, the process is:
- Right click on the speaker icon on the taskbar.
- Go to “Playback devices” or “Sound settings”.
- On the Playback tab, select the device called “Digital output (HDMI)”, “HDMI Speakers”, or something similar to the manufacturer of your sound card (for example, “Realtek HDMI Output”).
- Click on “Set as default” and accept the changes.
On systems with Windows Vista and certain Realtek drivers, it was also necessary Select the frequency of 48.0 Hz in the “Supported Formats” tab from the HDMI device and uncheck other formats. After applying and accepting, HDMI sound was correctly activated on the TV.
If after all this the TV still doesn't play sound, also check its own audio menu to confirm that It is using the internal speaker with HDMI input. and not a poorly configured external audio system.
Adjust graphics and image quality in games and video
If you use your TV as your main screen for gaming or watching high-quality content, it's worth it. tweak the graphics settings a bit of your card. This prevents strange borders, odd scaling, or the image looking too dark or washed out.
On PCs with dedicated NVIDIA or AMD graphics cards, right-click on the desktop and enter the graphics card control panelFrom there you can:
- Change the resolution and refresh rate to match the TV's capabilities.
- Adjust the image scale (avoid black borders or being cut off at the edges).
- Modify color, contrast and signal format options (full RGB, limited RGB, YCbCr, etc.).
- Optimize 3D profiles for demanding video games when used on a large screen.
You can also adjust the picture settings in the TV's own menu. Adjust brightness, contrast, and picture modes (cinema, game, dynamic…) will help make everything look more natural and reduce input lag in games if you choose “Game Mode”.
Other wired connections: DVI, DisplayPort and adapters
If your device doesn't have HDMI, all is not lost. Many older or professional PCs have DVI or DisplayPort ports which can be used to connect to a TV using relatively inexpensive adapters.
The DVI connector, very common on monitors from a few years ago, allows for high-resolution digital video output. With a DVI to HDMI adapter You can connect your PC to the TV without much trouble, but there's an important caveat: this combination doesn't transmit audio, only video.
In a DVI to HDMI scenario, you will need to take the sound in another directionFor example, by connecting the PC's headphone output to the TV's audio input, if the TV has an HDMI input or a separate analog input. Depending on the model, this input might be labeled "Audio In," "PC Audio," or something similar.
Another common alternative in modern equipment is DisplayPort or USB-C with DisplayPort alternate mode. In these cases you can use DisplayPort to HDMI or USB-C to HDMI adapters to obtain video and, normally, audio through the resulting HDMI cable, provided that the adapter and port support it.
If none of this fits your equipment, you can always use external solutions such as USB to HDMI adapters They function as a basic external graphics card. They're not ideal for gaming, but they can be used for office applications, presentations, or video at moderate resolutions.
How to connect your PC to your Smart TV wirelessly
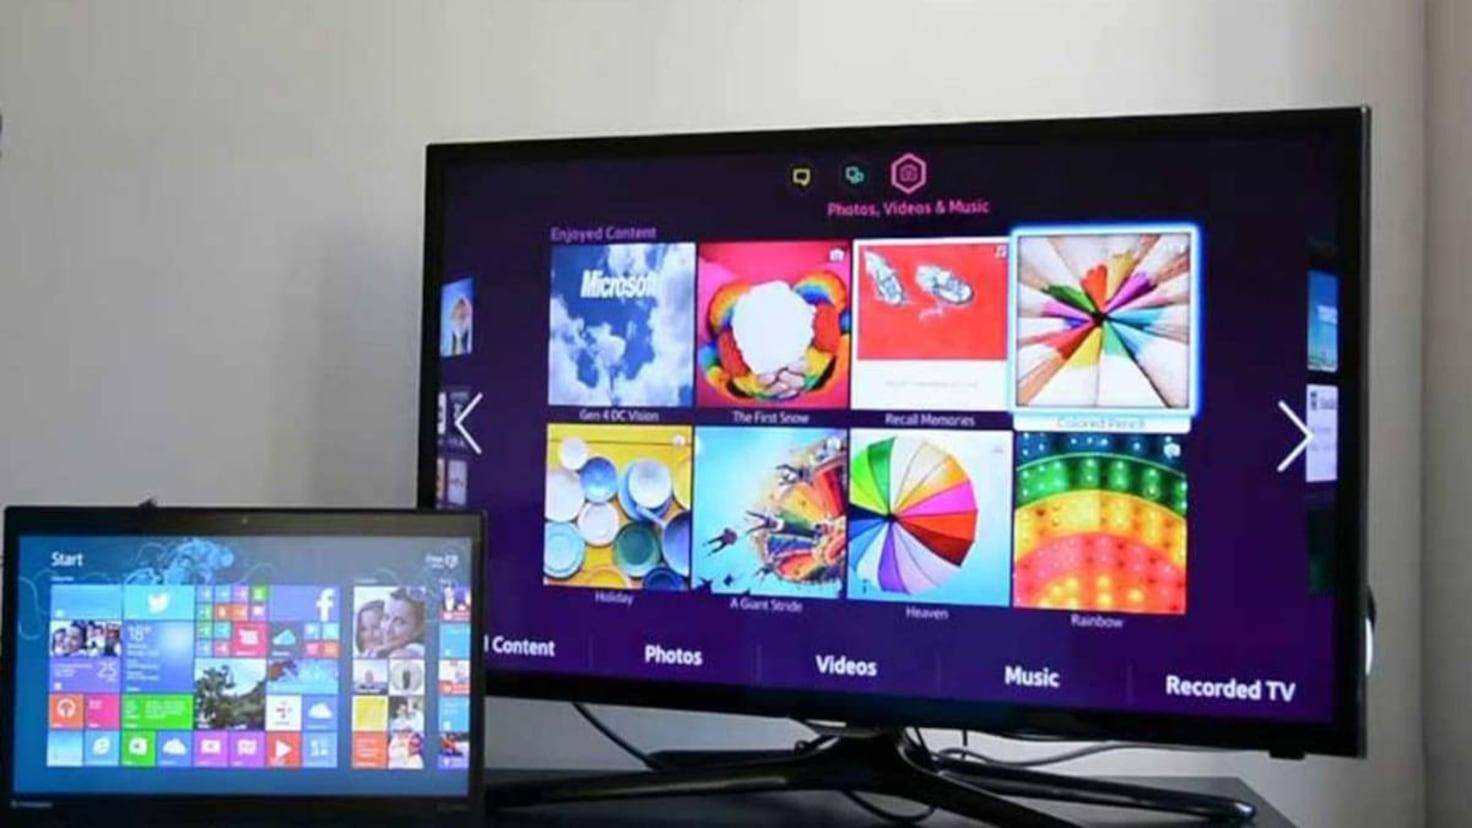
If you want to forget about cables running across the living room, nowadays it's very convenient Connect your PC to your TV via WiFiThe key is that both devices are connected to the same network and that the TV is a Smart TV compatible with screen mirroring or wireless reception technologies.
First of all, make sure that PC and Smart TV are connected to the same routerWhether via Wi-Fi or Ethernet cable. If they are on different networks (for example, guest vs. main network), they probably won't be able to see each other.
Most modern TVs offer some kind of screen mirroring, mirroring, or similar feature. Windows 10 and 11, for their part, have built-in support for Miracast and for streaming to compatible wireless displays.
Configure the wireless connection on the PC
On a modern Windows computer, the steps to start sending the image to the TV wirelessly are very simple. Simply add the TV as a wireless device. and select the projection method.
- Click on Start and go to Settings of the System.
- Go to the “Devices” section.
- Select the “Bluetooth and other devices” section.
- Tap on “Add device”.
- Select the “Wireless Display or Base” or “Wireless” option.
- Wait until your Smart TV appears in the list and click on it to start pairing.
- Follow the on-screen instructions, accepting on the TV if it asks you to confirm the connection.
You can also go to Settings > System > Display and use the "Connect to a wireless display" option within the multiple displays section. When the TV appears in the list, select it and choose whether you want to mirror the screen, extend it, or use only the TV.
Configure the Smart TV to receive the PC screen.
On television, the process varies depending on the brand, but the idea is always similar: Activate the wireless screen reception function and select the PC when it appears.
- Open the app or menu on your TV that says “Connect”, “Screen Mirroring”, “Duplicate screen” or similar.
- Check that The TV indicates that it is ready to receive devices..
- When your PC appears in the list of available devices, select it and confirm the connection on the TV.
If the resolutions of your PC and TV are very different, the image may not look as sharp as you expect. You can improve it by adjusting the screen resolution in Windows and the picture mode in the Smart TV menu, until you find the balance that is most comfortable for you.
Sometimes it is also necessary to readjust brightness, contrast, and picture mode so that everything looks the way you want, especially if you're going to frequently watch movies or play games from that wireless source.
Screen sharing vs. extending desktop on TV
When you connect a PC to a Smart TV, you can do more than just clone what you see on the monitor. Windows allows you to choose between duplicating and extending the screenAnd each mode has its advantages depending on how you want to use the TV.
When you share your screen in mirror mode, TV shows exactly the same thing Your main monitor: every window, every mouse movement, everything is replicated on a larger scale. It's like having a mirror of your desktop.
In extension mode, however, the TV acts as a second independent desktopYou can drag windows from one screen to another, have one app open on your PC monitor and a different one on your TV, or even use only one screen while the other remains with a different task.
Choosing one option or the other depends on what you are going to do.
When to share screen (duplicate)
Duplicate mode is perfect when your priority is View what's happening on your PC in a larger sizewithout complicating things with extended desktops or complicated configurations. Some typical examples:
- Watch movies, series or Twitch live streams on your living room TV while controlling everything from the sofa.
- Playing video games with a wider field of view, achieving a more immersive experience.
- Display photos or videos at gatherings with friends or family without everyone having to look at the laptop screen.
In this situations, Having the same image on both sites is the most convenient.Because anything you open on the PC will be displayed directly on the TV without having to move windows between screens.
When to extend screen (second desktop)
If you often work with many windows at once or want to separate what you do on your PC from what you see on your TV, extend the screen It's wonderful. Some scenarios where it could be incredibly useful:
- Multitasking: Use the PC monitor for email and documents, and the TV for spreadsheets, browser, or video calls.
- Video or photo editing: have the timeline and tools on the main monitor and a large screen preview On TV.
- Web or app development: program in the code editor on the PC and see the website or app running on the Smart TV at the same time.
In short, extended mode turns the TV into a second giant monitorIdeal for productivity and complex workflows where screen space is never in excess.
Common problems when connecting PC and TV wirelessly
The wireless connection is very convenient, but it's not perfect. Interference, distance from the router, or the type of WiFi network They can cause interruptions, poor image quality, or annoying delays between what you do on the PC and what you see on the TV.
The good news is that most of these problems can be solved with a few minor adjustments. It's helpful to be aware of the most common ones so you know how to react if something isn't working properly.
Bad signal or interruptions in playback
If you notice that the videos stop, the image freezes, or the TV loses connection with the PC every now and then, it's very likely that the WiFi signal is not strong enoughWalls, distance from the router, or even other devices can interfere.
To improve performance, try Move the router closer to where the PC and TV are located. or vice versa. It also helps a lot to place the router in a more open area, up high, and avoid hiding it in closed cabinets.
Many home routers offer two frequency bands: 2,4 GHz and 5 GHz. The 2,4 GHz band has a longer range but is usually slower and be more saturated; in contrast, the 5 GHz band offers more speed and stability in exchange for slightly less coverage.
If you have the option, try connecting your PC and Smart TV to the same 5 GHz WiFi network. You'll notice fewer interruptions and higher playback qualityprovided the signal arrives with sufficient power.
High latency or delay between PC and TV
When there's a significant delay between what you do with the mouse or controller and what you see on the TV, the experience becomes very uncomfortable. High latency is usually due to a slow or unstable wireless connection.or excessive image processing in the TV itself.
One quick way to reduce the problem is lower the resolution or image quality which is sent to the TV. Fewer pixels and less data mean less load on the network and on the hardware of the devices.
At the same time, in the TV menu, look for "Game Mode" or a mode that reduces image processing. The less the TV does to the signal it receives, the less it modifies the signal it receives.The lower the delay you'll notice when playing or moving the mouse, the less lag you'll experience.
Other wireless technologies: Miracast, Intel Unite, AirPlay, and Chromecast
In addition to standard Windows mirroring, there are various platforms that allow Send content from your PC to your TV wirelesslyEach has its own nuances and compatibility requirements. The most popular today are Miracast, some Intel solutions, AirPlay in the Apple ecosystem, and Google's Chromecast.
In the Windows world, Miracast has practically become the de facto standard. Windows 10 and later versions include support for MiracastThis allows you to mirror your desktop, presentations, photos, or videos on a TV or other compatible device without the need for additional hardware.
Devices that do not have Miracast built-in can resort to external adapters such as HDMI sticks (Roku, Amazon Fire TV, etc.) and specific software installed on both the PC and the Smart TV to offer similar wireless display functions.
Intel, for its part, went on to offer systems such as WiDi (Wireless Display) and, more recently, the Intel Unite platform. Intel Unite is designed for collaborative environments and meeting roomsallowing content sharing between laptops, digital whiteboards, projectors and monitors through an open platform, regardless of whether they are Windows, macOS or other systems.
Use AirPlay with a Mac to send your screen to your TV
If you work with a Mac and have a TV that supports AirPlay 2 (most models manufactured from 2019 onwards include it), you can Mirror your Mac screen to your TV wirelessly very comfortably.
- Make sure your Mac and Smart TV support AirPlay 2 They are on the same WiFi network.
- On your Mac, open the Control center (icon of the two switches in the upper right corner).
- Click on “Screen Mirroring” or “Duplicar pantalla”.
- Select the TV where you want to view your Mac's screen.
- When you want to stop sending the signal, go back to “Screen Mirroring” and choose the option to stop the duplication.
AirPlay also lets you send only the content of specific apps (like a video in Safari or a presentation) instead of your entire Mac screen, which is very useful if you want to continue using the desktop without showing everything.
Connect a Chromebook to TV with Chromecast
If you're into Chromebooks and prefer to avoid cables, a Google Chromecast plugged into the TV It's a quick solution for projecting your content wirelessly.
- Connect the Chromecast to a free HDMI port on the Smart TV and to the power supply.
- Using the TV remote, select the HDMI input corresponding to the Chromecast.
- On the Chromebook, click on the time (bottom right corner) to open the status area.
- Check that WiFi (and Bluetooth if necessary) are turned on.
- Select the “Available Cast Devices” or the “Cast” option.
- Choose the Chromecast and decide if you want Share the entire screen or just one tab from the browser.
- Press on “Share” and the TV will start showing what you have chosen.
- To stop broadcasting, return to the time panel on your Chromebook and tap "Stop" next to the device in use.
Similarly, browsers like Chrome and technologies like AirPlay on Apple devices allow wirelessly stream multimedia content to your TVprovided the TV and device are compatible with each other.
Taken together, all these options—HDMI, DVI/DisplayPort with adapters, wireless mirroring, Miracast, AirPlay, or Chromecast—offer enormous flexibility to adapt the PC connection to the TV to your equipment, your TV and the way you prefer to enjoy your content, whether for leisure, work or both at the same time.
By understanding the possibilities of each method, the types of cables, the screen options (duplicate or extend) and how to solve typical image, sound and latency problems, It's easy to choose the connection method that best suits you and have your PC and TV working together as a true home entertainment and productivity hub.

Table of Contents
- Connecting a PC to a TV via HDMI step by step
- Other wired connections: DVI, DisplayPort and adapters
- How to connect your PC to your Smart TV wirelessly
- Screen sharing vs. extending desktop on TV
- Common problems when connecting PC and TV wirelessly
- Other wireless technologies: Miracast, Intel Unite, AirPlay, and Chromecast