- Thermal paste improves heat transfer between the CPU/GPU and the heatsink, reducing temperatures and extending the life of the equipment.
- It is advisable to renew it every few years or when temperatures rise, following careful cleaning and applying only the necessary amount.
- Choosing the right type of thermal paste and properly assembling the cooling system is crucial to avoid problems and achieve the best thermal performance.
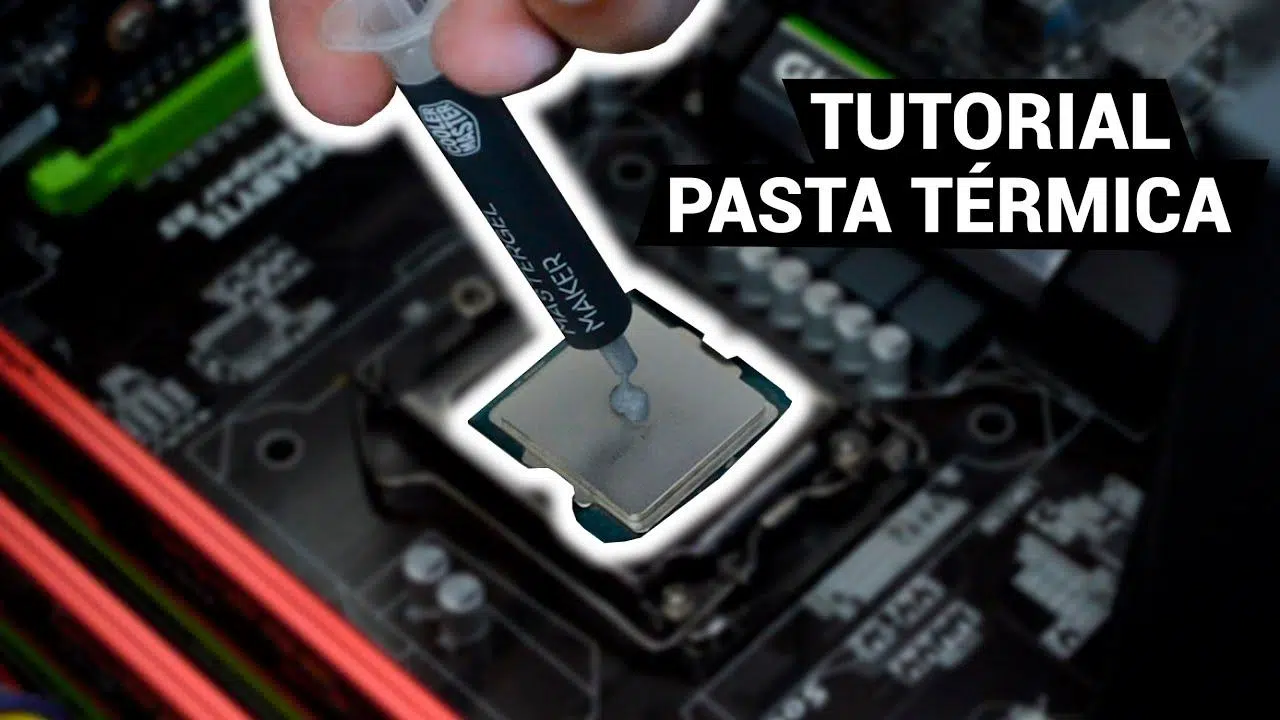
If your computer starts sounding like a plane taking off, overheats, or shuts down for no apparent reason, it's very likely time to replace the processor's thermal paste . It's one of those maintenance tasks that seems daunting at first, but it's actually quite simple once you know how to do it and take a few basic precautions.
In the following lines, you'll find a complete guide , designed so that anyone with a little know-how can replace thermal paste step by step , understanding what they're doing at each stage and why. We'll see exactly what thermal paste is, when it's best to change it, what types exist, how to choose the right one, and how to apply it correctly to both desktop PCs and laptops, as well as some important tips and warnings to avoid damaging your hardware.
What is thermal paste and why is it so important?
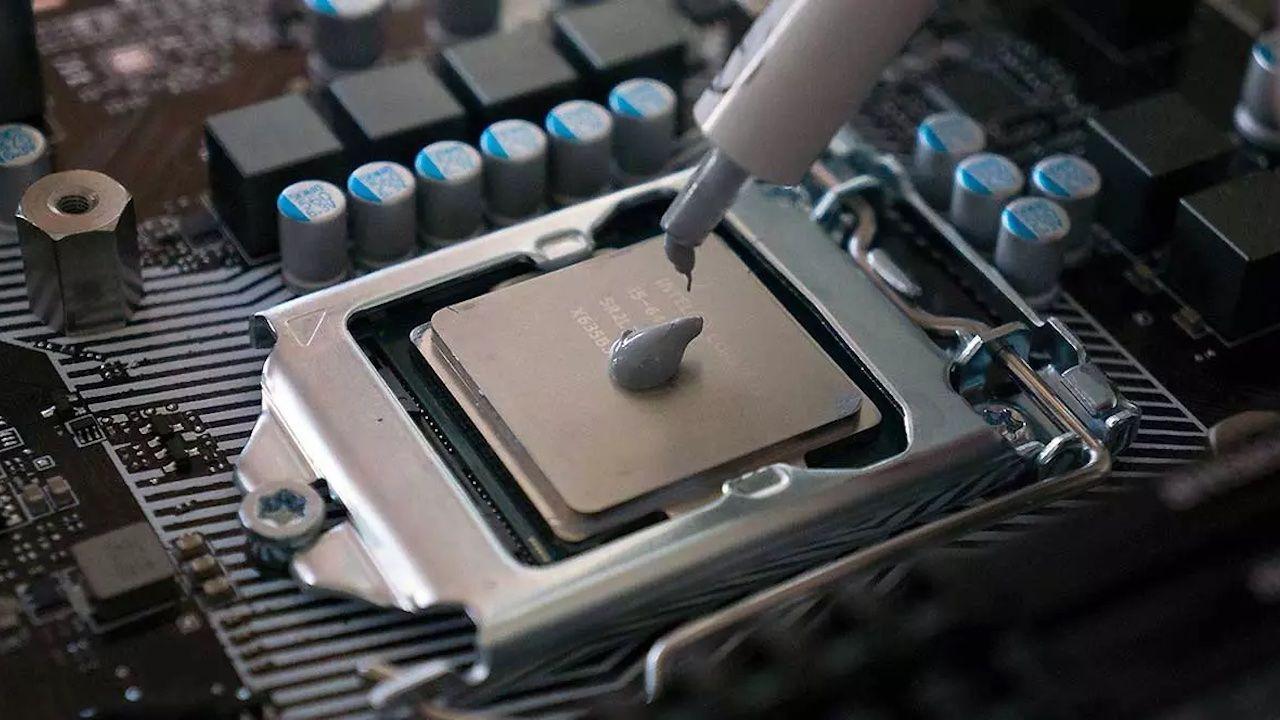
Thermal paste, also known as thermal compound or thermal grease , is a substance applied between the processor (CPU) or graphics card (GPU) and its heat sink. Its purpose is to improve heat transfer between these two surfaces, which appear smooth at first glance but actually have tiny imperfections and micro-spaces filled with air.
Air is a very poor conductor of heat, so without any intermediate material, some of the thermal energy would be trapped in the processor. Thermal paste fills these microscopic gaps , eliminating as much air as possible so that heat flows much more easily to the heatsink and, from there, to the air inside the case or laptop.
Thanks to this feature, a properly applied, high-quality thermal paste can make a significant difference in the processor's operating temperature. This temperature reduction translates into quieter fans, greater stability, and a longer lifespan for components, preventing crashes, thermal throttling, and sudden shutdowns.
Over time, thermal paste degrades: it can dry out, harden, or lose some of its conductivity . The quality of the original paste, the number of hours of use, the ambient temperature, and whether the device has experienced significant temperature fluctuations also play a role. Therefore, even if it doesn't appear to be in poor condition, it's highly recommended to replace it periodically.
When should you change the thermal paste?
There's no exact date, but there are several clear signs that indicate it's a good time to replace the processor's thermal paste . For computers used regularly, many manufacturers and technicians recommend changing it approximately every 3 or 4 years, while for gaming or heavy-duty workstations, it may be advisable to shorten that interval.
One of the most common signs is noticing a significant increase in CPU or GPU temperature compared to when the computer was new or to readings from previous months. If, without having changed how you use your computer, you see temperatures soaring during games, demanding programs, or even light tasks, the thermal paste is probably no longer performing as it should.
Another classic symptom is that the fans are almost always running at full speed , even with undemanding applications. The system tries to compensate for the lack of heat transfer by increasing airflow, which generates more noise. If you also start experiencing spontaneous shutdowns, restarts under load, or sudden performance drops when the processor gets hot, the suspicion about the thermal paste becomes even stronger.
It's also advisable to take advantage of specific moments, such as when you're doing a thorough cleaning of your computer or replacing the heatsink , to renew the thermal compound. Since you're disassembling the cooling system anyway, it's worth applying new paste instead of reusing the old one, which has likely lost some of its effectiveness.
In laptops, which typically operate at higher temperatures and have more limited ventilation systems, the importance of good thermal paste is even greater. If your laptop gets very hot, makes a lot of noise , and literally burns your hands around the keyboard, a change of thermal paste and internal cleaning could make a significant difference.
Types of thermal paste and how to choose the right one
Not all thermal pastes are created equal. When choosing one, it's helpful to understand the main types and their characteristics, as each has its own advantages and disadvantages. This way, you can choose the option that best suits your equipment and how you use it, instead of buying the first one you see.
One of the most common categories is ceramic-based or non-conductive metal oxide thermal paste. This type of compound is characterized by its electrical insulation properties , which reduces the risk of short circuits if it is accidentally spilled onto other components of the motherboard. Its thermal performance is good for most household uses and it tends to be quite stable over time.
On the other hand, there are thermal pastes with metallic particles, such as silver or aluminum, which offer superior thermal conductivity . These are usually recommended for more demanding environments, such as gaming PCs or workstations that spend many hours under heavy load. However, some of these pastes can be slightly electrically conductive or capacitive, so they must be applied more carefully to avoid touching nearby traces or electronic components.
At a more advanced level, we find liquid metal thermal pastes, based on alloys such as gallium and indium. They provide extraordinary heat transfer , far superior to traditional pastes, and are popular among overclocking enthusiasts . The problem is that they are electrically conductive, can react with certain metals (for example, aluminum), and require extremely careful application, so they are not recommended for inexperienced users.
When choosing thermal paste, consider parameters such as the thermal conductivity indicated by the manufacturer , viscosity (which affects how easy it is to apply), and long-term stability. For the average user seeking a good balance between performance and safety, a reputable ceramic-based paste or one containing non-conductive metal oxides is usually more than sufficient. Also, make sure the container hasn't been open for too long, as some formulas age poorly once opened.
Tools and preparations before changing the thermal paste
Before getting started, it's a good idea to be clear about what you'll need and how to prepare everything to avoid setbacks mid-process. Although each team may have its own specific requirements, the basic list of tools is usually quite similar in most cases.
First, you'll need a suitable set of screwdrivers , usually Phillips (or star-shaped) and, depending on the model, Torx or small flathead screwdrivers. Many problems arise from using unsuitable tools that damage screws or slip when you apply force. If you have an electronics repair kit, even better, as these often include magnetic bits and specific sizes for laptops.
It's also important to have high-purity isopropyl alcohol (preferably 90% or higher) to clean any remaining old thermal paste from both the processor and the heatsink. Avoid using rubbing alcohol, glass cleaner, or other liquids, as these can leave residue or contain excessive water.
To safely remove the old thermal paste, use lint-free wipes, electronic cleaning paper, or cotton swabs . If necessary, you can also use good-quality kitchen paper, being careful not to leave any fibers behind. Some thermal pastes include a small plastic spatula or applicator, which is very useful for spreading the new compound if you wish to use that technique.
Another key point is static electricity. Ideally, you should work with an anti-static wrist strap connected to ground or, at the very least, frequently touch a grounded metal surface (for example, the metal casing of a plugged-in but switched-off power supply) to discharge any static buildup from your body.
Finally, make sure you have completely shut down your computer, unplugged the power cord, and removed the battery if your laptop allows it. Work on a clean surface with good lighting and enough space to neatly store the screws, preferably using small containers or a magnetic tray to avoid losing any parts.
How to change the thermal paste on a desktop PC
On a desktop computer, accessing the processor is usually much easier than on a laptop, so it's a good starting point for those new to this task. The general procedure is similar for most motherboards and traditional air cooling systems.
The first step is to open the PC case . Usually, this simply requires removing the side panel by unscrewing the screws at the back. Once inside, locate the CPU cooler, which is typically a metal block with a fan located near the center of the motherboard, connected to the CPU's power connector and secured with a mounting bracket.
Before disassembling anything, it's advisable to disconnect the CPU fan cable from the motherboard. Next, loosen the heatsink's mounting system following the manufacturer's recommended order: this may involve four Phillips head screws, a locking lever, or plastic clips that twist. Do this carefully, applying just enough force to avoid damaging either the heatsink or the motherboard.
Once you've freed the heatsink, carefully remove it. Sometimes it sticks slightly to the CPU due to old thermal paste; if you feel resistance, avoid pulling straight up. Instead, use a very gentle twisting motion to loosen it without dislodging the processor from the socket. Once loose, set the heatsink aside on a clean surface.
You'll now see old thermal paste on both the processor surface and the heatsink base. Start by removing most of it with a piece of paper towel or wipe, without pressing too hard. Then, lightly dampen another piece of paper towel or a cotton swab with isopropyl alcohol and gently wipe the surface until it's completely clean and shiny . Repeat this process on the heatsink.
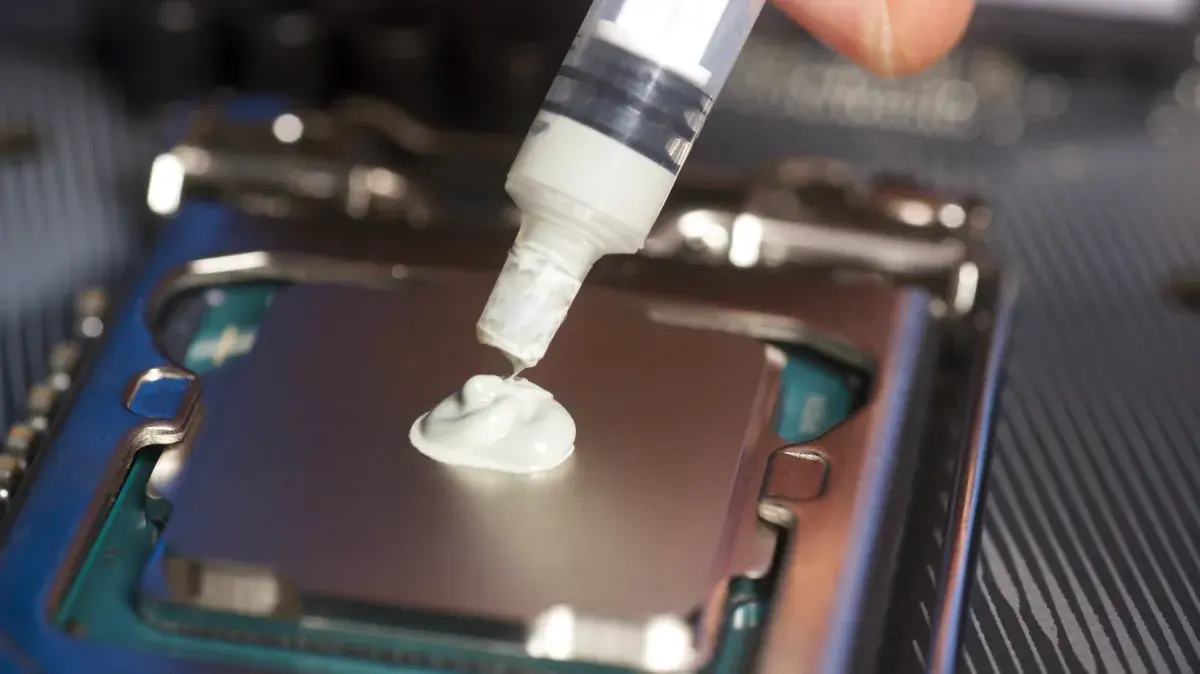
Once both surfaces are clean and dry, it's time to apply the new thermal paste. There are several methods (center dot, line, cross, spreading with a spatula, etc.), but for most desktop processors, a small dot of paste in the center of the IHS (the processor's metal plate) is usually sufficient. The idea is that, when you place the heatsink on top and press it down, the paste will spread evenly due to the pressure.
It's important not to use too much: an amount about the size of a grain of rice or a small pea is usually more than enough. Using too much paste doesn't improve cooling and can cause some of the mixture to overflow, reaching areas where it shouldn't be.
Place the heatsink back on the CPU, trying to position it as vertically and evenly as possible , without moving it too much once it's in contact with the thermal paste to avoid creating internal air bubbles. Reattach the mounting bracket in a cross pattern (if it has four points), tightening gradually and evenly at each corner.
Finally, reconnect the fan cable to the CPU_FAN header on the motherboard, double-check that you haven't forgotten any screws, and close the case. When you turn on the computer, enter the BIOS or use a system monitoring program to verify that the temperatures have decreased and the fan is working properly.
Specifics when changing thermal paste in laptops
With laptops, the process is a bit more complicated, because access to the CPU and GPU is usually much less visible. Each model is different: some only require removing a bottom cover, while others require disassembling practically the entire device, including the keyboard, top case, and internal modules.
The first step should always be to consult a guide specific to your model , either from the manufacturer or detailed tutorials with photos and videos. This will help you identify where the hidden screws are, which parts need to be loosened, and which flat connectors (like those for the keyboard and touchpad) you'll need to disconnect without damaging them.
Once you have access to the cooling system, you'll typically see a set of heat pipes and one or more fans , with one base in direct contact with the CPU and, in many cases, another area in contact with the dedicated or integrated GPU. To change the thermal paste, you'll need to remove this module by unscrewing its fasteners in the order indicated, often numbered on the metal part itself.
When you remove the cooling system, you'll likely find thermal paste on the CPU and GPU, as well as thermal pads on other components like the VRM and memory. It's crucial not to lose or swap these pads, as they have a specific thickness and position. If they're badly worn, you should replace them with pads of the same thickness and specifications.
Cleaning the old thermal paste is done the same way as with desktop laptops: with paper towels or wipes and isopropyl alcohol, being careful not to spill any liquid on other components of the motherboard. Make sure to hold the laptop in a comfortable position so that it doesn't bend when you apply the necessary pressure for cleaning.
On laptops, it's advisable to apply a slightly smaller amount of thermal paste than on desktops, as the chip surface area may be smaller or lack an integrated heat spreader (IHS) (meaning the silicon is more exposed). A very small dot or a thin, centered line usually works well. Avoid using hard tools that could scratch the chip surface; if you use a spatula, make sure it's made of flexible plastic.
When reinstalling the cooling system, carefully align it over the CPU and GPU and let it settle gently. When tightening the screws, follow the numbered order and tighten each screw gradually to ensure even pressure on the chips. After assembling the laptop, check that all the flat connectors are properly inserted and that no screws are left over—this is more common than you might think.
Common mistakes when changing thermal paste and how to avoid them
One of the most common mistakes is applying too much thermal paste , thinking that this will better cool the processor. The opposite is true: an excess of compound can worsen heat transfer and, in electrically conductive products, significantly increase the risk of short circuits if the material spills onto sensitive areas.
Another common mistake is not properly cleaning off the old thermal paste. Leaving old layers mixed with the new creates an uneven and inconsistent surface , hindering heat transfer. Whenever you're going to replace the thermal paste, remove the old layer completely; simply adding a little on top won't do.
Another common mistake is not paying attention to the pressure and position of the heatsink when reinstalling it. If the heatsink isn't properly seated, or if a screw is loose, the base won't make good contact with the processor, and you'll see abnormally high temperatures even with new thermal paste . That's why it's crucial to follow the tightening sequence and check that the fasteners are secure.
Laptops are especially easy to damage when disassembling without looking carefully. Take your time to see how each piece fits together, and don't force anything if it seems stuck; this indicates that a hidden screw or tab might still be stuck . If in doubt, double-check a step-by-step guide for your specific model.
Finally, some people jump straight into using liquid metal without being aware of the risks. It's a very effective material, but extremely delicate: if you're unsure how to protect the areas around the chip, which metals are compatible, or how to apply it safely, it's best to opt for a good quality conventional thermal paste, which already represents a significant improvement in most cases.
How to check the result and maintain good temperatures
Once you've replaced the thermal paste, it's a good idea to run some tests to make sure everything is working properly and that the effort was worthwhile. It's not just about the computer turning on, but also about verifying that the temperatures and overall performance are within acceptable limits.
First, use a temperature monitoring program (such as the motherboard's built-in tools or specialized software) to monitor the CPU and GPU temperatures at idle . They should be significantly lower than before the upgrade, always taking into account the ambient room temperature.
Next, put the system under load for a while by running a demanding game, a benchmark, or a controlled stress test. Meanwhile, observe how the temperatures and fan behavior change. If the change was done correctly, the maximum temperatures should typically drop several degrees compared to the previous situation, and the system should take longer to reach its thermal limits.
If, on the other hand, you detect very high temperatures right at the start of a stress test, sudden spikes, or even shutdowns, check that the heatsink is properly secured and that you haven't made any of the mistakes mentioned earlier. Sometimes, simply disassembling, cleaning, and repeating the process more carefully is enough to ensure everything is working correctly.
In addition to changing the thermal paste, it's highly recommended to take care of other aspects that greatly influence overall cooling. Thoroughly cleaning dust from fans, vents, and filters , along with adequate airflow in the case (front or bottom intake and rear or top exhaust), greatly helps maintain reasonable temperatures and extend the lifespan of your computer.
Treating thermal paste replacement as a regular maintenance task, rather than an occasional occurrence, allows your computer to run more quietly, cooler, and more reliably . While it might seem a bit daunting at first, following the steps carefully and without rushing makes it perfectly manageable for any meticulous user who wants to take care of their components.
With all that explained, it's clear that renewing thermal paste isn't just a whim, but a key process for maintaining the performance and health of the hardware: choosing the right type of compound, preparing the tools, thoroughly cleaning the surfaces, applying the correct amount, and properly assembling the cooling system are details that, combined, make the difference between a computer that suffers from overheating and one that works with controlled temperatures and a much longer lifespan.

Table of Contents
- 1 What is thermal paste and why is it so important?
- 2 When should you change the thermal paste?
- 3 Types of thermal paste and how to choose the right one
- 4 Tools and preparations before changing the thermal paste
- 5 How to change the thermal paste on a desktop PC
- 6 Specifics when changing thermal paste in laptops
- 7 Common mistakes when changing thermal paste and how to avoid them
- 8 How to check the result and maintain good temperatures