- Checking ports, cables, and drivers ensures that Windows correctly detects both monitors and prevents signal problems.
- From the Display settings you can organize the position, resolution and orientation of each monitor so that the desktop adapts to your physical space.
- The display modes (PC only, Duplicate, Extend and Second screen only) allow you to use both screens depending on whether you are working, presenting or playing.
- Customizing taskbars and backgrounds across multiple screens improves organization and comfort in a dual-monitor work environment.

Count on two monitors on the same PC It has become very common both at home and in the office. Having more screen space makes working with multiple windows easier and improves performance. experience while playing and makes daily computer use much more convenient. The good news is that Configure a dual-screen system in Windows It's quite simple once you know where to start.
In the following lines you will find a Complete guide to connecting and configuring two monitors on one PC This guide covers Windows 11 and Windows 10, as well as specific tips for Dell computers and daisy-chaining via DisplayPort. We'll see everything from physically connecting the displays and checking the cables to adjusting all the display settings, choosing the display mode, and customizing the taskbar and background to get the most out of your desktop.
Preliminary checks before connecting the two monitors
Before you start messing with Windows settings, it's essential to make sure that Everything is well connected at a physical level.No matter how well you configure the system, if a cable is loose or you use the wrong port, the second monitor will not appear or will have image problems.
The first thing to do is verify the video cables that you are going to useThe most common are VGA, DVI, HDMI, DisplayPort, and Mini DisplayPort. Each monitor and graphics card may offer different connectors, so it's a good idea to check the back of your monitor and computer tower or laptop to see which one is compatible without needing unusual adapters.
On a classic desktop PC, it is recommended that Both screens connect directly to the dedicated graphics card (or, failing that, to the motherboard's video output if you're using integrated graphics). In many towers, you'll see the motherboard's video ports at the top and the graphics card's ports at the bottom; to get the most out of your system, connect your monitors to the main graphics card.
If you use a laptop or all-in-oneYou'll usually have one or more video ports (HDMI, USB-C with DisplayPort, Mini DisplayPort, etc.) on the sides or back. In that case, simply connect the external monitor to the available port or to a docking station if you're using it to expand your port selection.
It's also very important to keep your system updated. Both Microsoft and hardware manufacturers frequently improve the compatibility with external monitors via updatesIn Windows 11, go to Start > Settings > Windows Update > Check for updatesIn Windows 10, open Start > Settings > Update & security > Windows Update > Check for updatesWhile we're at it, it's a good idea to install the latest graphics card drivers from the NVIDIA, AMD or Intel website, or from the equipment manufacturer's page (for example, Dell).
If your PC is a brand name, such as a Dell desktop or laptop, you'll find a diagram of the... VGA, HDMI, Mini DisplayPort and DisplayPort ports availableThese diagrams help you quickly identify which connector is which and where you should plug each cable in for optimal performance of your dual monitor setup.

How to physically connect the two monitors to the PC
Once you're clear on the ports and cables, it's time to connect both monitors to the computerAlthough each team is different, the general procedure is usually very similar in all cases.
Start by turning on both monitors and the PC, and then Connect the first monitor with a suitable video cableFor example, HDMI-HDMI, DisplayPort-DisplayPort, or using an adapter cable if the monitor and PC don't have the same type of connector. Make sure the cable is fully inserted into both the monitor and the computer to avoid intermittent disconnections.
Then connect the second monitor using another video portIf your graphics card or docking station has multiple HDMI ports, multiple DisplayPort ports, or a combination of HDMI and DisplayPort, you can use any pair that's compatible with your displays' inputs. For example, on Dell laptops and docking stations, it's common to combine one HDMI and one DisplayPort, or even use two DisplayPorts if both monitors support it.
In the case of Dell computers and more advanced configurations, there are two main ways to work with multiple monitors: independent connections from the PC or docking station, or a daisy-chain using daisy-chaining via DisplayPort MSTThe standard option is to connect one video cable from the computer to the first monitor, and another cable from the computer to the second monitor. If your machine supports more displays, you can repeat this pattern with additional monitors, always respecting the connector types of the graphics card or docking station.
The second, more professional option is to take advantage of the daisy-chaining via DisplayPort MSTIf your monitors are MST compatible, you can do the following: connect the DisplayPort output of the tower, laptop, or docking station to the port DisplayPort Input from the first monitor and, from the exit DisplayPort Out From this first monitor, link to the port DisplayPort Input From the second one. In the OSD menu (the buttons on the monitor itself) you will have to activate MST on the first monitor and leave it deactivated on the last one in the chain so that the system correctly distributes the signal between all the screens.
Some Dell monitor and docking station models even allow connect more than two screens in a chain Following the same logic: the first monitor connects to the PC, the second to the first, the third to the second, and so on, as long as both the graphics card and the monitors support the number of screens and the total resolution you want to use.
Once everything is connected, Windows 10 or Windows 11 usually automatically detect the second screenYou'll hear the typical new device sound, and shortly after, the desktop will extend to the additional screen. If this doesn't happen, we'll later see how to "force" detection from the system settings or by rechecking the cables and ports used.

Screen detection and reorganization in Windows
With the monitors now connected, the next step is tell Windows how you want it to behavewhich screen is which and in what relative position they are. This setting is key for the mouse to move naturally between them and to prevent windows from "jumping" where they shouldn't.
In Windows 11, go to Home > Settings > System > DisplayIn Windows 10, the path is very similar: Home > Settings > System > DisplayUpon entering, you will see a graphical representation of the connected screens, usually numbered 1, 2, 3, etc. This panel allows you to identify and drag each monitor so that its position reflects how you have them physically arranged.
If you are unsure which number corresponds to each monitor, press the button. Identify which appears in the screen rearrangement section. Windows will display a large number superimposed on each monitor, so you can instantly tell which is screen 1 and which is screen 2, which is very useful if you work with multiple monitors or if any screen is mounted vertically or in another unusual position.
If you've connected a new screen and it doesn't appear in the list, you can use the option DetectIn Windows 11, this option is located in System > Display > Multiple Displays > DetectIn Windows 10, access System > Display > Multiple Displays and also click on DetectThis function tells Windows to search again for external displays in case any have not been recognized after being connected.
In the case of wireless displays (for example, Miracast-compatible TVs or monitors), in Windows 11 you can go to Home > Settings > System > Display > Multiple displays > ConnectFrom there, you can search for nearby wireless devices so you can add them as a second screen without cables, provided both the PC and the screen support this technology.
Once all the screens have been identified, you can organize your layout by dragging your icons with the mouse in the settings window. If, for example, Windows places the secondary monitor on the left but on your desk it's on the right, you just have to "drag" screen 2 in the diagram to the right of screen 1 and click on ApplyThus, when you move the mouse to the right edge of the main monitor, the pointer will appear right on the left edge of the secondary monitor.
Switch between different screen modes (Windows + P)
In addition to organizing screen positions, Windows offers several Display modes to choose how the image is distributed between the primary and secondary monitors. The quickest way to switch between them is by using the keyboard shortcut Windows + P, available on both Windows 10 and Windows 11.
Pressing this combination opens a panel on the right side of the screen with four options. The first is PC screen onlyThis feature allows only the main screen to be used, effectively turning off all external monitors, even if they remain physically powered on. This is useful when, for example, you want to work only with your laptop and don't need your desktop monitor at that moment.
The second option is DoubleIn this mode, the image displayed on the main screen is mirrored on the secondary monitor, so you see exactly the same thing on both. This is the ideal setup for presentations, meetings, or any situation where you want to show someone else what you see, whether on a TV or a projector.
The third option, and surely the most interesting to work with, is ExtenderHere, Windows treats both screens as a single, continuous desktop that extends to the left or right, depending on your configuration. Each screen can have different windows, and you can drag files, programs, and dialog boxes between them with your mouse, giving you much more room to organize your work.
The fourth option is Second screen onlyThis does the exact opposite of the first: it turns off the main screen and displays everything on the secondary monitor. It's typically used when you connect your laptop to a large monitor and want to work solely on the external screen, or when you want to reduce distractions and focus on just one display.
The good thing about these modes is that you can switch between them as many times as you wantIf you're working with the extended desktop but suddenly need to give a presentation, press Windows + P, choose Duplicate, and when you're finished, switch back to Extend. There are no limits or risks to switching between these modes, and Windows remembers your choice until you change it again.
Adjustments for resolution, scale, and orientation of each monitor
In addition to the projection mode, it is important to adjust the resolution and scale of each monitor This ensures the image is sharp and the size of the elements is comfortable on all screens. This is especially important if you combine monitors with different resolutions, such as a 2560×1440 alongside a Full HD 1080p monitor.
From the Display section in Windows Settings, select the display you want to adjust (by clicking on its numbered box) and scroll to the settings. Scale and layoutThere you can change the recommended resolution for each monitor, as well as the scaling level (for example, 100%, 125% or 150%) that determines the size of icons, texts and menus.
Windows usually suggests a Recommended resolution and guidance depending on the monitor model detectedIn most cases, it's a good idea to follow that recommendation, as it matches the screen's native resolution and ensures the best possible sharpness. Even so, if a program appears too small or too large, you can adjust the scaling to suit your preference.
In that same section you can also change the screen orientationThe usual mode is landscape (horizontal), but if you physically rotate a monitor to use it vertically (for example, to read long documents, websites, or code), you can adjust the orientation to "portrait" so the image adapts to the new rotation. Remember that if you change the orientation in Windows, you also have to physically rotate the screen for the content to be displayed in the correct position.
When you use Extend mode, Windows combines the resolutions of your monitors to create a continuous desktop. For example, if you combine a 2560x1440 monitor with a 1920x1080 monitor and place them side by side, the total desktop will be the width of both screens combined, although the actual height will adjust to the lower resolution when you move the mouse between monitors. It's helpful to keep this in mind to understand why the pointer sometimes stops moving when you switch from a taller screen to a shorter one.
Multi-screen options and behavior when connecting or disconnecting
In Windows 11 there is a specific section called Multiple screens Within the Display settings, you'll find additional options that control how windows behave when you connect or disconnect monitors—very useful if you use a laptop that you frequently plug and unplug from an external monitor or docking station.
Among these options you will see boxes for remember the location of the windows according to the monitor And to automatically minimize windows when a screen is disconnected. If you enable this feature, Windows will attempt to reposition each application on the monitor it was connected to when you reconnect it, preventing the chaos of windows shifting every time you plug your laptop into the dock.
In Windows 10, most of these settings are also found in the Settings section. Multiple screensAlthough some names or their exact location may change slightly. The important thing is to check those boxes if you notice that your windows aren't behaving as expected when you move your laptop between different monitor configurations.
Another interesting option, available in both Windows 10 and Windows 11, is the one that allows you to choose which monitor you want to use as your main monitorThe primary monitor is the one where the taskbar, Start menu, and many notifications appear by default. If you prefer all of this to appear on the larger monitor, select it in the Display settings and check the "Make primary display" option or something similar.
The main screen is also where most programs open by default, although you can later move their windows to the other monitors. If you work with multiple monitors, it's a good idea to dedicate the main monitor to the tasks you use most often (for example, the text editor or the browser) and reserve the secondary monitor for support tools, chat, email, or other applications you want to keep readily accessible.
Customize the taskbar and background with two monitors
Once the technical configuration is established, the more visual part begins: adapt the taskbar and the wallpaper to a multi-monitor environmentThis helps make the experience more organized and enjoyable, especially if you spend many hours in front of the PC.
In Windows 10, open Start> Settings> Personalization> TaskbarAt the bottom you will find the section for Multiple screensHere you can choose whether you want the taskbar to appear on all monitors or only on the main one. You can also decide how application buttons are displayed on each taskbar.
There are three typical options. The first, Show buttons on all taskbarsThe first option duplicates application icons across all screens, allowing you to access your programs from any monitor. The second, slightly more organized option displays buttons on the main taskbar and also on the screen where each window is open, so if you drag an application to another monitor, its icon appears there as well.
The third, more minimalist option allows that Each taskbar should only display the buttons for the windows open on that monitor.This way, the taskbar on screen 1 doesn't get cluttered with the applications on screen 2, and vice versa. This mode is very convenient for completely separating the use of each monitor, for example, using the main screen for work and the secondary screen for leisure or communication.
As for the desktop background, you can go to Personalization > Background and choose a static image, a slideshow, or a solid color. If you select an image and use the option Extender In the "How the picture should fit" setting, Windows will distribute the image across all monitors as if it were a continuous mural. That is, one half of the photo will appear on the main screen and the other half on the secondary monitor, or it will be distributed across multiple screens if you have more than two.
It is also possible to assign different backgrounds for each screen In some versions of Windows 10 and 11, you can do this by going to the Background section, selecting an image from the list, right-clicking, and choosing which monitor you want to apply it to. This way, you can have, for example, a more subdued background on your main screen and a more vibrant or relaxing one on your secondary monitor.
If you want to take it a step further, you can combine these background options with taskbar settings to create a clearly differentiated dual work environmentOne "serious" monitor for focused tasks and another more casual one for browsing, multimedia, and communication. All of this helps make using two monitors more comfortable and intuitive.
With all these steps, from connecting cables to adjusting Windows settings, a dual monitor system on a PC It becomes easy to set up and extremely useful in everyday life. By correctly connecting the appropriate ports (VGA, HDMI, DisplayPort, or Mini DisplayPort), taking advantage of advanced options like MST on compatible monitors, rearranging screens in the system settings, and fine-tuning display modes, the taskbar, and the background, you can completely adapt your desktop to your work, gaming, or study style without complicating things every time you plug or unplug a screen.
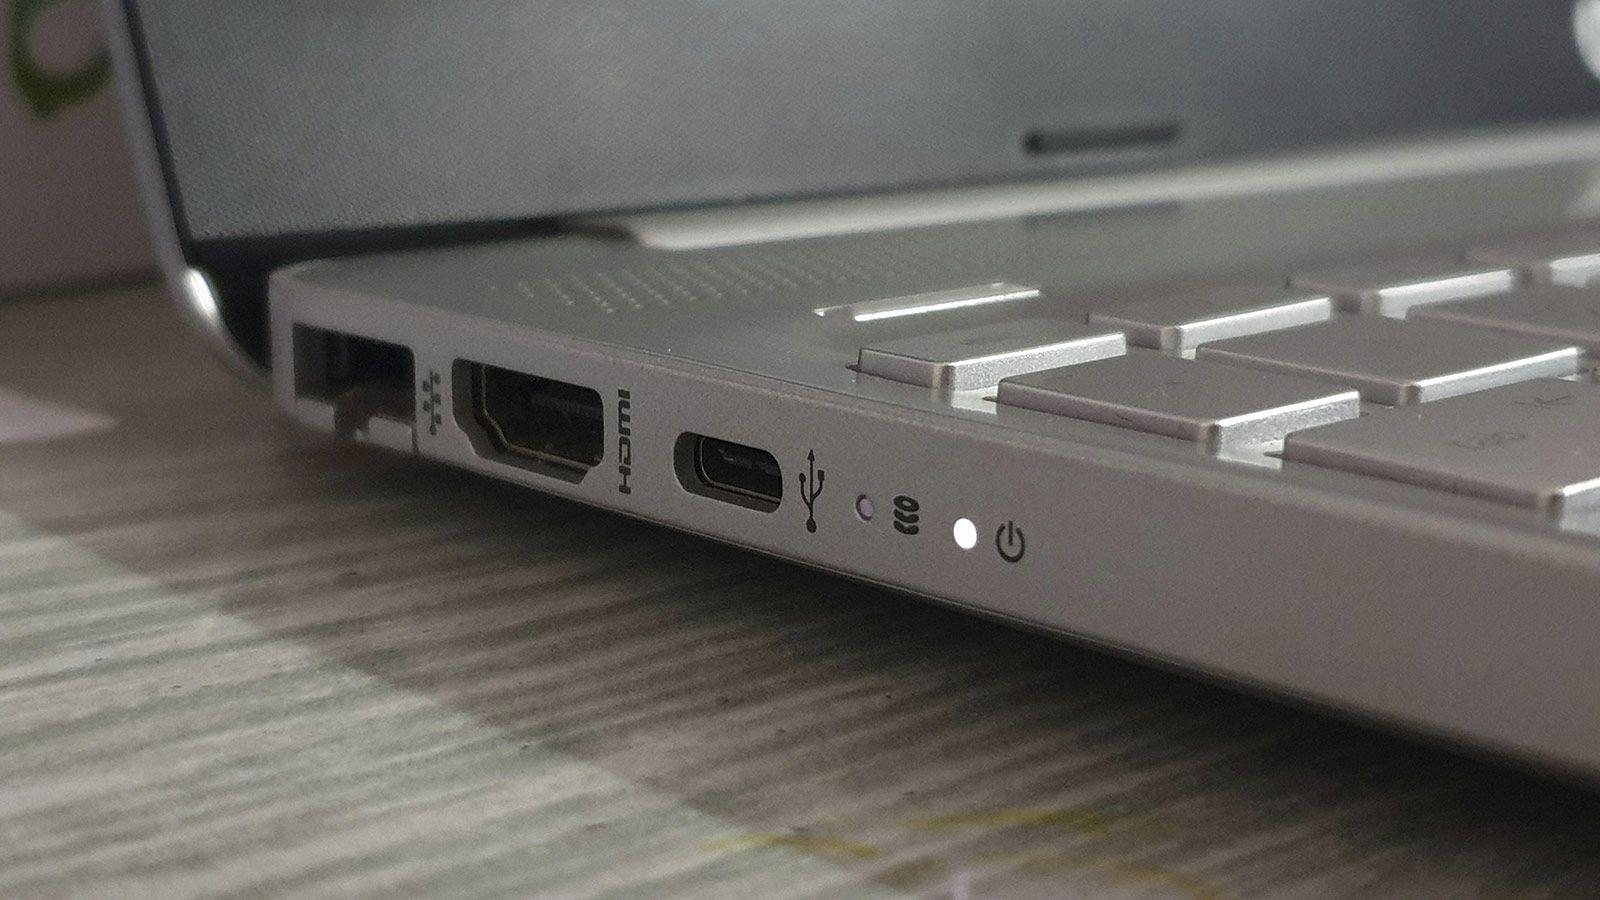
Table of Contents
- Preliminary checks before connecting the two monitors
- How to physically connect the two monitors to the PC
- Screen detection and reorganization in Windows
- Switch between different screen modes (Windows + P)
- Adjustments for resolution, scale, and orientation of each monitor
- Multi-screen options and behavior when connecting or disconnecting
- Customize the taskbar and background with two monitors