- Advanced PCIe diagnostics combines diagnostic cards and software to pinpoint faults in motherboards, PCIe slots, and M.2 drives.
- Tools such as TL631, AIDA64, CPU-Z, Memtest86+ or Furmark allow you to isolate problems in CPU, RAM, GPU and storage.
- Checking voltages, cables, sockets, and USB or video ports helps avoid replacing the entire motherboard when only one part fails.
- Proper use of these tools saves time and money and reduces the risk of mistaking software or malware errors for physical failures.
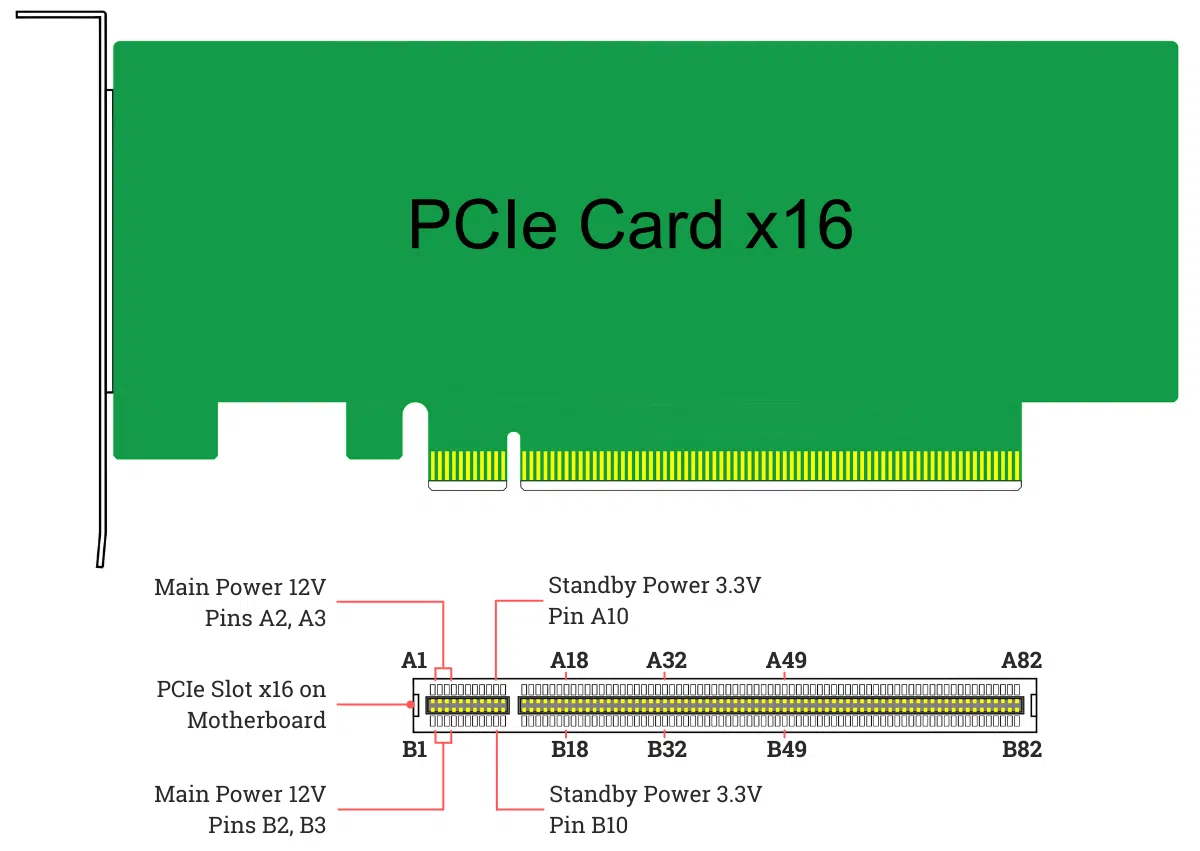
When your PC starts experiencing strange errors, random crashes, or simply refuses to boot, the problem is very likely with the motherboard or one of its PCIe and M.2 connectors. Having a good, advanced PCIe diagnostic tool makes all the difference between randomly replacing components and pinpointing the fault precisely, saving you time and money.
In this article, you'll learn how to use both PCIe diagnostic cards and software tools to analyze your motherboard, its PCI-Express slots, RAM, M.2 connectors , USB ports, video outputs, and other critical components. We'll also look at a very comprehensive card, the TL631/TL631 PRO, and a range of free hardware and network diagnostic programs to fine-tune your system.
What is advanced PCIe diagnostics and why does it matter?
Advanced PCIe diagnostics combines hardware and software tools to pinpoint faults on the motherboard and connected devices (graphics card, M.2 SSD, expansion cards, etc.). It's not just about checking if something "works or not," but about interpreting error codes, power supply voltages, and PCI-Express bus signals to pinpoint the exact point of failure.
A modern motherboard integrates multiple subcomponents : PCIe slots for the GPU and expansion cards, M.2 slots for NVMe SSDs, RAM memory slots, USB controllers, SATA connectors, video outputs, etc. When a PC malfunctions, it's not always clear whether the problem lies with the device (e.g., the graphics card), the PCIe slot itself , the power supply, or even the BIOS.
Furthermore, it's important to keep in mind that a single fault in one part of the motherboard doesn't necessarily mean the entire board needs replacing . You might have a dead PCIe slot while the rest of the system works perfectly, or a single RAM slot might be malfunctioning while the others function without issue. That's why it's crucial to be able to isolate which slot or area of the motherboard is failing before giving up on the whole thing.
Modern motherboards typically include diagnostic displays or LEDs with error codes, while older ones use beeps at startup to indicate the fault. PCIe diagnostic cards and testing software can be added to provide a complete overview of your PC's health.

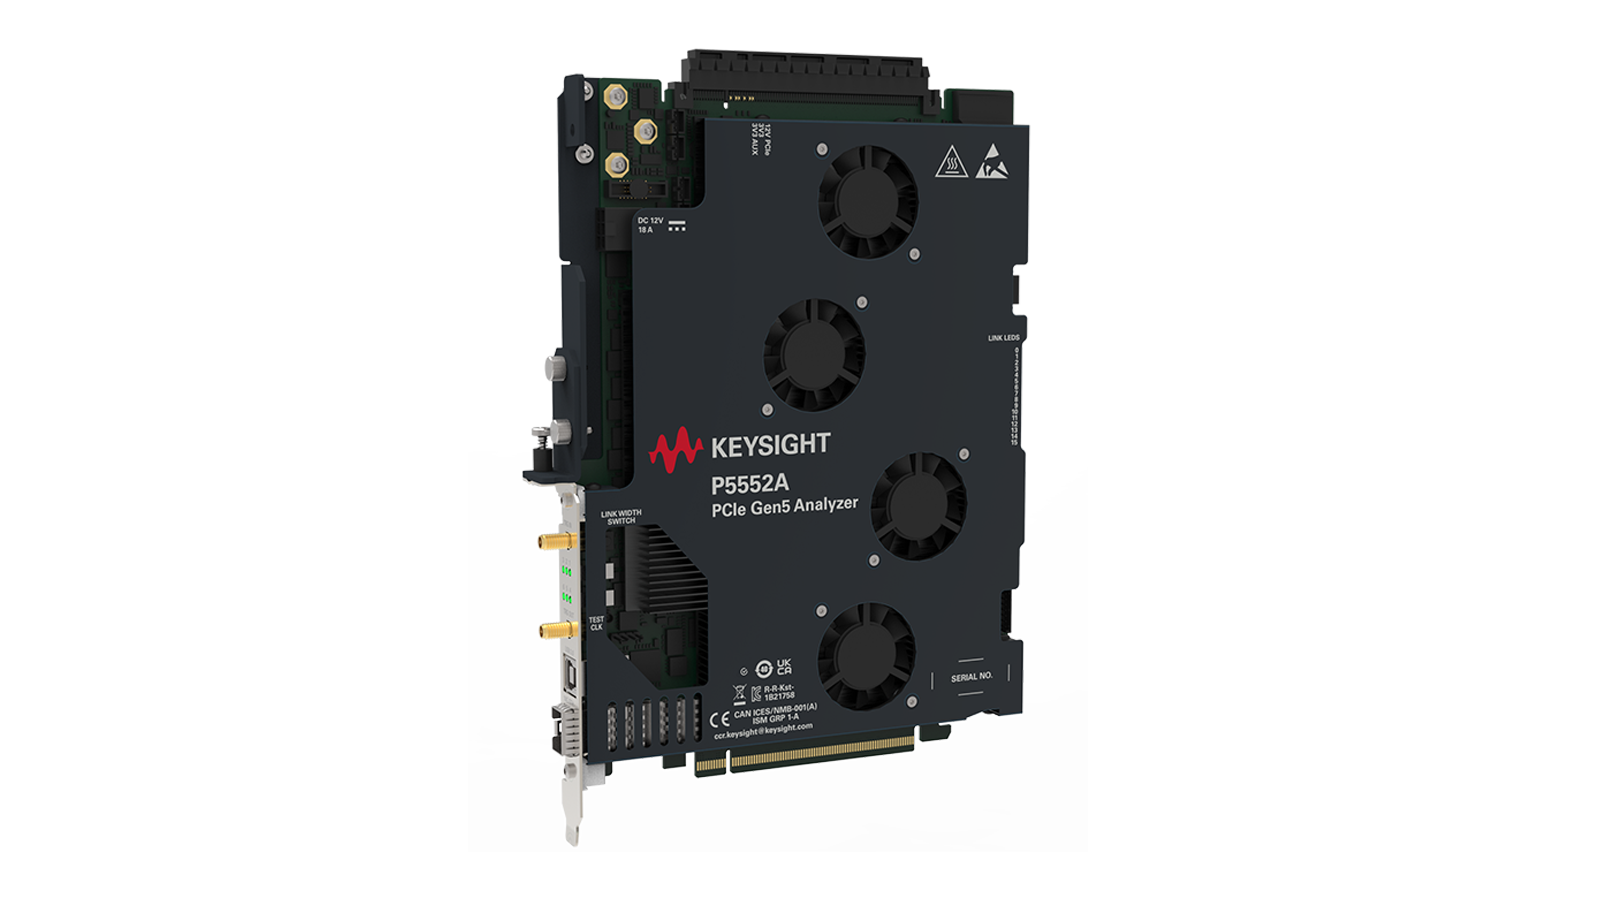
PCIe Diagnostic Card TL631 / TL631 PRO
PCIe diagnostic cards, such as the TL631 and TL631 PRO , are tools designed for technicians and enthusiasts who want to figure out why a motherboard won't boot or gets stuck at some point during POST. They are inserted directly into a PCI slot and display error codes and signal states, revealing what's happening internally.
This card is designed to quickly, accurately, and reliably diagnose motherboard faults without requiring the CPU or other components to be installed. It can analyze the presence of critical voltages (3,3V, 5V, 12V), the reset signal, the PCI bus clock line, and BIOS activity, among other things.
One of its strengths is that it uses a four-digit startup code , displaying values like “0000” or “FFFF” that allow you to see the board's status at a glance. These codes correspond to specific phases of the POST and particular errors, which greatly helps in narrowing down the fault without having to test parts randomly.
The TL631 also includes an audible alert function (ming sound) that emits beeps when it detects certain faults, so you can find out about the problem even without looking at the board's screen. This is extremely useful when working with multiple boards simultaneously or when the casing obstructs visibility.
Another important detail is that it's designed to prevent damage from incorrect insertion . Even if you insert it incorrectly into the PCI slot (within reasonable limits), the diagnostic board shouldn't burn out or damage the motherboard, offering added safety when working with different systems.
Indicator functions and compatibility
The TL631 / TL631 PRO card uses several indicator LEDs that show the status of different motherboard subsystems. Understanding what each light means helps interpret the diagnosis without having to disassemble half the PC.
• The LED BIOS The light blinks when the motherboard reads the BIOS chip. If this light is not active when you turn on the computer, there may be a problem with the BIOS chip, its power supply, or the motherboard itself.
• The indicator IRDY This indicates the presence of the PCI bus IRDY# signal. If it blinks, there is activity on the bus; if it remains off, there may be a problem with PCI communication or the chipset.
• The LED marked as FRAME (in some texts it appears as FRAME or BOX) lights up or blinks when there is a PCI bus cycle frame signal. A steady light at rest is normal, but the complete absence of a signal points to a bus problem.
• The indicator RST / RESET The light comes on for approximately half a second when the board receives a reset command (when switched on or when the reset button is pressed) and then goes off. If the light remains on or does not turn off, there may be a break in the reset circuit or a lock on the board.
In addition to logic signals, the card monitors several key power lines for the motherboard:
• The LEDs of + 12 V They should be constantly lit when the board is powered on. If any of them fail to light up, there could be a power supply problem or a short circuit on the board.
• The same applies to the indicators of + 5 Vwhich should show a stable state. Drops or absence of light indicate faults in the power supply or in the circuit board itself.
• The LED of 3,3 V This voltage is specific to the PCI slot. On most motherboards with a standard PCI slot, this voltage should be present and its indicator light should be constantly on. Some motherboards with a particular design may lack this line, in which case the LED will remain off, but this does not indicate a fault.
In terms of compatibility, the TL631 is designed to work with all types of low-, mid-, and high-end motherboards , for both desktop computers and servers. It is compatible with platforms from Intel, AMD, and other manufacturers, as long as they have a standard PCI bus. The internal electronics are made with SMD (surface-mount) components, which makes it compact and reduces the risk of damage during handling.
Thanks to its broad compatibility, the same diagnostic card can be used to troubleshoot everything from older motherboards to modern server-oriented systems, eliminating the need for different tools for each platform. Furthermore, its light weight (around 48 grams ) and compact size make it a convenient tool to carry in any maintenance kit.
How to diagnose a faulty motherboard
Checking the status of a faulty motherboard can be a real headache, because so many components are involved : CPU socket, RAM slots, PCIe ports, USB ports, storage connectors, video outputs, power supply, etc. The trick is to eliminate components one by one and use both the signals from the motherboard itself and diagnostic tools to narrow down the problem.
The first thing to remember is that a single fault doesn't mean you have to throw the whole motherboard away . You can live with a non-functional PCIe slot if you have others available, or with one unusable RAM slot if the rest are working. The key is pinpointing exactly which part is causing the problem.
It's also important to keep in mind that a specific symptom (beeps at startup, a blue screen, or system crashes ) doesn't always point to a single culprit. For example, a RAM problem could be due to the module itself, the motherboard socket, the integrated CPU controller (IMC), or even an overly aggressive BIOS setting. Therefore, it's advisable to combine physical and software troubleshooting.
In many cases, the motherboard itself provides clues: it may include a two- or four-digit display that shows error codes during startup, or it may emit beep sequences through the internal speaker. Each manufacturer has its own code table, so it's always a good idea to check the manual or consult specialized lists to find out what each combination means.
If the motherboard lacks these aids, or if the codes are unclear, a PCIe diagnostic card and some of the programs we will see later become fundamental allies to bring clarity to the chaos.
PCI-Express slots and graphics card problems
One of the most common PCIe diagnostic errors is not knowing whether crashes, screen artifacts, or restarts are caused by the graphics card or the PCIe slot itself. Before you start disassembling half your PC, it's advisable to perform a few basic steps that save time and avoid false alarms.
To begin, it's advisable to update or reinstall your GPU drivers , performing a clean installation if possible. Often, video problems are due to corrupted or outdated drivers and can be resolved without touching the hardware. If the problem persists after this, it's time to address the hardware itself.
A very simple test is to try a different PCIe slot on the motherboard. If the problem disappears when using the new slot, the original slot is most likely damaged or has a loose pin. If, however, the problems persist in the second slot, the issue lies with the graphics card itself or its power supply.
If you have a PCIe diagnostic card, you can leave the motherboard virtually "empty" (without the CPU or other components) and use it to analyze the status of the PCI signals , voltages, and reset. This allows you to rule out power supply failures or serious bus problems that would prevent any installed graphics card from initializing.
As a last resort before considering replacing the motherboard, it's a good idea to update the BIOS/UEFI to the latest stable version available. Sometimes, incompatibilities with certain GPUs or errors in PCIe lane management are corrected via firmware. If the problem persists even after this update and all the previous tests, there is almost certainly a physical defect in the motherboard.
Damaged processor socket and pins
The processor socket is one of the most delicate parts of any motherboard. On modern platforms with pins on the socket (LGA), a small bump or improper installation can bend one or more pins, causing anything from minor malfunctions to the system failing to boot.
If you suspect the problem lies with the CPU, the socket, or even the CPU's microcode , it's time to carefully disassemble the system. Remove the heatsink, release the processor's locking mechanism, and visually inspect the pins in good lighting. Look for bent or sunken pins, dirt, or traces of thermal paste in unexpected places.
When one or more pins are slightly bent, it's sometimes possible to straighten them very carefully using, for example, a mechanical pencil (without lead) or a very fine needle. It's a risky operation: if the pin breaks, things get much more complicated, because you would have to resort to very precise soldering that most home users can't do.
If the motherboard or processor is relatively new, the most sensible option is usually to try to claim under warranty , provided the manufacturer doesn't consider the damage to have been caused by mishandling. When there is no warranty or it has expired, you can consider taking the motherboard to a specialized microsoldering service, although this involves an additional cost and success isn't always guaranteed.
In many scenarios, especially if the equipment is already a few years old, the time/effort/money equation ends up tipping the scales towards buying a new motherboard or even a new platform (motherboard + CPU + RAM), especially if the failures are intermittent and difficult to reproduce reliably.
Storage connectors: SATA and M.2
Without a working storage drive, the PC cannot load the operating system, so hard drive and SSD failures are especially troublesome. It's important to distinguish between problems with the drive itself and problems with the motherboard connector (SATA or M.2) or the cables.
On motherboards with M.2 slots, if the computer always enters BIOS and doesn't recognize the SSD even when the boot order is correctly configured, the specific M.2 slot may be faulty . A good test is to move the SSD to another M.2 slot on the same motherboard, if one exists, and see if it then appears correctly.
For drives with a SATA 3 interface , the process is very similar: you can try other available SATA ports on the motherboard and swap the data cable for another one to rule out both the connector and the cable itself. Many motherboards allow multiple SATA connections but only one or two M.2 slots, so you're sometimes limited in your testing.
It's important to keep in mind that M.2 slots differ not only in number but also in PCIe generation . Some motherboards have only one M.2 Gen5 slot (the one closest to the CPU), while the rest are Gen4 or lower. If you connect a Gen5 SSD to a Gen4 slot, it will work, but it will be limited to the maximum speed of Gen4. This isn't a defect, but rather a backward compatibility feature that you should be aware of when troubleshooting performance issues.
If after all these tests you still can't get any of the drives to work correctly, the motherboard may have a deeper problem with the storage controller, the power supply to these ports, or even the chipset. At this point, tools like CrystalDiskInfo will help you check the status of the drives, and a diagnostic card can rule out any overall power supply issues on the motherboard.
USB ports and peripherals
When a mouse, keyboard, or any other USB peripheral starts malfunctioning , we often tend to blame the device. However, quite frequently the problem lies with the motherboard's USB ports or the operating system's driver configuration.
A sensible first step is to change the USB port . Trying the one right next to it won't help much, as they usually share the same controller; ideally, try a different port on the motherboard or switch from USB 2.0 to USB 3.0 (or vice versa) to see if the problem persists.
From Windows, you can open Device Manager and check the "Universal Serial Bus controllers" section. If any of the items have an exclamation mark icon, it indicates conflicts or corrupted drivers. Right-clicking and selecting "Update driver" will allow Windows to reinstall the correct software.
Even if no error message is displayed, it's helpful to completely uninstall the USB drivers (right-click → Uninstall device) and restart your PC. Upon startup, Windows will automatically reinstall the drivers, and this is often enough to revive seemingly dead ports.
If, after all this, all the USB ports on the motherboard are still malfunctioning, it's very likely there's a physical fault in the integrated controller or the power supply circuit for the ports. On desktop computers, you always have the option of adding a PCIe USB expansion card as a workaround if you don't want to or can't replace the entire motherboard.
RAM and IMC
RAM is one of the components that most frequently causes errors and, at the same time, generates a wide variety of symptoms : beeps at startup, blue screens, random restarts, or random crashes. Therefore, it is crucial to check both the modules and the sockets, as well as the integrated controller (IMC) in the CPU.
A simple method is to turn off the PC, remove all the modules, and leave only one installed in the slot recommended by the manufacturer (usually A1 or A2, but it's best to check the manual). If the system boots stably with that module, you can try different slots with the same module to test each slot individually.
When a memory module works fine in one socket but not another, the motherboard socket is likely the problem . If the computer boots with that module in any socket, try a different module in the same sockets. This helps you distinguish between memory and motherboard issues.
Sometimes, especially after excessive BIOS tweaking or overclocking, the memory controller (IMC) can get stuck in a sort of configuration "lock ." In these cases, in addition to experimenting with different module combinations, resetting the BIOS (clearing the CMOS) and leaving the memory parameters at fully automatic values can help.
If you continue to experience errors or instability after testing all the modules in all the slots, the most likely conclusion is that there is a hardware problem with the motherboard or the CPU . This is where tools like Memtest86+ become essential to confirm whether there are read/write errors in the RAM or if the problem originates elsewhere.
Integrated video outputs on the motherboard
Motherboards with integrated graphics offer video outputs such as HDMI, DisplayPort, DVI, or VGA . Something many people don't know is that, as soon as you install a dedicated graphics card, these outputs are usually automatically disabled in the BIOS, so you won't be able to get a signal through them unless you remove the dedicated graphics card.
If the integrated video outputs don't work even without a dedicated graphics card, the first thing to try is a different cable and monitor to rule out a problem with one of these components. Sometimes a faulty HDMI cable can mimic a motherboard issue when in reality only the cable is broken.
Once you've ruled out the cable and monitor, you can check Device Manager in the Monitors and Display Adapters section. Right-clicking on "Generic PnP Monitor" or the name of your display and selecting "Update driver" or "Uninstall device" to reinstall it after restarting will often restore proper communication.
If the problem persists, and you've already tried various cable and monitor combinations, it's likely that the motherboard's video output has a physical defect, or that the CPU's integrated GPU itself is damaged. In that scenario, using a working dedicated graphics card might be a practical solution to continue using the computer.
Damaged motherboard power supply and cables
Power supply is another critical point in the diagnosis. A cable from the power supply to the motherboard that is rubbing against a fan or is improperly bent can deteriorate its insulation and damage the internal conductors, causing intermittent power outages or voltage drops.
If the power supply is modular, the simplest solution is to directly replace the affected cable with another of the same type and manufacturer. A simple visual inspection will show if the plastic is peeling or if there are any burn marks. In these cases, it is recommended not to continue using the cable under any circumstances.
When the power supply isn't modular, your options are limited. You can temporarily insulate the damaged area with good-quality electrical tape and secure the cable so it doesn't rub against any moving components again. However, this should only be considered a temporary fix, with the aim of replacing the power supply as soon as possible.
Working with damaged cables not only causes instability and restarts, but can also lead to serious voltage problems affecting the motherboard and other components (GPU, hard drives, etc.). Therefore, within budget, it's always best to upgrade to a quality power supply and avoid unpleasant surprises.
Software tools for hardware diagnostics
In addition to diagnostic cards and signals from the board itself, it is worthwhile to rely on a set of specialized programs that allow you to obtain very detailed information about the hardware, monitor temperatures and voltages, and perform stress tests to discover hidden faults.
These utilities are not only useful for detecting faults, but also for getting to know your PC's actual configuration better: how much RAM the system recognizes, what processor you have exactly, what voltages the motherboard is applying, or the health of your hard drives.
While there are countless tools available, below is a selection of the most useful for advanced hardware diagnostics on Windows, Linux, and, in some cases, macOS systems. Many of them are free or have free versions that are more than sufficient for an advanced user.
Speccy: Quick overview of the entire PC
Piriform Speccy is a very lightweight utility that displays most of your computer's hardware and software specifications at a glance. It has both free and paid versions, but the free version already provides virtually all the information you need to diagnose many common problems.
Among the data it provides are details of the microprocessor (model, frequency, temperature), information on hard drives and SSDs, the amount and type of RAM installed, the operating system and its main characteristics, the graphics card, the sound card, the motherboard and the network card.
Using Speccy, you can detect, for example, if the system isn't recognizing all the installed RAM , if an incorrect driver has been installed for a certain component, or if a hard drive is operating outside of expected temperature parameters. It's an ideal tool for a first general overview before delving into more intensive testing.
AIDA64 / HardInfo: cross-platform deep diagnostics
If you need something more advanced, AIDA64 for Windows and HardInfo for Linux are two heavyweights when it comes to hardware information. Both offer a much higher level of detail than simpler utilities and are especially useful for technicians and enthusiasts.
These tools allow you to view comprehensive motherboard reports , identifying the exact model, chipset, BIOS version, feature support, and much more. They also allow you to read temperature sensors, voltages, and fan RPMs, which is vital for verifying that the motherboard is properly powering all components.
They also display detailed information about the operating system, graphics APIs, GPU, monitor, sound cards, codecs, memory modules, storage devices (including optical drives or older floppy disk drives), and network adapters. They even include benchmark performance tests for the CPU and other components.
Thanks to this depth of data, AIDA64 and HardInfo are very useful for correlating stability problems with specific temperatures, voltages, or configurations, which is fundamental when overclocking or working with intensive loads.
CPU-specific diagnostic tools
For the processor specifically, there are utilities that allow you to go beyond simply seeing the model and frequency. CPU-Z (Windows) and its counterpart CPU-X (Linux) are two very popular programs that display a huge amount of information about the CPU and memory.
With these tools, you can check the CPU's operating frequencies and voltages in real time , view the applied multiplier, the type and speed of the RAM, the timings, and the SPD profiles of the modules. This is crucial for detecting incorrect or unstable configurations, especially after BIOS changes.
For Intel processors in particular, the official Intel Processor Diagnostic Tool (IPDT) adds an extra layer of confidence. This program verifies the processor's functionality, checking that it's operating at the correct frequency, monitoring voltages, and running stress tests that help uncover faulty CPUs or those exhibiting abnormal behavior under load.
If the processor passes all the IPDT tests, it's quite likely that your problems are coming from another component (motherboard, RAM, power supply, etc.), allowing you to focus the diagnosis on those areas instead of unfairly blaming the CPU.
Network and WiFi diagnostics
Not all PC problems are directly caused by the motherboard or graphics card; many stem from network connectivity . For these cases, there are specific tools that allow you to analyze signal quality, channel congestion, and the status of connected devices.
WiFi Analyzer is a comprehensive suite, especially popular on Android, that lets you check which WiFi channels are least congested, measure signal strength in different areas of your home or office, and view detailed information about each detected network. With this, you can determine, for example, whether connection drops are due to a congested channel or poor coverage.
For analyzing wired or hybrid networks, Angry IP Scanner is a free, cross-platform (Windows, macOS, Linux) option that scans IP ranges and displays which devices are active, their latency, open ports, servers in use, and more. It's fantastic for detecting IP hops, ping problems , or conflicting network configurations.
Disk status and system cleanup
A significant portion of PC performance and stability issues stem from faulty hard drives or an operating system overloaded with temporary files and residual data. CrystalDiskInfo and CCleaner are two well-known tools for addressing these problems.
CrystalDiskInfo leverages the SMART technology of HDDs and SSDs to display the health status of the drives: temperature, usage hours, reallocated sectors, read errors, firmware version, and, in general, a quick diagnosis of whether the drive is healthy or nearing failure. If you're interested in specifically monitoring the temperature of your drives , there are guides and tools available for that.
CCleaner, on the other hand, is used to clean temporary files, unnecessary caches, and repair certain Windows registry entries that can cause errors and slowdowns. It also includes features to free up space, locate duplicate files, and uninstall programs in a more controlled manner than the standard uninstaller.
By combining both tools, you can determine whether your performance issues stem from a failing hard drive or an operating system cluttered with files that needs a thorough cleanup. For general hardware and peripheral cleaning tips, see the cleaning guide.
Other key utilities: memory, GPU, display, and malware
To complete the advanced diagnostic process, it's helpful to have some specific utilities on hand that target very specific areas: RAM, graphics card, screen status, and the presence of malware.
Memtest86+ is the de facto standard for thoroughly testing RAM . It runs from a bootable medium and performs a battery of intensive tests on the modules, detecting errors that would otherwise be very difficult to locate. If Memtest86+ finds faults, there is almost certainly a problem with the RAM or the controller.
For GPUs, Furmark is a brutal stress test tool that pushes the card to its limits in terms of power consumption and temperature. Using it carefully and monitoring temperatures can help you determine whether your artifacts, crashes, or restarts under load are due to an unstable graphics card or power supply issues.
In the case of screens, JScreenFix is a JavaScript web tool that attempts to recover stuck pixels (pixels that are permanently locked to a single color) by rapidly changing color patterns. It cannot revive dead (black) pixels, but it often succeeds in unblocking problematic pixels.
Finally, Malwarebytes and similar anti-malware programs are essential to rule out malicious code as the cause of performance issues or strange behavior. Some malware can mimic symptoms of hardware failure (crashes, network errors, CPU usage), so it's always a good idea to run a thorough scan before blaming the motherboard.
With all these hardware and software tools, from PCIe diagnostic cards like the TL631 to suites like AIDA64, Memtest86+ or Furmark, you have a veritable arsenal to locate faults in the motherboard, PCIe slots, memory, storage, USB, video and network; the secret is to go from the simple to the complex, interpret the codes and indicators well and have patience to narrow down the problem until you find the component that is really failing.