- Installing Windows first and then Linux, using GRUB as the boot manager, ensures a stable coexistence of both systems.
- It is key to prepare the disk properly: shrink the Windows partition, leave free space, and correctly create the Linux partitions.
- Secure Boot, Fast Boot, and UEFI mode can cause problems if not configured correctly, but they can be easily adjusted from the UEFI.
- Dual Boot offers maximum performance, although for occasional use a virtual machine or WSL may be more cost-effective.
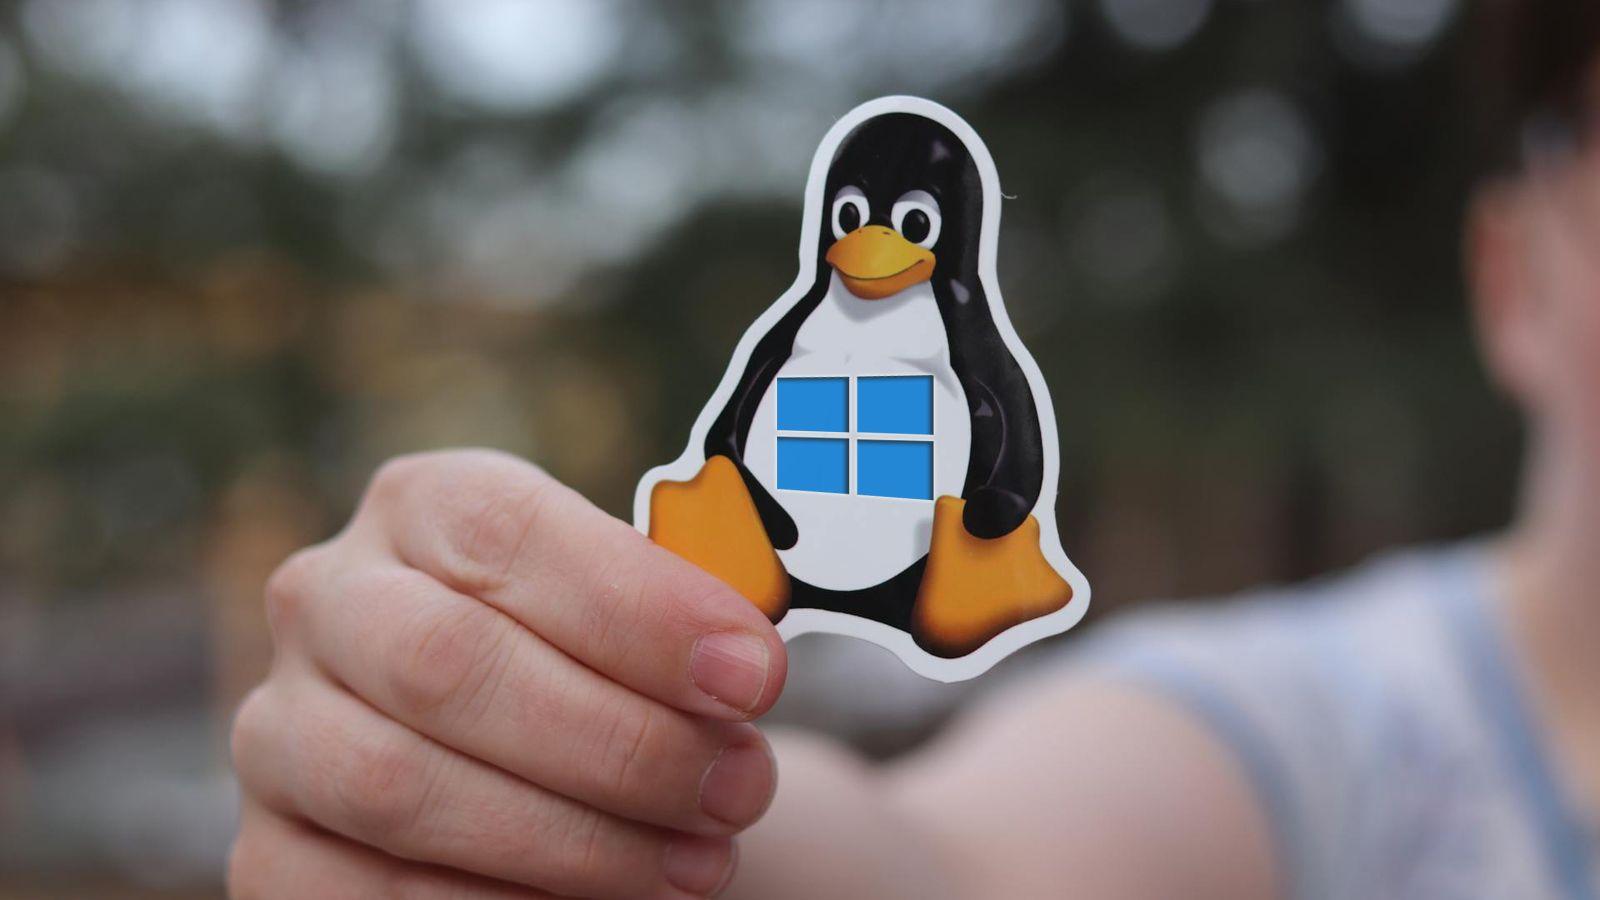
If you're thinking about Install Linux alongside Windows on the same PC To get the best of both worlds, you're in the right place. Setting up a dual boot system might seem a little daunting at first, but it's actually quite manageable if you know the steps to take and the mistakes to avoid.
Throughout this guide we will calmly examine How to prepare Windows, create disk space, and generate the Linux installation USB drive and complete the installation so you can choose your operating system every time you turn on your computer. You'll see both the "automatic" method (installing Linux alongside Windows with assistance) and a more advanced method creating partitions manually, as well as tips to prevent boot failure, advice on Secure Boot, TPM, Fast Boot, and alternatives to dual booting.
Which distro to choose and hardware requirements
Before touching anything on the PC, the first thing to do is decide which GNU/Linux distribution you are going to installThey all share the same kernel (Linux) but differ in desktop environment, included tools, update method, and user complexity level.
For most users coming from Windows, the most sensible thing to do is to opt for easy-to-use and well-supported distributionsDistros like Ubuntu, Linux Mint or derivatives (Kubuntu, Xubuntu, etc.) are ideal for beginners: they have very polished installers, a huge community and tons of tutorials and forums in Spanish where you can find help.
There are more advanced options such as Arch Linux or Manjaro-type derivativesThey are very flexible and powerful, but they require more knowledge and rely heavily on technical documentation. For a first-time dual boot setup, they often cause more headaches than necessary, especially when dealing with secure boot, partitions, or drivers.
You can also look at the desktop environment and the system's appearance. If you'd like something visually different from Windows, Ubuntu with GNOME or elementaryOS They lean towards a style more similar to macOS. If you prefer something that doesn't take you out of your comfort zone, Linux Mint Cinnamon or Kubuntu offer a more classic, Windows-like look, with a traditional taskbar and start menu.
In terms of hardware, the minimum requirements are similar to those of Windows 10, but in practice You'll need more than the official minimums. For comfort, especially if you're going to use both systems daily: a modern processor (or at least a multi-core one), 8 GB of RAM as a reasonable base, and an SSD to house the operating systems make a big difference.
Secure Boot, UEFI, TPM and boot mode
Modern computers almost always use UEFI firmware with security features such as Secure Boot and, in the case of Windows 11, TPM 2.0These requirements may determine how you install Linux and which distributions you can use without additional complications.
Many popular distributions, such as Ubuntu and Linux MintThese distributions are already configured to work with Secure Boot enabled, so the installer runs without needing to disable anything in the BIOS/UEFI. If you choose a less well-known distribution, it's advisable to check its documentation to see if it supports Secure Boot.
If your distribution does not work with this protection, you will have to Enter the UEFI settings and disable Secure BootEach manufacturer uses slightly different menus and keys (F2, Delete, F10, Esc, etc.), but the idea is the same: access the firmware when you start the PC, locate the secure boot section, and disable it. On some models, this option is locked, so it's something to check before proceeding.
Another important point is the Boot mode: UEFI vs. Legacy (classic BIOS)It's not a good idea to have Windows installed in UEFI mode and Linux in Legacy mode, or vice versa, because the firmware can malfunction and boot problems may occur. It's recommended that both systems be installed in the same mode, preferably UEFI on modern computers.
In Windows 10 or 11, you can check this by searching for "System Information" and looking at the "BIOS Mode" field. If it says UEFI, that's better. Install Linux also in UEFI and make sure to create the bootable USB drive in that mode. On computers where you absolutely must install Windows 11, you will also need to comply with TPM 2.0 and have Secure Boot enabled.
Prepare space for Linux on the Windows disk
With the firmware issue clarified, it's time to free up disk space. There are two typical scenarios: new equipment where you install everything from scratch, or laptop/PC that already has Windows pre-installed taking up all the storage.
If you're starting from scratch, the cleanest thing to do is Install Windows first, reserving unpartitioned space for Linux During the wizard, when creating the Windows partition, you simply leave a portion of the disk unallocated and then use it later in the distro installer.
Once Windows is installed and filling almost the entire disk, you will need to shrink the main Windows partition (usually C:) using their own tools. It's important to back up your data before messing with partitions; a mistake or a power outage at the wrong time can knock your system out.
In Windows 10 and 11, open the tool “Disk Management” from the Start Menu (searching for “partitions” or “create and format hard disk partitions”). There you will see the different drives and partitions, including the system and recovery partitions that Windows creates.
Locate the main partition (usually C:, very large and marked as bootable) and right-click on it to choose the option “Reduce volume”The wizard will show you how much space you can free up and ask you to specify the size to reduce in MB. As a reference, for normal Linux use you should reserve at least 20-30 GB, although if you can afford 60 GB or more, even better.
After applying the change, at the bottom of the window you will see a block marked as “Not assigned”That space is what we'll use to install Linux, either with the installer's automatic mode or by creating partitions manually. You don't need to create the partition from Windows; just leave that space free and let the distro's installer organize it.
Create a bootable USB drive with the Windows and Linux ISOs
To install both Windows and Linux from scratch (if you choose that path) or to add Linux to an existing system, you will need a USB flash drive of at least 8 GB for each operating system
For Windows 10 or 11, the easiest way is to download the official image from the Microsoft website. The Media Creation Tool itself allows you to do this. Generate the ISO or directly create the bootable USB, selecting language, edition and architecture (usually 64 bits).
For Linux, go to the official website of your chosen distribution (Ubuntu, Linux Mint, etc.) and Download the corresponding ISO fileMany distributions offer variants with different desktop environments: for example, Linux Mint in Cinnamon, MATE or Xfce flavors; Ubuntu in standard version and derivatives such as Kubuntu or Xubuntu.
Once you have the ISO, you can use tools such as Rufus (very popular on Windows) or Whale Etcher To flash the image to the USB drive, in Rufus, simply select the USB device, click "Select" to specify the ISO file, choose the appropriate partition scheme (GPT for UEFI, MBR for BIOS/Legacy), and start the process. If the application prompts you to download additional components, accept to ensure the USB drive is properly prepared.
In the case of Balena Etcher, the process is even simpler: you select the image, the USB and press “Flash”. Please note that the contents of the USB drive will be completely erased.So save any important files before using it for this.
Install Windows first, then Linux
The golden rule in multiple starting is clear: Always install Windows before LinuxThe reason is that the Linux boot manager (GRUB) is designed to detect other systems and offer you a menu with them, while the Windows boot manager tends to overwrite everything without asking.
In a clean installation, you boot the PC from the Windows USB selected as first boot device in the BIOS/UEFI. During the wizard, you choose your language, accept the license, select "Custom Installation," and reach the partitioning screen.
If the disk is empty, when creating a partition for Windows, the installer itself will generate additional system partitions (recovery, EFI, MSR)Make sure to leave the disk space you're going to dedicate to Linux unallocated; don't format it or create anything else. Once that's done, complete the installation and let Windows finish its initial setup.
Once you have the Windows desktop up and running, you can shut down the computer, connect the bootable Linux USB and re-enter the BIOS/UEFI to place that USB drive in the first boot position, or use the fast boot menu key (F12, F8, Esc, etc.) to manually select the USB drive when powering on.
Install Linux alongside Windows automatically
Almost all modern distributions offer an option designed for the user who wants Install Linux alongside Windows without struggling with partitionsThe installer detects that there is already a configured Windows installation and suggests using the free space to install the new system.
In Ubuntu, for example, after choosing your language, keyboard layout, network connection, and installation type (normal or minimal), you'll reach a screen where the installer will display something like “Installing Ubuntu alongside Windows Boot Manager”If you select this option, the process will automatically redistribute the unallocated space or shrink the existing partition, as appropriate, and install Ubuntu while respecting the Windows partitions.
This assisted mode is usually sufficient for most users, since Create the necessary partitions and configure GRUB without asking for too many technical details. Once you confirm the changes, the installer will begin copying files and, in parallel, will ask you for information such as time zone, username, password, and computer name.
When finished, simply restart your computer, remove the USB drive, and you'll see it appear. The GRUB menu with entries for Linux and WindowsBy default, the system usually boots the newly installed distro after a waiting period, although this can be changed later.
Install Linux with manual partitioning (/, /home and swap)
If you want to go a step further and get the most out of the album, you can choose to manually create partitions for LinuxThis allows you to separate user data from the system, better adjust sizes, or even prepare the ground for using multiple distributions sharing the same /home directory.
In Ubuntu and similar distributions, when choosing the installation type, instead of the automatic option, select “More options”, “Manual installation” or similarYou will enter a screen with a list of disks (sda, sdb…) and their numbered partitions (sda1, sda2, etc.). The names vary, but the idea is the same.
Locate the disk where you've freed up space (the block marked as "free space") and, with that segment selected, use the "Add New Partition" button. You'll typically want to create at least three partitions: root (/), home (/home) and swap area.
The root partition is where the system will be installed. It is generally recommended to between 20 and 30 GB minimum If you're not going to install very large files, although with larger drives you can dedicate more space to it to have plenty of room. The partition type will be primary or logical depending on the disk layout, the EXT4 file system, and the mount point /.
The swap partition or swap acts as an extension of RAM When the swap space fills up, it's also used for functions like hibernation. On systems with 2 GB of RAM or less, it's generally recommended that the swap space be twice the size of the RAM, but with 8 GB or more, 2-4 GB of swap is usually sufficient. In modern distributions, it's also common to use a swap file instead of a partition, but the classic approach still works very well.
Finally, create the partition /home, which is where your personal files will be stored (documents, downloads, user settings, etc.). You can allocate all the available space to it, as this is the area where your data will grow the most over time. Keeping /home separate is very practical for reinstalling or changing distributions without having to move your files.
Carefully review the partitioning summary before clicking "Install now" or equivalent, verifying that You're not touching the Windows partitions and that the boot manager (GRUB) will be installed on the same disk where you have the UEFI/EFI system, normally the first disk (sda or the corresponding EFI entry).
Dual Boot in Windows 10 and Windows 11
The general procedure for assembling a Dual booting with Windows 10 or Windows 11 is practically the sameThe best approach is to install Windows first, then Linux, and let GRUB handle the boot process. However, Windows 11 introduces some nuances due to its system requirements.
For Windows 10, you only need to meet the basic requirements of a 1 GHz processor, 2 GB of RAM (64-bit), and some disk space, although in practice you'll want much more for comfortable work. During installation, just remember reserve space for Linux or shrink the partition later from Windows, as we have already seen.
In Windows 11, in addition to the minimum resources, Microsoft requires that you have UEFI, Secure Boot enabled and TPM 2.0 For an official installation. This doesn't prevent dual booting, but it does have conditions: the Linux distro must support booting under Secure Boot, or you'll have to disable it manually in the firmware.
Once Windows 11 is installed, the process for installing Ubuntu or another distro is identical: create free space, boot from the Linux bootable USBFollow the wizard and choose the option to "Install alongside Windows 11" or perform manual partitioning in the free area. Once finished, GRUB will detect the Windows boot manager and add it to the menu.
The only peculiarity is that, if in Windows 11 you activate disk encryption with BitLocker supported by the TPM chip, Windows partitions will appear encrypted from LinuxTherefore, you won't be able to access your files without the recovery key. If your plan is to share data between both systems, the wisest course of action is not to encrypt the main Windows drive, or at least ensure that it will only be accessible from within Windows itself.
When is Dual Boot worthwhile and what are the alternatives?
Installing two operating systems on the same PC sounds very appealing, but it's worth considering whether Do you really need it, or are lighter solutions enough for you?With dual boot you can only use one system at a time and switching between them requires restarting.
Dual start shines especially brightly when you need take advantage of the native hardware performance with both systemsFor example, if you work intensively with Linux (development, system administration, security) but still need Windows for certain commercial programs or games that don't perform as well in a virtual machine.
For more occasional use, a very convenient option is to install Linux in a virtual machine (VirtualBox, VMware, etc.) From Windows. This allows you to launch the distro in a window, share folders between systems, and avoid messing with the PC's startup. However, you'll lose some performance, especially with graphics and demanding tasks.
Another alternative is to use "Live" formats that run Linux from a USB drive without modifying the hard drive. It's ideal for quick tests, data recovery, or tinkering without worry, although write performance and data persistence are more limited unless you specifically prepare the USB drive.
Windows 10 and 11 also have Windows Subsystem for Linux (WSL)It allows you to run Linux distributions within Windows without dual-booting. It's perfect for terminal work and development, but if you need a full graphical interface and a classic Linux desktop, it still falls short of a natively installed system.
Common problems in Dual Boot and how to avoid them
Combining two operating systems on the same computer makes it relatively easy to run into boot errors, configuration conflicts, or minor bugsKnowing the typical failures helps to avoid them or solve them quickly.
One of the most common problems stems from Windows Fast BootThis is a type of partial hibernation that saves the kernel to disk instead of shutting down completely. This speeds up booting, but when running alongside another system, it can cause inconsistencies in NTFS partitions and lead to errors when switching back to Windows from Linux or accessing its disks.
The recommended solution for a PC with dual boot is Disable Fast Boot from the Windows power optionsIn the Control Panel, go to Hardware and Sound > Power Options > System Settings and uncheck “Turn on fast startup (recommended)”. This also reduces the risk of corruption if Linux writes to Windows partitions.
Another common issue is that, after a Windows update, the system changes the boot priority in the UEFI and GRUB stops appearing, booting directly into WindowsIn these cases, the Linux boot manager usually remains intact, but has lost priority.
To remedy this, enter the BIOS/UEFI settings and adjust the boot order to first set the entry corresponding to Linux or the distro's boot manager (often labeled with the distribution's name or "ubuntu"). If for some reason GRUB is truly corrupted, you can boot from a Live USB of the distro and reinstall the charger.
It's also possible that, by mixing different boot modes (one in UEFI and another in Legacy), the PC might refuse to recognize one of the systems. That's why we emphasize so much... maintain the same boot mode for bothIf one of them is already installed in UEFI, install the next one also in UEFI with a shared EFI partition.
Finally, it's not uncommon for a time difference to appear between Windows and Linux when switching systems. Linux typically treats the hardware time as UTC, while Windows uses local time. You can correct this. changing the way one of the two manages timeFor example, in Linux with the command timedatectl setting local-rtc, or in Windows by adjusting the registry to interpret the clock as UTC.
Manage GRUB and extend multi-boot support
Once you have Windows and Linux coexisting, it's quite common to want to customize GRUB or add more operating systems to the menuThe Linux boot manager is very flexible in this regard.
From the main distro that manages the boot process, you can Update GRUB configuration with a simple command in the terminal (for example, `sudo update-grub` on Ubuntu and derivatives). This forces a scan of all disks, detects any new systems you've installed, and automatically adds them to the menu.
If you want to adjust details such as which system boots by default, the menu wait time, or the order of the entries, you can edit the GRUB configuration file or you can use the distro's specific graphical tools. Changing the default system is as simple as modifying the entry index or using an option that selects the last booted system.
In more advanced configurations you can even install third-party systems such as other specialized Linux distributions (Kali, Tails, etc.) on separate partitions or disks. The general recommendation is to continue using the GRUB of the main distribution as a hub, configuring that distro's disk as the priority boot disk and letting it detect and list the rest.
With all that said, setting up a well-executed Windows + Linux dual boot system, with clear partitions, GRUB in control, Fast Boot disabled, and Secure Boot controlled, is much less dramatic than it initially seems and allows you to Get the most out of your hardware with the two native operating systemskeeping your data safe and giving you the flexibility to choose what you want to work with at each startup.
Table of Contents
- Which distro to choose and hardware requirements
- Secure Boot, UEFI, TPM and boot mode
- Prepare space for Linux on the Windows disk
- Create a bootable USB drive with the Windows and Linux ISOs
- Install Windows first, then Linux
- Install Linux alongside Windows automatically
- Install Linux with manual partitioning (/, /home and swap)
- Dual Boot in Windows 10 and Windows 11
- When is Dual Boot worthwhile and what are the alternatives?
- Common problems in Dual Boot and how to avoid them
- Manage GRUB and extend multi-boot support