- Physical maintenance of peripherals (keyboard, mouse, monitor, printer, scanner and headphones) extends their useful life and prevents frequent breakdowns.
- Regular cleaning with appropriate products and safe techniques prevents dirt, overheating, and malfunctions.
- Logical system maintenance (disk cleaning, updates, and startup program control) improves the overall performance of the computer.
- Security and backups (antivirus, anti-spyware, strong passwords and backups) protect data and devices against malware and human error.
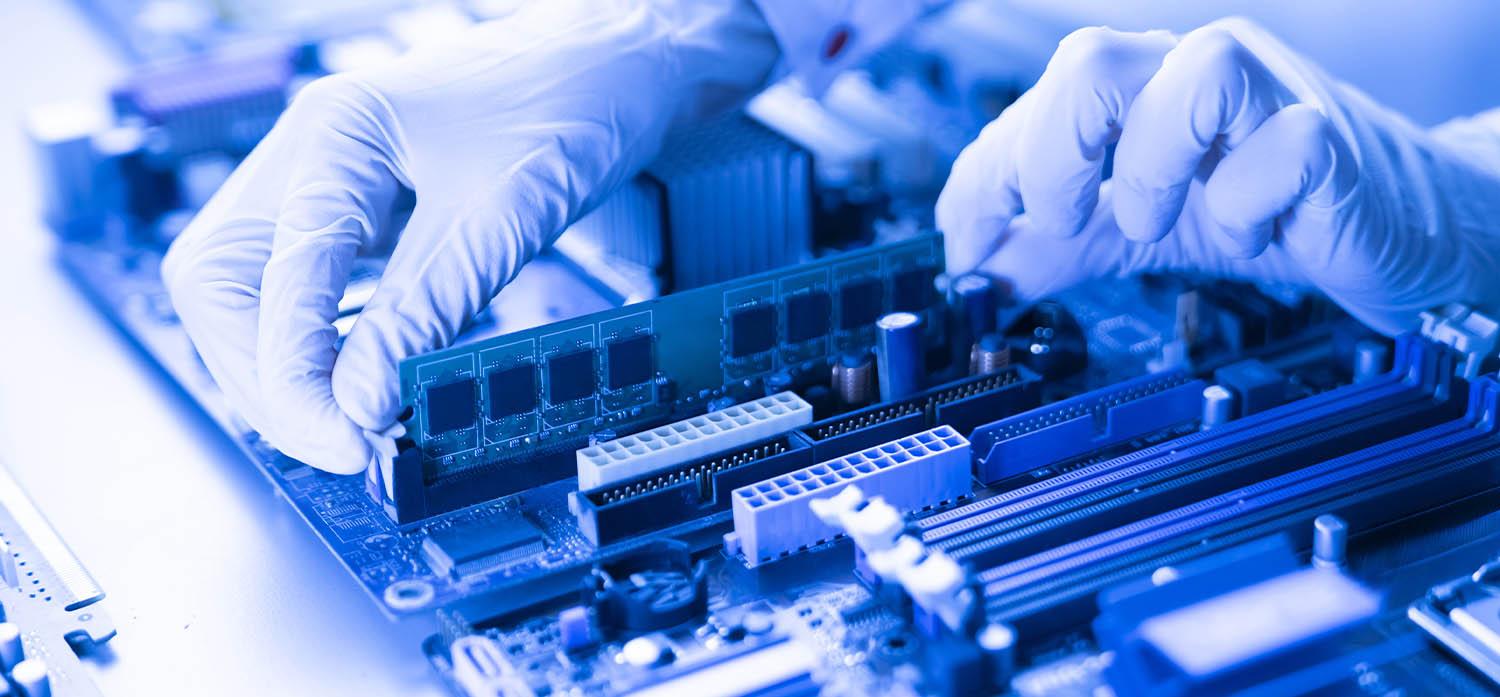
Taking good care of your computer peripherals isn't just a whim: proper preventative maintenance extends their lifespan, prevents unexpected failures, and improves your daily experience using your PC . Keyboard, mouse, monitor, printer, scanner, projector, headphones… they all accumulate dust, grease, and wear, and if left unattended, they'll eventually cause problems.
In the following lines, you'll find a comprehensive guide to help you perform common peripheral maintenance yourself, whether in an office or at home . You'll find tips for both surface and deep cleaning, safety warnings, best practices, and essential computer maintenance tasks (hard drive, operating system, and security) that directly impact device performance.
Monitor maintenance
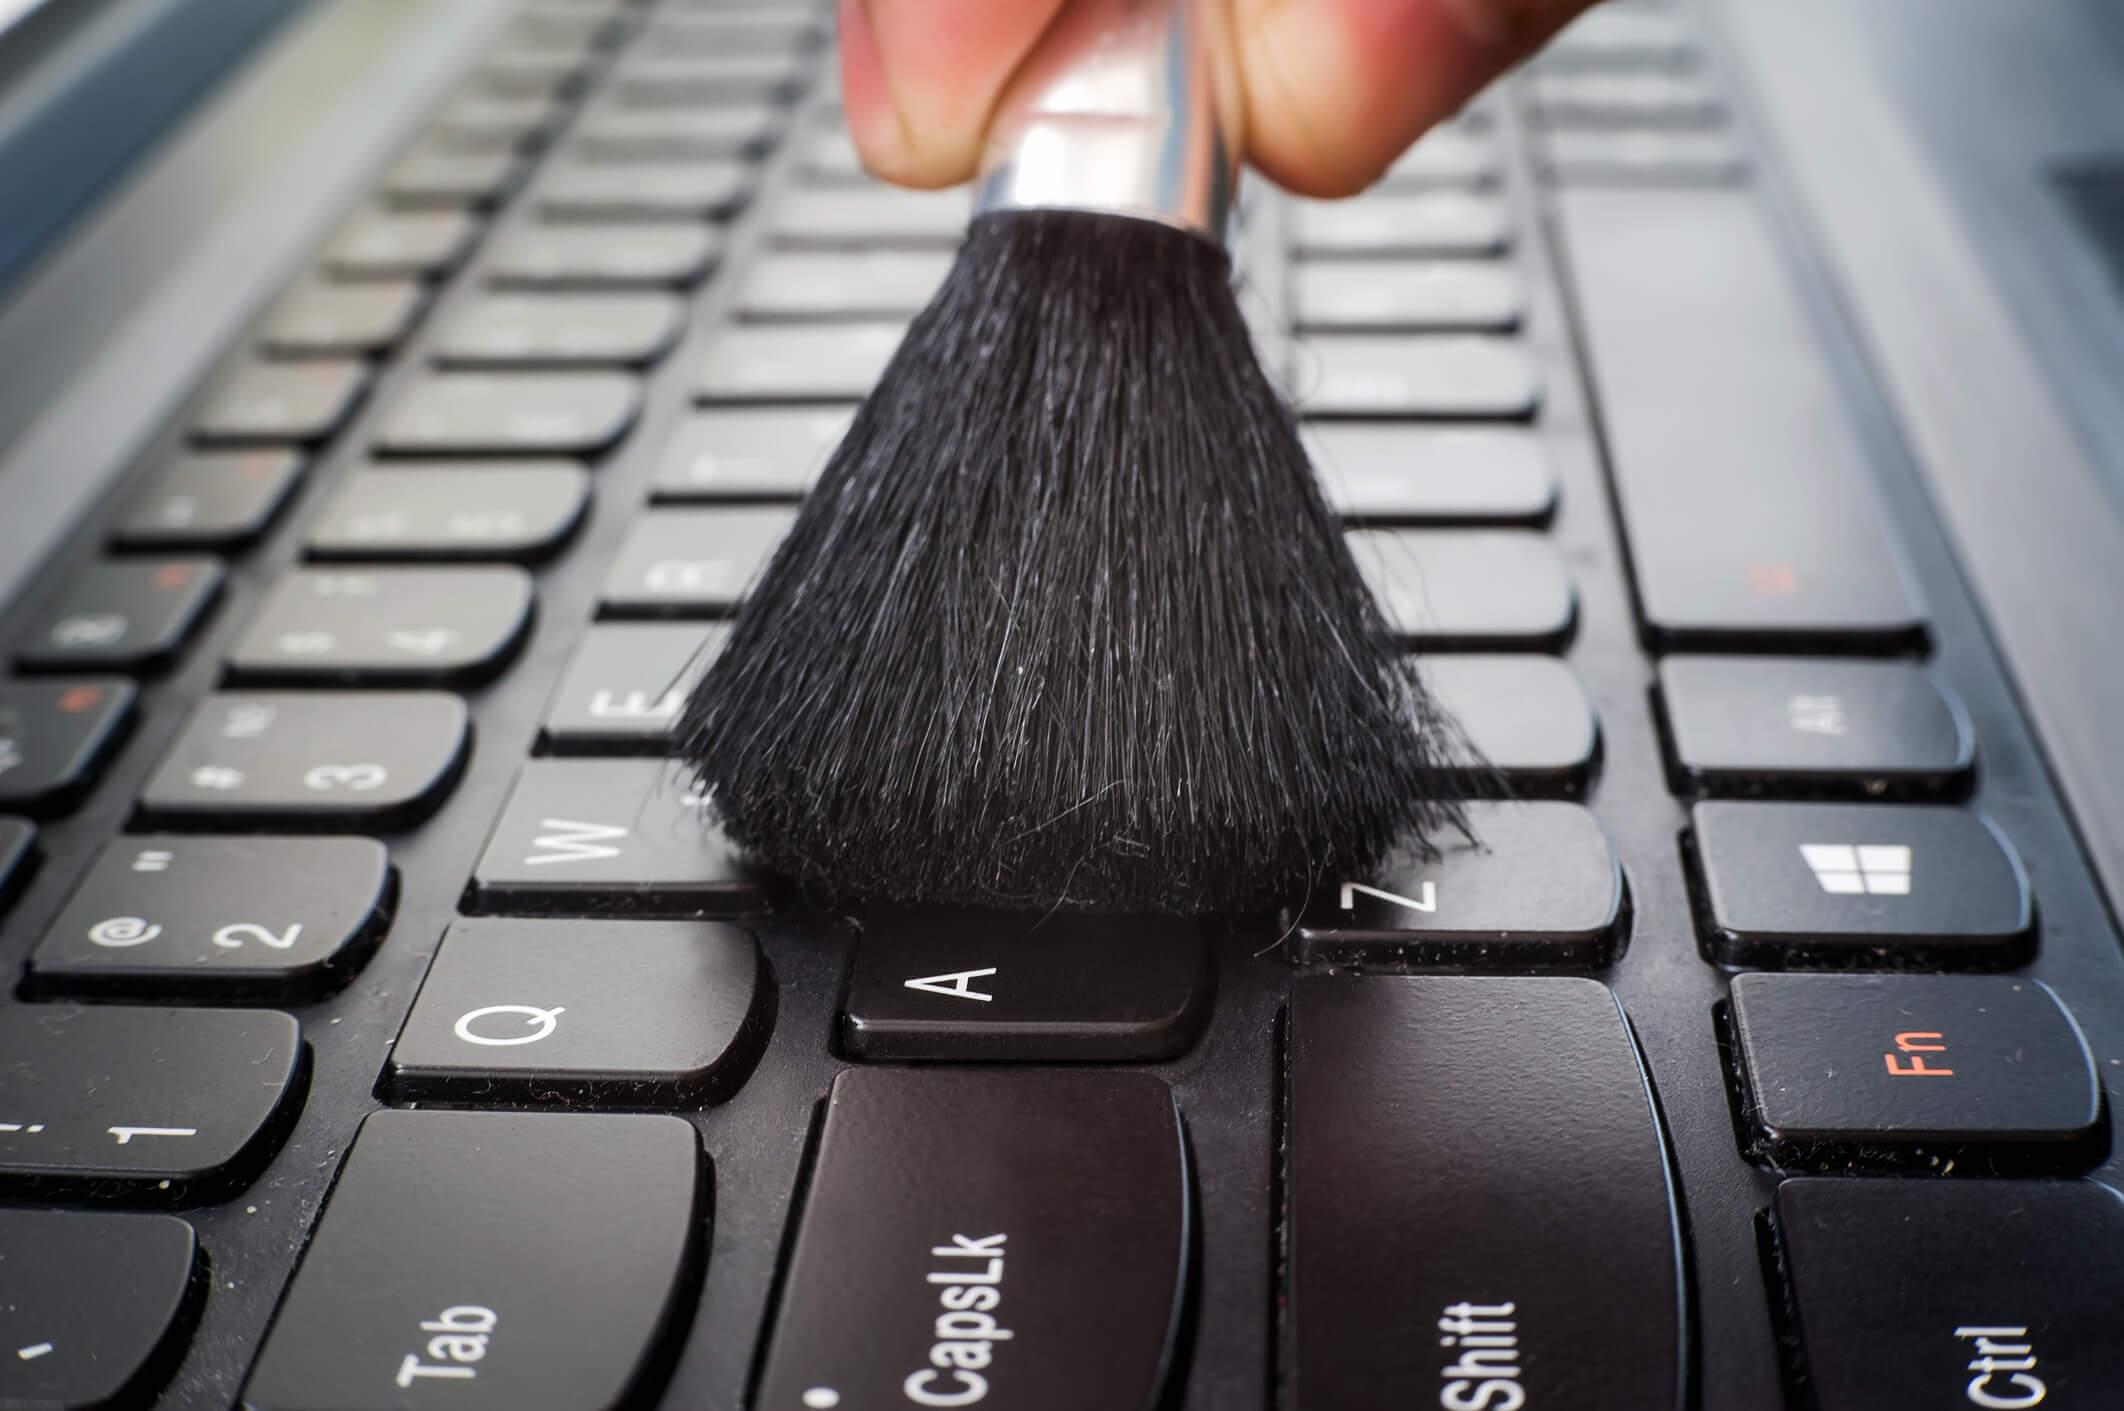
The monitor, whether it's an old CRT, an LCD screen, or something similar, doesn't require any special maintenance, but it does need proper external cleaning and certain ventilation and safety precautions . Improper use can affect image quality or even be dangerous in the case of CRTs.
To clean the monitor's exterior, you can use a cleaning foam specifically designed for electronic equipment and a slightly damp cloth . It's important not to soak the cloth or the screen. Avoid getting liquid inside the ventilation slots, as this could damage internal components.
If the case is very dirty, you can use a soft sponge or non-abrasive scouring pad , always being careful not to press too hard to avoid scratching the plastic. It's a good idea to clean the back and the base, as these areas tend to accumulate a lot of dust.
The monitor's connections (HDMI port, DisplayPort, VGA, power, etc.) rarely need maintenance, but if you notice persistent dirt or dust, you can clean them with a stiff-bristled brush and an electronics degreaser , applying the product to the brush and never directly onto the connector. To prevent future dirt buildup, see how to cover empty ports.
Regarding placement, it's crucial that the monitor has adequate space around it for air circulation . Do not cover the ventilation grilles or remove the stand or base, as these are part of the heat dissipation system. An overheated monitor can significantly reduce its lifespan.
In the case of classic CRT monitors, there are safety rules that should not be ignored. They contain high-voltage components that store energy even when switched off , so the casing should never be opened unless done by a qualified technician. Furthermore, avoid placing magnetic tapes, disks, or devices that generate strong magnetic fields on top of the CRT monitor, as the internal magnet could demagnetize media and corrupt data.
For LCD flat-screen monitors and other current technologies, the main recommendation is to avoid spraying liquid cleaners directly onto the screen , and especially not aerosols containing ammonia or harsh alcohol. It's best to spray a microfiber cloth with a small amount of screen cleaner and gently wipe the screen.
Keyboard maintenance
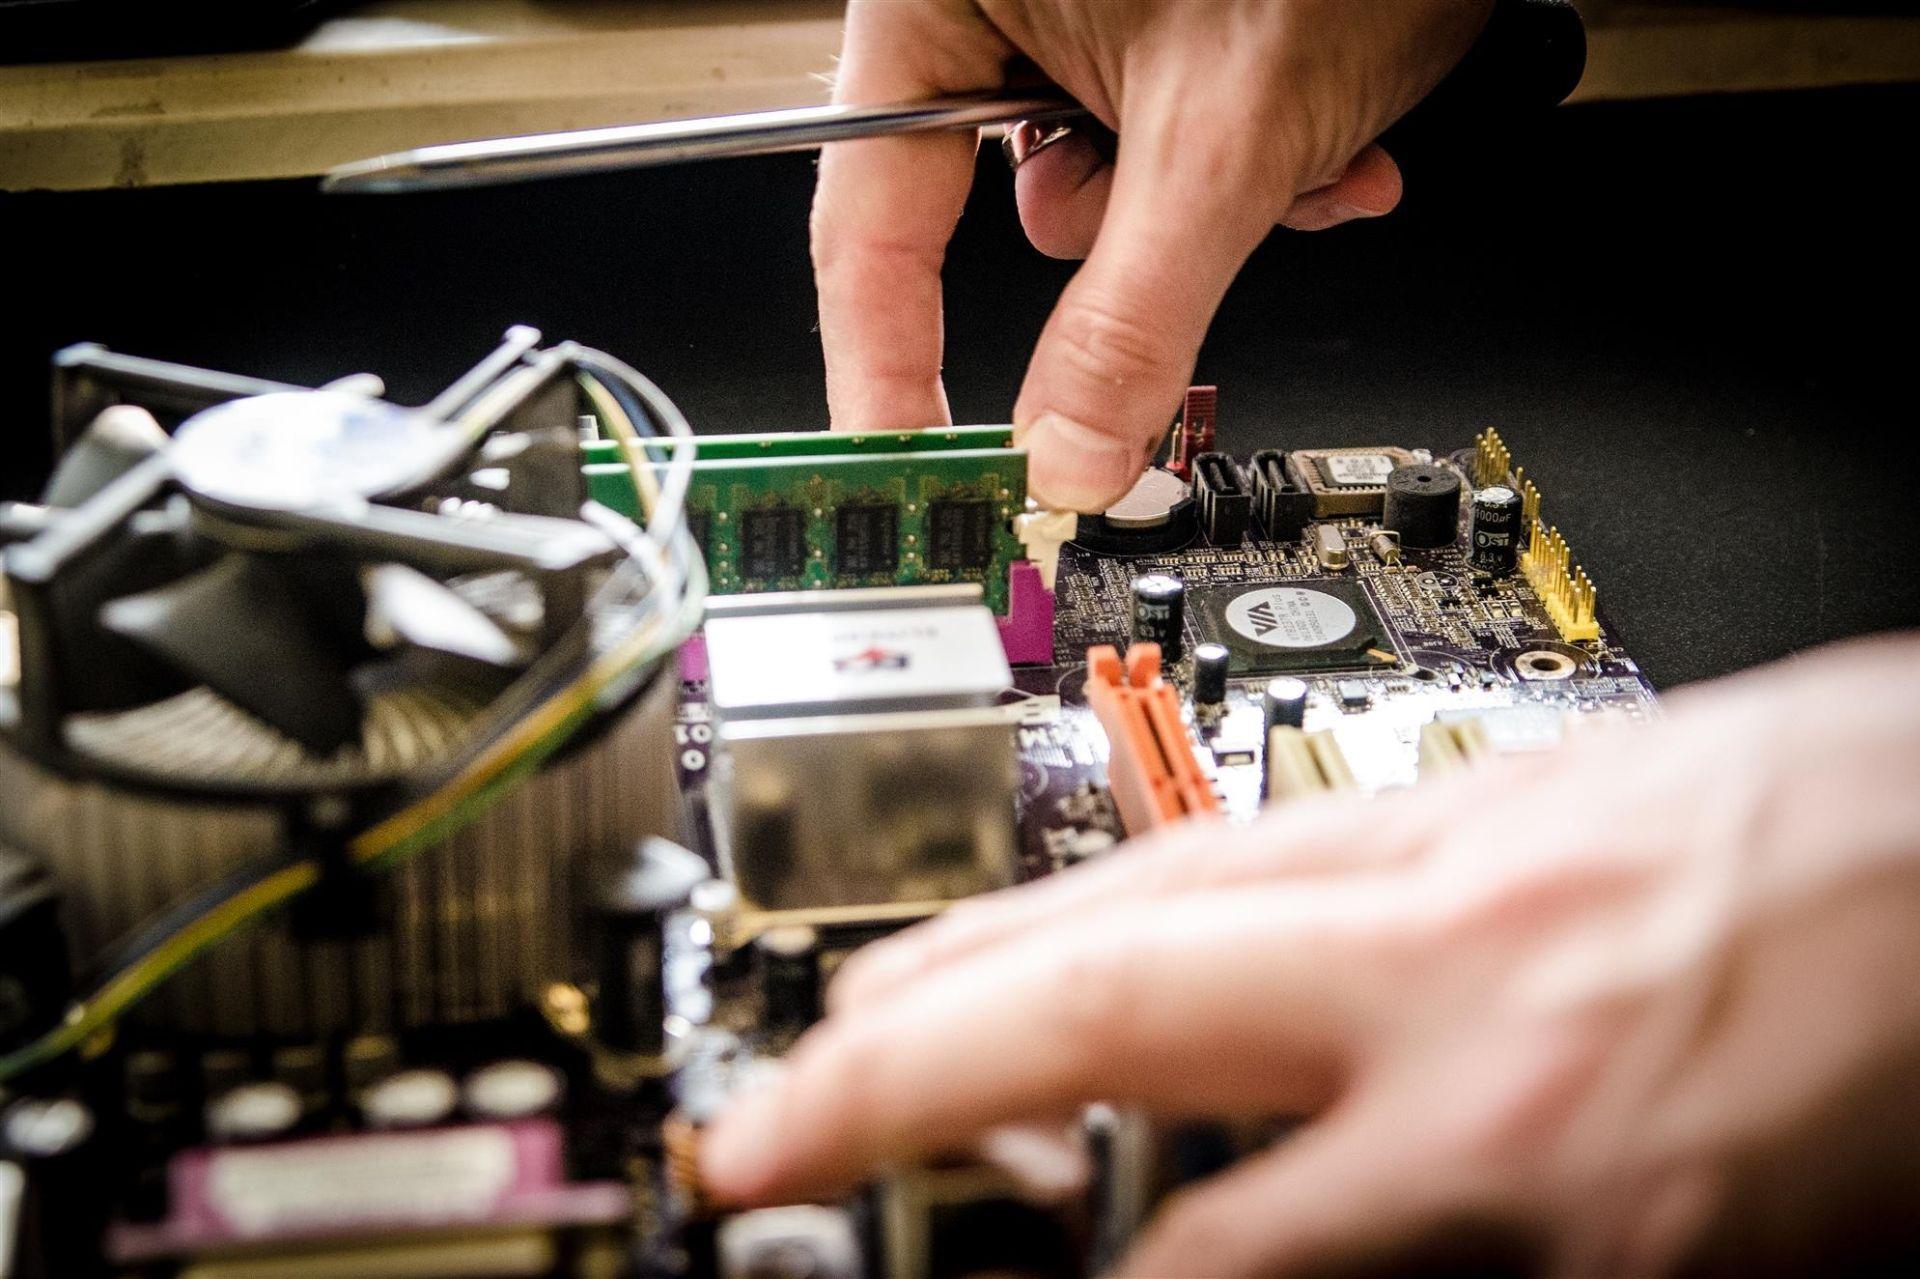
The keyboard is probably the peripheral that gets the dirtiest, because it's full of crevices and we're constantly touching it. Crumbs, dust, food scraps, hair, and all sorts of grime accumulate between the keys . That's why it's crucial to perform simple preventative maintenance regularly.
For a quick external cleaning, first disconnect the keyboard from the computer (or turn it off if it's wireless) and place it upside down on the table to gently shake it . Without hitting it, let the larger debris fall out. You can also gently tap the back of the keyboard with your hand to help.
Next, using a soft-bristled brush, a cotton swab, or a fine brush, clean the gaps between the keys to remove the dust . Another convenient option is to use a can of compressed air, directing the spray at a slight angle so the dirt is blown to one side and doesn't get back into the keyboard.
It's also possible to clean some keyboards with water (preferably distilled), provided they are completely disconnected from the computer and left to dry for several hours before being plugged back in. If moisture remains inside, a short circuit can easily occur when reconnecting the keyboard, so this should be done with extreme caution.
To finish the surface cleaning, you can use wipes soaked in isopropyl alcohol to clean the keys and casing. The alcohol removes fingerprints, drink residue, and also disinfects. Avoid typical hand wipes with perfumes or soaps that often leave a sticky residue.
Deep cleaning of the keyboard step by step
When a keyboard has suffered liquid spills, some keys stop working, or objects are stuck inside, it's time to consider a deep clean by disassembling it piece by piece . It's a somewhat time-consuming process, but with a bit of organization, it can be done at home.
1. First, turn off your computer and disconnect the keyboard . If it's wireless, remove the batteries. Working with the keyboard unplugged is mandatory.
2. Draw or mark the layout of all the keys on a piece of paper . This might seem silly, but it will save you a lot of headaches when reassembling it, especially with keyboards that include special keys or unusual layouts.
3. Place the keyboard face down on your work surface and locate the Phillips head screws that hold the top casing in place. They are usually scattered around the back . Remove them and keep them together so you don't lose them.
4. Carefully separate the top cover of the keyboard. Try not to dislodge the keys . Use this first access to use compressed air and a stiff-bristled brush to remove dust, crumbs, and other debris from between the keys. This cleaning may be sufficient: if the keyboard is working properly, you can reassemble it and you're done.
5. If you want to perform a more thorough cleaning, lift the frame that holds the keys, trying to keep them in place. You'll see the circuit board screwed in. Unscrew it and clean it with a special electronic degreaser and a suitable brush. If you need to disconnect a cable or connector, pay close attention to how it's positioned, because it must be reconnected exactly the same way.
6. Beneath the key structure, you'll find a metal plate held in place by small screws . Loosen these screws and carefully lift the plate. Underneath, you'll see a printed circuit board on thin plastic sheets (acetate or rubber membranes). Clean these sheets with a soft, dry or very slightly damp cloth, being careful not to bend or scratch the traces.
7. Below the circuit board is usually a rubber pad that acts as the contact point for each key. This area tends to accumulate sticky residue if there have been liquid spills or old dirt . If it's just dust, a brush will suffice; if you see stains, carefully remove them and use soapy foam and a cloth, making sure no water remains.
8. Don't forget the keys themselves. They're the parts that get the dirtiest because they're in direct contact with your fingers. You can clean them with soapy foam and a soft cloth or briefly soak them in water with a little mild detergent, drying each piece thoroughly afterward.
9. Once everything is completely dry, reassemble the rubber pad, printed circuit board, metal plate, and circuit board. Replace the top casing, screw it back in, and connect the keyboard to the computer to perform a general test and confirm that all keys are working correctly.
Mouse maintenance
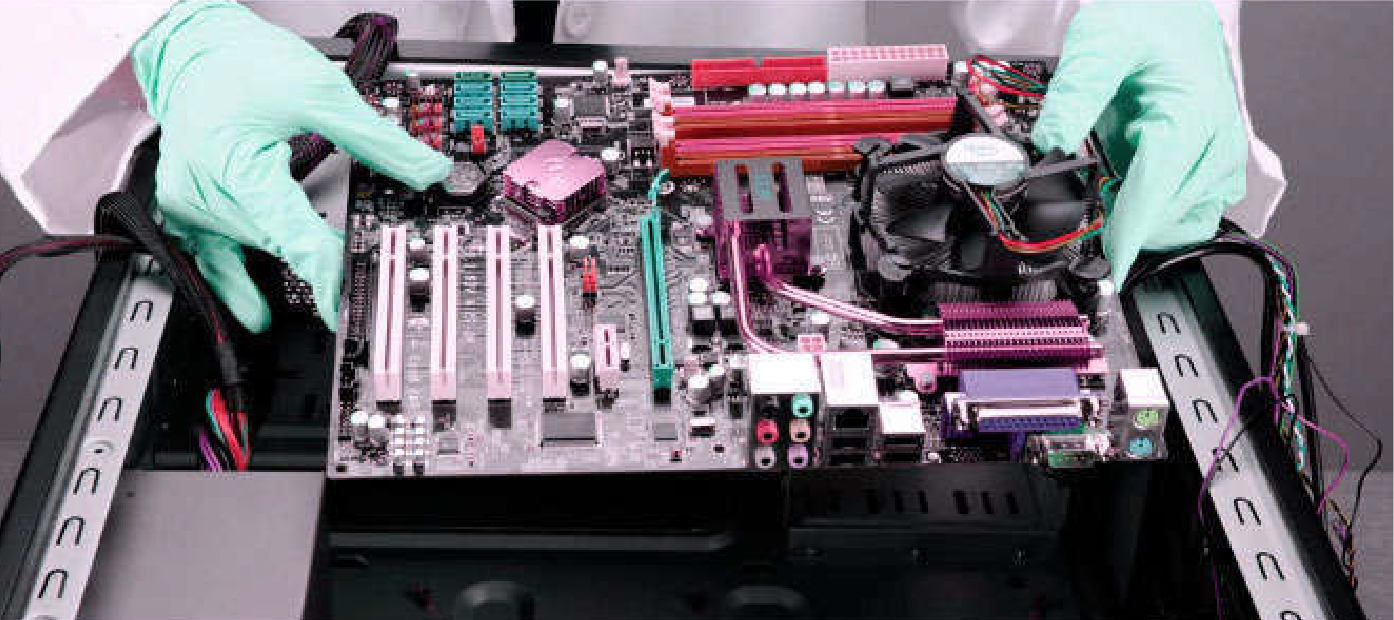
The mouse, whether optical, laser, or mechanical ball, also accumulates grease and dirt due to continuous contact with the hand and the surface it rests on. A dirty mouse often results in imprecise cursor movements, strange jumps, or a lack of responsiveness , especially in ball models.
To begin any maintenance, turn off your computer and disconnect the mouse . For USB mice, pull out the connector while holding the plastic piece, without pulling on the cable to avoid damage. If it's wireless, turn it off and, if necessary, remove the batteries.
On older mice with a ball, turn the device over and locate the ball's cover. It usually has small arrows indicating the direction of rotation . Using your fingernails or a coin, twist the cover and remove both the cover and the ball. It's important not to hit the ball against hard surfaces, as this could deform it and prevent it from rolling smoothly.
To clean the trackball, use a dry or slightly damp cloth. If it's very black or sticky, place the cloth on the table and gently roll the trackball over it until the dirt disappears. Then, check the slot where the trackball sits: use compressed air to remove dust and clean the top and bottom of the mouse with soapy water or a damp, lint-free cloth.
Very close to the ball's housing are some rollers that detect movement. If they're clogged with dirt, the signal becomes unstable. You can scrape off the dirt with your fingernail or the tip of a flathead screwdriver , always being careful not to bend or damage them. When you're finished, replace the ball and screw the cover back on.
On modern mice without a ball, dirt tends to accumulate on the scroll wheel, the optical or laser sensor, and the seams of the casing. For these, a wooden toothpick is very useful for removing dirt from the narrowest crevices . Run it along the joints of the components and the area where your thumb rests, where significant grease buildup often occurs.
In the wheel area, the sensor opening, and other small crevices, it's best to use a dry cotton swab , rotating it to remove dust without leaving fibers behind. Once the bulk of the dust is removed, wipe the entire casing, including the underside, with a cloth or cotton ball lightly dampened with isopropyl alcohol (no more than 70-75%).
Let the mouse air dry for a few minutes, without plugging it in yet, to ensure there 's no trace of moisture near the sensor or on the buttons . Then plug it back into the computer and test it by moving the cursor and pressing all the buttons.
Headphone and headset maintenance
Headphones and headsets don't get dirty as quickly as keyboards or mice, but contact with the ears and hair means that sweat, oil, and skin flakes can accumulate over time . Furthermore, if several people share them, it's a good idea to disinfect them occasionally to maintain reasonable hygiene.
The first step is to carefully remove the ear pads or the ear tips in the case of in-ear headphones. Hold them by the edges and avoid pulling on the cable or forcing delicate plastic parts . Keep dry cloths, cotton pads, and wipes specifically designed for electronics or containing mild disinfectant handy to prevent liquid from reaching the internal components.
To disinfect the ear pads, put a few drops of antiseptic (for example, diluted isopropyl alcohol or headphone cleaner) on a cotton pad and wipe the entire surface that comes into contact with your skin . There's no need to soak or submerge them in water, as this could deform the material or cause the coating to peel.
On the part of the speaker diaphragm where the grille or mesh is located, use a completely dry cotton swab to remove dust, earwax, or other debris . Use gentle movements and avoid pressing too hard to prevent denting the diaphragm or damaging the driver.
Next, clean the outer mesh with a cloth or pad lightly dampened with antiseptic, rubbing gently. This disinfects the area without soaking the inside of the earbud . It's better to apply a small amount of product several times than to leave it dripping.
Finally, wipe down the headband, side casings, and cables with another cloth lightly dampened with the same solution. Rigid parts tend to accumulate dirt where they rest against your head and neck, so spend a moment in those areas.
When you're finished, place the earbuds on a completely dry cloth for a couple of hours . Even if you were careful with the liquids, there's always a small risk that a tiny amount might have gotten onto a contact. Drying them out significantly reduces the possibility of short circuits when you use them again.
Other peripherals: printers, scanners, and projectors
In addition to the classic keyboard, mouse, and monitor, many work environments include printers, scanners, and projectors that also require a minimum of care . They aren't as sensitive to everyday dirt, but improper use can drastically shorten their lifespan.
Inkjet printers
The most common problem with inkjet printers is clogged or dried-out ink nozzles . If you turn off the printer abruptly, without letting it complete the cycle and park the printhead, the nozzles can remain out of their resting position and dry out more easily. For specific solutions, consult our printer troubleshooting guide.
To minimize this risk, get into the habit of always turning off the printer using its power button and only when the printing job is completely finished. Also, if you go a long time without printing, the ink in the printhead tends to dry out. It's a good idea to print a few test pages occasionally to keep the system active.
Laser printers
In the case of laser printers, the critical component is the toner. Toner powder is very sensitive to light , which is why cartridges are usually packaged in opaque plastic bags. If exposed to intense light for too long, it can be damaged and produce poor-quality prints.
For cleaning the inside and outside of a laser printer, it's best to use a vacuum cleaner specifically designed for computer equipment or a lint-free cloth . Avoid blowing on the toner, as the particles can become airborne and cause discomfort or even irritation.
If toner powder stains your skin, wash it with cold water instead of hot . Hot water could set the powder further into your skin or clothing, making it harder to remove.
Scanner
The most delicate part of the scanner is the glass where you place the documents . If it gets scratched or covered in lint, the scans will have lines or smudges. Keep the surface clean with a soft cloth barely dampened with water or a neutral cleaner, always with the device turned off and unplugged.
When you need to move the scanner from one place to another, be sure to lock the internal moving arm if your model has a transport lock . This prevents sudden jolts to the mechanism during transport, which could misalign the focus or damage the motor.
Projector
Projectors generate a lot of heat, so the ventilation system is vital. When you turn them off, the fan usually activates to gradually cool the lens and lamp . Never unplug the projector while it's cooling down: wait until the fan stops completely before removing the cable. To protect your equipment from power outages or surges, consider using a UPS (Uninterruptible Power Supply).
It's also advisable to keep the ventilation grilles free of dust and avoid blocking them with papers, walls, or other objects. Poor cooling can drastically shorten the lifespan of the lamp and the appliance itself.
Logical maintenance: hard drive and operating system
The performance of peripherals also depends on the state of the system. Having a computer full of junk files, with a crammed hard drive and useless programs loaded at startup not only slows down the computer, but can also cause crashes and failures that affect printers, scanners, or external drives.
Wipe hard drive
One of the simplest regular tasks is emptying the Recycle Bin . Before doing so, take a look inside to see if there's anything you might need in the future. Once you're sure, empty the Recycle Bin and free up that space.
Additionally, it's a good idea to delete temporary files and cache files generated by the system itself when installing programs, browsing the internet, or working with different applications. You can use the Windows tool "Disk Cleanup" or third-party utilities like CCleaner to automate much of this process.
On mechanical hard drives (HDDs), file fragmentation occurs over time, forcing the read/write head to search for data in different areas of the disk. To improve performance, you can run disk defragmentation . In recent versions like Windows 10, this task is usually scheduled automatically, while in earlier versions it may need to be run manually.
If your computer uses a solid-state drive (SSD), you shouldn't defragment it like you would a hard disk drive (HDD), because it offers no benefit and can shorten the drive's lifespan . In any case, before defragmenting a mechanical hard drive, it's advisable to empty the Recycle Bin and delete temporary files to make the process faster and more efficient.
It's also a good time to review your installed programs and uninstall those you no longer use . Old applications or those installed "just to try them out" end up taking up space and sometimes add background services that slow down the system without providing any benefit.
Operating system maintenance
Keeping your operating system up to date is almost as important as cleaning your hardware. Regularly check that you have all the latest security and performance updates installed , both for the operating system itself and for particularly sensitive applications, such as Java or, formerly, Flash, as well as for the firmware of your peripherals.
Another key point is to check which programs load at startup. Many installers add small assistants or updaters to the Windows startup list, and while one or two might not be noticeable, if several accumulate, boot time can double without you realizing it . You can manage this list from msconfig (in older versions) or from the Task Manager in more recent systems, unchecking those you don't need to run at startup.
The "less is more" principle also applies to everyday use: the more applications you have open at once, the greater the memory consumption and processor workload. If your computer is already running low on resources, this can lead to freezes, crashes, or general slowness . Close what you're not using and you'll notice the difference.
Finally, don't underestimate the power of a good restart. Turning your computer off and on from time to time helps clear memory, close processes that have become stuck , and restore more stable system behavior.
Security and backups
Maintenance isn't just about dusting and screws. Logical security is equally, if not more, important, because a virus, ransomware, or a poorly secured Wi-Fi network can render your files and equipment unusable in a matter of minutes.
Periodic backup
If you work with important documents, photos, or sensitive projects, you should plan for weekly or monthly backups of your hard drive's contents , depending on the volume of changes you make. Ideally, use an external hard drive separate from your main computer.
To create these backups, you can use Windows' built-in tools or third-party backup programs. You have the option to back up the entire system or just your personal files . The latter is usually the most practical, allowing you to reinstall Windows and applications afterward in case of a major disaster to ensure a clean system.
Protection against viruses and malware
Malware includes viruses, worms, Trojans, rootkits, ransomware, and other similar malware. To minimize risks, always keep your antivirus software updated and your firewall active , and be selective about the websites you visit and the programs you download from the internet.
Perform full system scans regularly, and use critical area scanning or custom scans when needed. If your organization uses specific solutions (such as Panda Endpoint Protection), get into the habit of running in-depth scans from the antivirus dashboard periodically.
Spyware, phishing, and passwords
Spyware is a type of software that collects information about your activity to display intrusive advertising or for other unclear purposes. A simple way to combat it is to install a good free anti-spyware program, such as Ad-Aware or similar software, run regular scans, and remove anything it detects.
When using email, be extremely cautious with messages asking you to update information about bank accounts, online services, or educational platforms. Many of these are phishing attempts, meaning identity theft designed to steal credentials . Be wary of emails with spelling mistakes, suspicious senders, or links that don't point to the official domain of the entity they claim to represent.
Regarding passwords, it's a very bad idea to always use the same one for everything: email, social media, online banking, payment gateways, etc. If someone gets hold of one, they can access all the others. It's recommended to use different and strong passwords , using a password manager or automatic secure password generator if necessary.
If you use Wi-Fi networks, especially in public or shared environments, make sure the network is protected with WPA2 or higher encryption and a strong password . In educational institutions or large organizations, connect only to official networks (such as Eduroam in universities) and avoid open, unsecured networks.
By combining this physical care of peripherals with logical maintenance and good security practices, it's much easier to enjoy a computer that runs smoothly, without strange noises, freezes, and fewer unpleasant surprises . Ultimately, taking the time to clean, organize, and check saves time and money compared to constant repairs or having to replace devices prematurely.
